
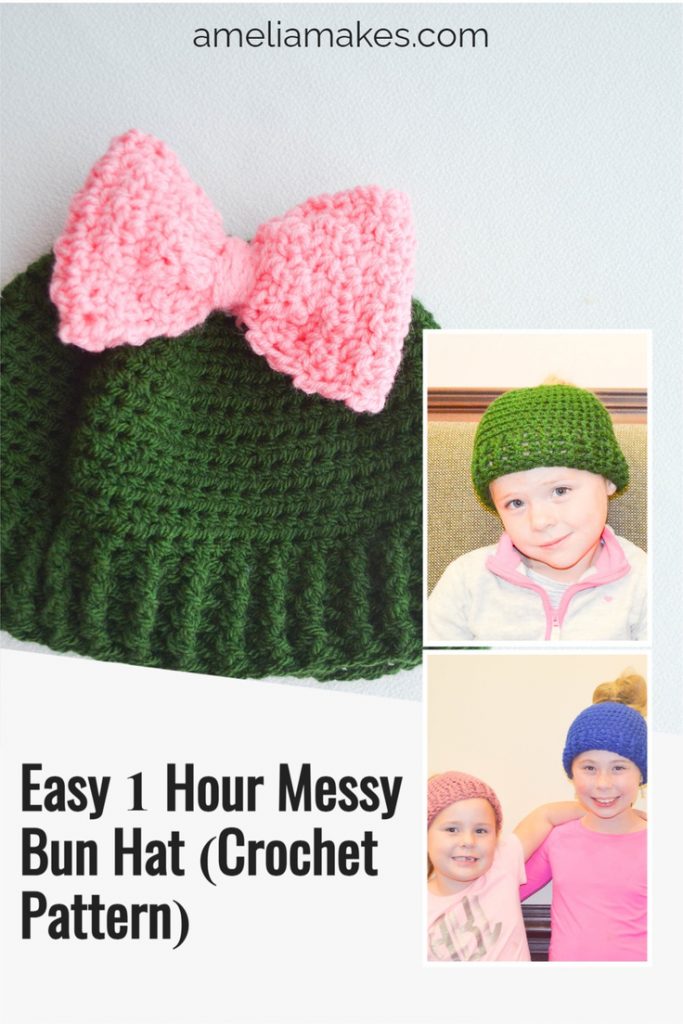
This Messy Bun Beanie Free Design is worked in simple stitches from the top down, with a hair elastic built in for support!
Hair bun beanies or hats have been around for a while now, but they seem to be a trend that is here to stay.
The convenience of putting your hair right through the top of the hat (and the double use of having your own bun work as a “pom” for the top of the hat) has made this original idea become a staple for women all over.
While it works for mid-length hair, having a way to get the bulk of longer hair out of a beanie is especially a blessing.
I personally like that this style allows me to cover the 3-day “mom hair” near my crown while still providing a way for my hair to be out and still look cute.
This easy messy bun hat crochet pattern for several different sizes. With this design, you can quickly make messy bun/ponytail beanies for many of the girls and ladies in your family, and have the convenience of one simple pattern that you might actually memoize after a couple of completed messy bun hats.
(Note: This post contains affiliate links, meaning that if you make a purchase it may benefit me with a small commission at no extra cost to you. You can read all of my affiliate disclosures and other disclaimers on the disclaimers page. )

Prefer the PDF Version in All Sizes?
Grab the ad-free, printable PDF pattern.
You can view it on your computer, phone or tablet or download and print it at home.
About The 1 Hour Messy Bun Crochet Beanie or Hat
While there are many different designs out there for a messy bun beanie or hat, this one is meant to be a versatile but very beginner-friendly design.
With multiple sizes available, this pattern also offers the option to make matching/coordinating sets with friends, daughters, or others close to you.
The step-by-step instructions for this crochet pattern can also be used for a custom order because it’s easy to personalize with appliques, colorwork or ombre yarn, or however you’d like to add your own personal touches.
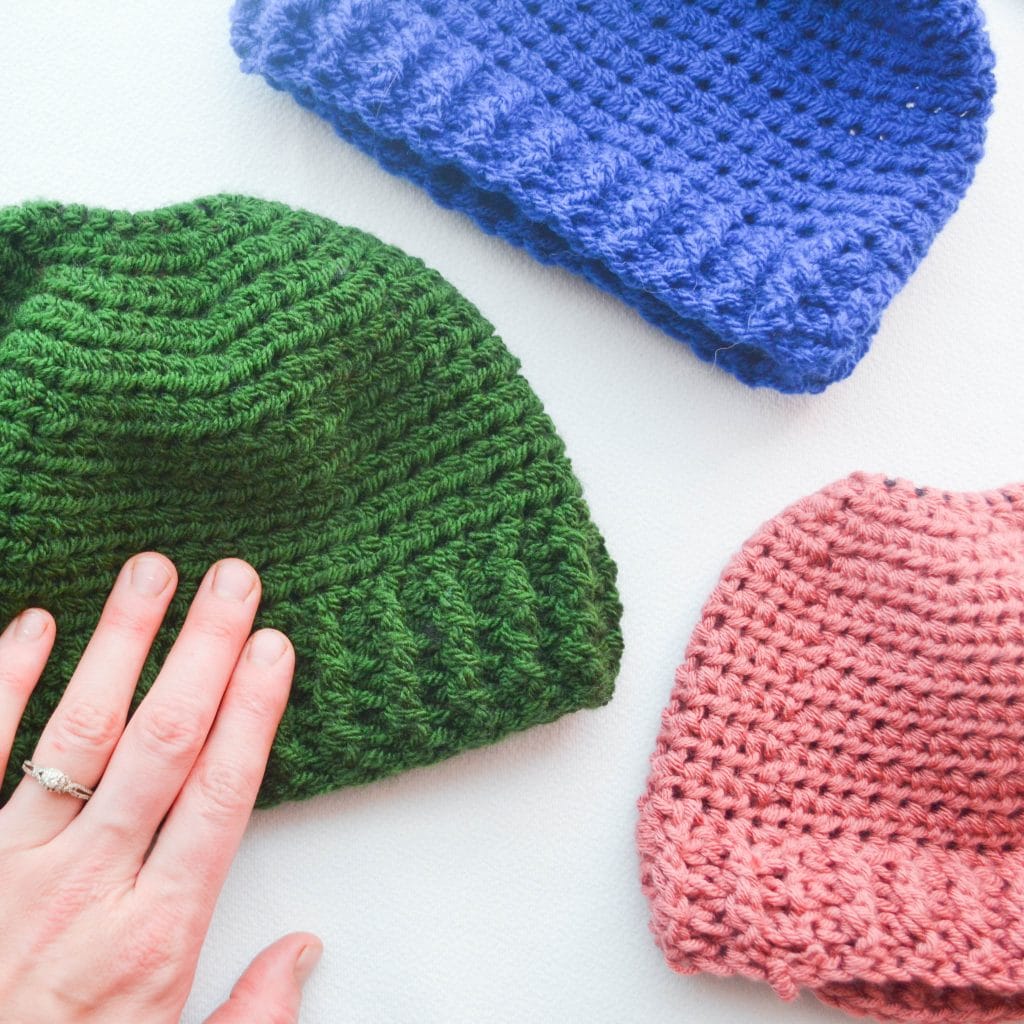
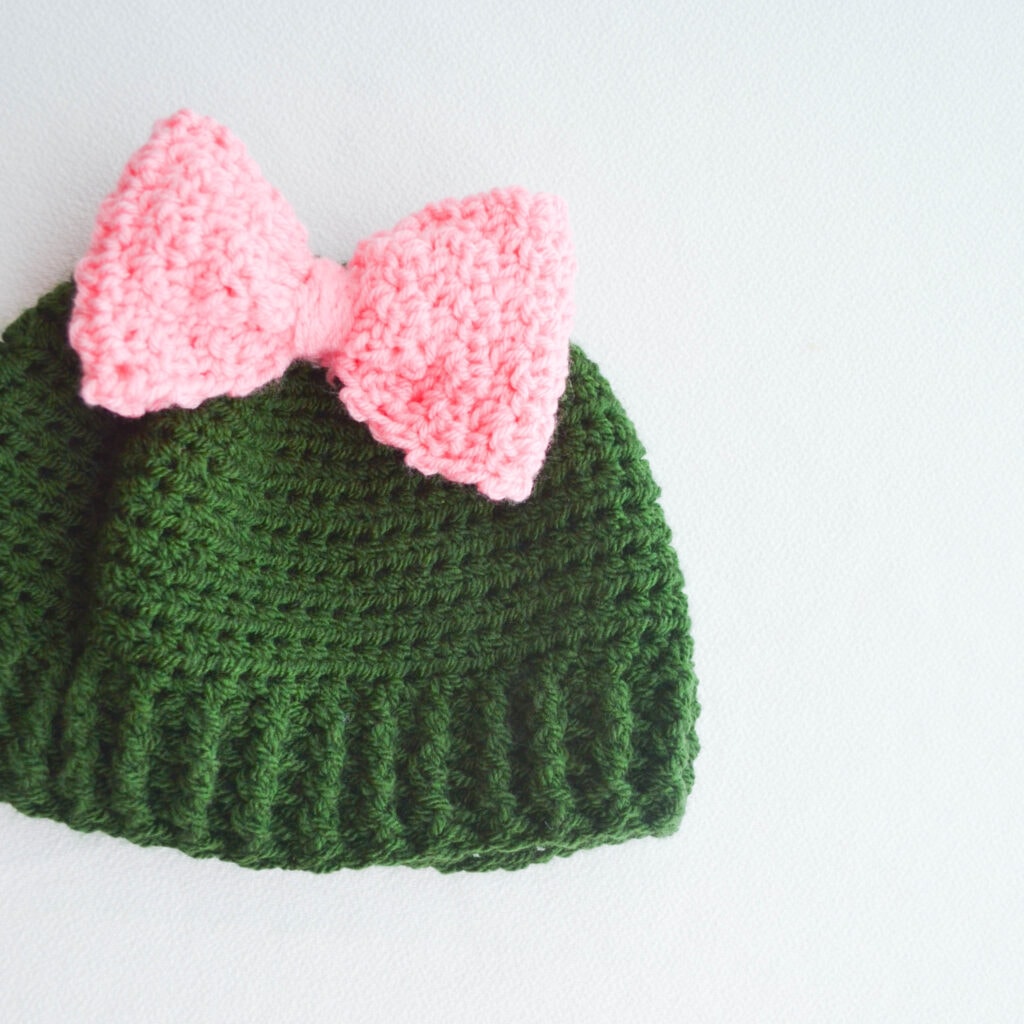
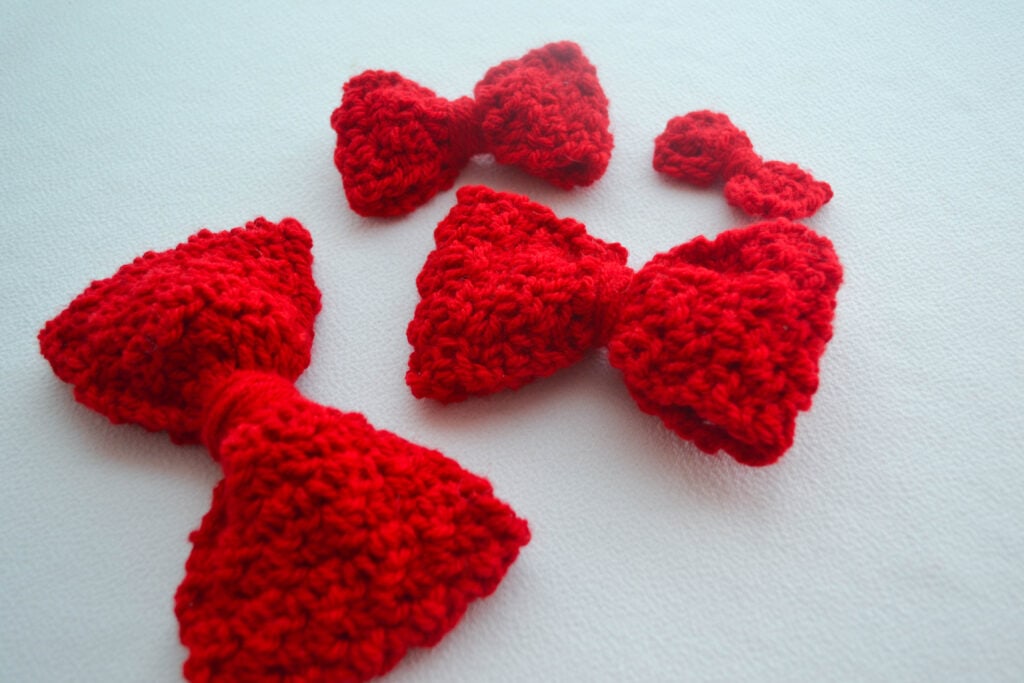
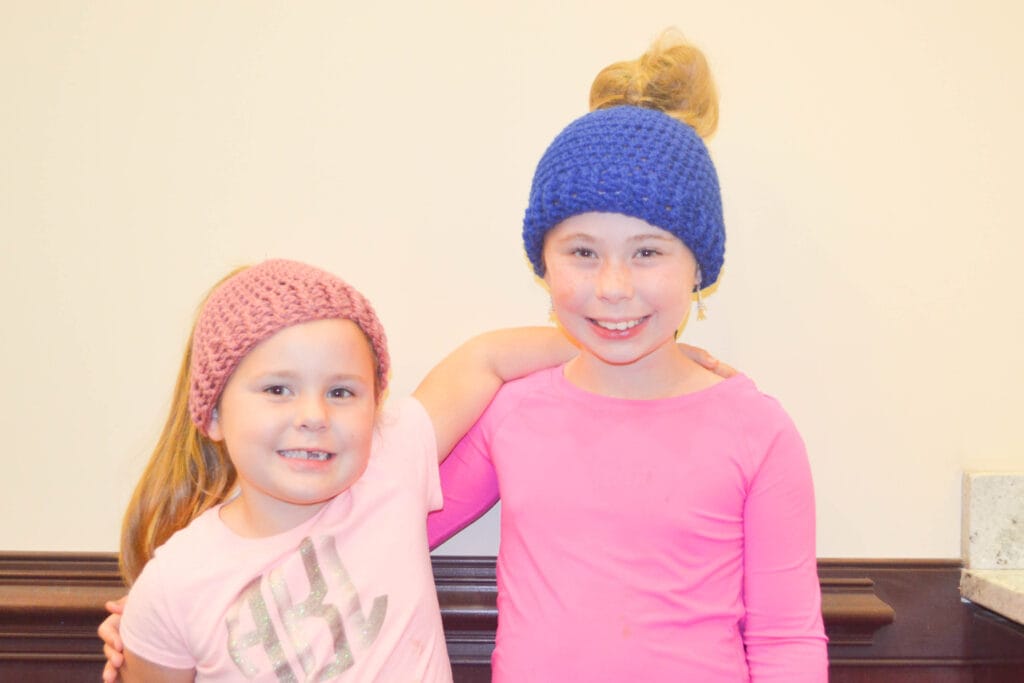
In fact, some of the pictures you see here include messy bun beanies made from this pattern, with the addition of a bow made from my textured bows crochet pattern.
Here are some important details about this pattern, and then a bit further down you can opt in to see the easy pattern directions and get started as soon as you’d like.
Gauge
The gauge for this project is 12sts and 9 rows of half double crochet (hdc) per 4” square. This is done using the hook size and yarn type that is outlined below. If at any point you want more details on the different weights of yarn or specific hook sizes, the posts linked in this sentence will give you a lot more information on those topics.
If you’ve never quite learned what gauge is or gotten comfortable with this concept, this post on understanding guage will give you all the information that you need to know. Basically, gauge is a measurement of how many crochet stitches and rows fit into a certain area. Obviously, the exact same directions pattern is going to end up a different size in bulky yarn than if you had used worsted weight yarn.

If you can match the gauge of a pattern, your project is theoretically going to turn out exactly the right size.
With the step-by-step instructions below, the finished product for this messy bun beanie is meant to have just the right amount of stretch. It may not be as practical for people with short hair a regular crochet beanies would be, but for those of us with long hair it can be the perfect style for casual chilly days.
Sizing
Head sizing for beanies and crochet hats can be tricky, as everyone’s head shape and size can vary. However, measuring around the crown of the head is the best way to check the size of your hat.
To do this, simply wrap a flexible tape measure around the widest part of your head, which is usually just above your eyebrows and ears. Make sure the tape measure is snug but not too tight, and take note of the measurement.
This will give you an accurate idea of the size of hat you need to make, and ensure a comfortable and snug fit.

A good starting point for hat sizing in general can be found in this post, which includes a handy chart.
But, here are the 3 sizes available below for the 1 Hour Messy Bun Hat:
The first child size is the child small, which is suitable for head sizes that measure about 18-20” around. In my own experience, this should fit a little girl in the 2-4 year old range.
The second child size is the child large, which is for head sizes that measure closer to 19-21”. Most older girls who are 5-10 years old that have tried this on so far fit in this size.
And finally, the adult small is the size that will fit many adult women. It suits head sizes 20-22”, and is also a great option for teens or juniors. If you scroll down to the pattern directions, this is the size that is included.
You can also get ALL the sizes in a convenient download by purchasing the PDF pattern above.

Materials Needed
To make one of these crochet bun beanies, you’ll need the following:
- 70-80 yards of heavy worsted/aran weight yarn.
- H/5.00mm hook
- A strong elastic hair tie
- A yarn needle (optional, for weaving in ends)
This pattern is meant to be used with acrylic, wool, or a wool-blend type yarn. Cotton and other summery fibers aren’t going to turn out quite the same with it(although there can certainly be some cotton content in whatever yarn you choose to use.
If using an older yarn or anything that you find too stiff or rough, consider softening the yarn before starting the project. This will not only make your messy bun hat softer for the very first wear, but will make it easy on your hands as you crochet it, too!
For every size of this beanie, I like using the very generic, black hair elastics that are made for adults. These are nice and strong, and widely available. Whatever types of elastics you choose, make sure to give it a nice stretch before starting, to test that it won’t snap easily.
Skill Level and Stitches Used
Even with adding a hair elastic into the mix, this design is easily a beginner-level pattern.
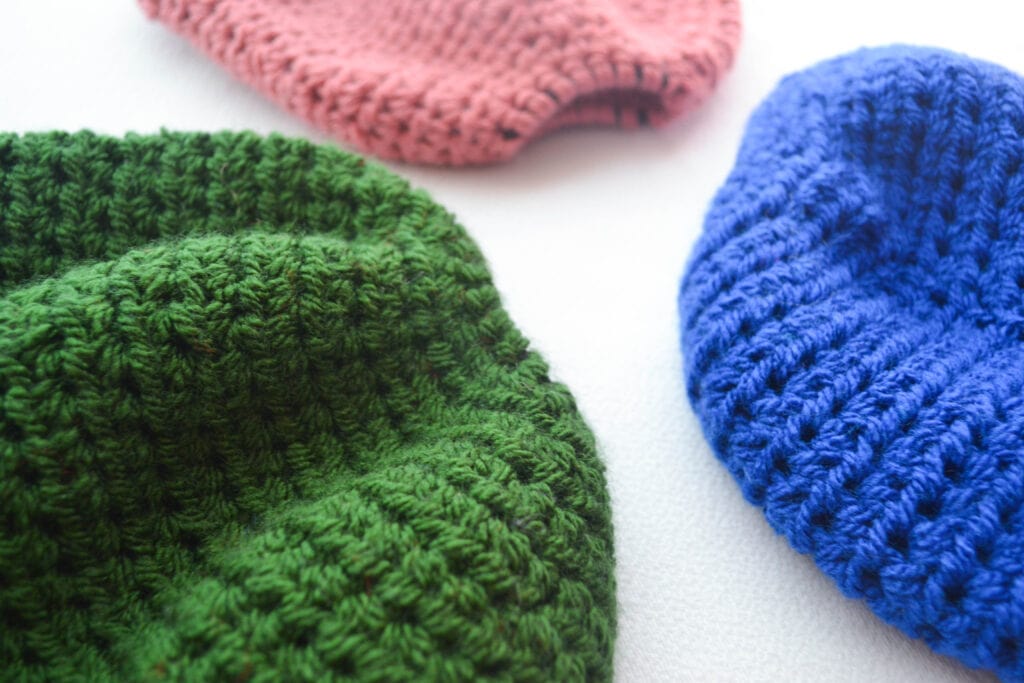
The main, basic crochet stitches used in this written pattern are single crochet and half double crochet. Front and back post stitches are also used for the bottom ribbing, but the whole hat is done in one piece.
Like all of my patterns, the free pattern for this messy bun hat uses US terms. Here are the abbreviations used in the pattern below:
- Sc-single crochet
- ss-slip stitch (also seen as sl st in some patterns)
- hdc- half double crochet
- st/sts-stitch/stitches
- FPdc- front post double crochet
- BPdc- back post double crochet

Does this messy bun beanie really take 1 hour to crochet?
Whenever I see a claim that something can be crocheted in such a short time- 5 minutes, 30 minutes, 1 hour, etc.- I always wonder if it’s true. Granted, this messy bun beanie pattern is very simple, with just the necessary increases and one simple repeat row in the body of the hat.
Even with all this, I understand if you still have some doubts. So, let me just give a few notes behind the claim that this is a “1-hour” pattern:
Each person’s individual crocheting speed is, obviously, going to make a difference in how quickly this design works up. If you know that you tend to go a little slower, or if you are very much a beginner, than this bun beanie may take longer than 60 minutes. However, you don’t need to go super fast to make that happen.
Secondly, what will make this beanie go more quickly is being familiar with the pattern. Making multiple beanies with this pattern will mean that on average, each one takes less and less time to make. Crocheting the very first one can easily take a little longer as you look at the pattern for each step.
And finally, sizing is going to affect the actual total time you might spend on one of these hats. A child small will go more quickly than the adult size, and adding extra rows will mean the beanie takes a little longer. Hopefully, these notes give you a good idea of exactly how quick this project can be for you!

Ready to get started with the free version? To make this beanie for yourself, simply enter your email below and the directions will pop right up.
Directions for the 1 Hour Messy Bun Beanie
Yay- You made it!
I’m SO glad to have you! Please enjoy this free crochet pattern.
To create your own messy bun beanie, each round of stitches works very simply into the previous round, and there aren’t a lot to do. For all stitches, insert the hook through both loops at the top of each stitch.
Note: Before starting to crochet, make sure to test your hair elastics with a good tug to make sure they are strong.
For the 3 sizes, differences in the directions are shown as (child small,child large,adult small) in a few places.
Round 1: Sc 20(for all sizes) around your hair elastic. Ss to close. (20 total sts)
Round 2: ch2(does not count as a stitch) , *hdc, hdc2 in one* repeat for the entire round. ss in to your first hdc stitch to close. (30sts)
Round 3: ch2, *hdc2, hdc2 in one* repeat for the entire round. ss into your first hdc stitch to close. (40sts)
Round 4: ch2, *hdc3, hdc2 in one* repeat for the entire round. ss into your first hdc stitch to close. (50sts)
(For the child sizes, skip row 5)
Round 5: ch2, *hdc4, hdc2 in one* repeat for the entire round. ss into your first hdc stitch to close. (-,-,60 sts)
For 7(9,7) rounds: ch2, hdc in every stitch, ss to close.
Ribbing rounds
For 3(3,4) rounds: ch2, *FPdc, BPdc* repeat for the entire round, ss to close. Your FP and BP stitches should line up in all the rounds to create a nice ribbing edge.
Bind off your yarn, weave in your ends, and you’re done!
Final Thoughts
If you’ve made it ALL the way to the end of the page, I just want to say a big thank you for spending your precious creative time with me. I hope that you enjoy crocheting this messy bun hat pattern, and that it serves you well or makes a great gift for one of your loved ones.
If you have any questions, comments, or want to connect, please feel free to use the “contact me” form on our website or consider joining the Crochet Makers Vault +Community. We’re always happy to help and share our love for crochet with fellow enthusiasts.
Keep the crocheting delightful!
Amelia
The 1 Hour Messy Bun Beanie is a quick and easy pattern for a crochet bun beanie in multiple sizes
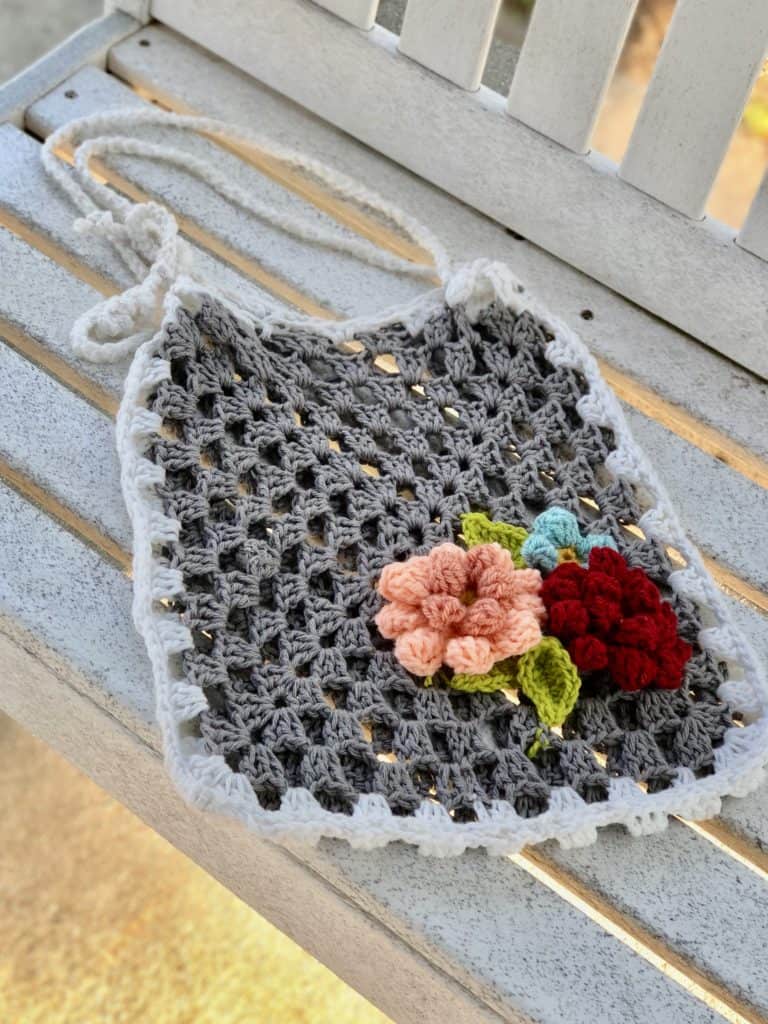
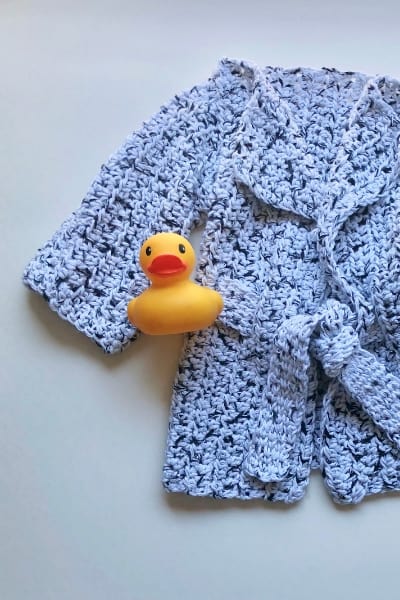
You might also like:
Don’t Forget to Pin this for Later!
Pingback: The 2020 Crochet (Christmas) Spree ~ Amelia Makes
Pingback: Textured Crochet Bow in 4 Sizes-Free Pattern ~ Amelia Makes