A gender-neutral and classic baby design ready for you to crochet in any size from newborn to 3T.
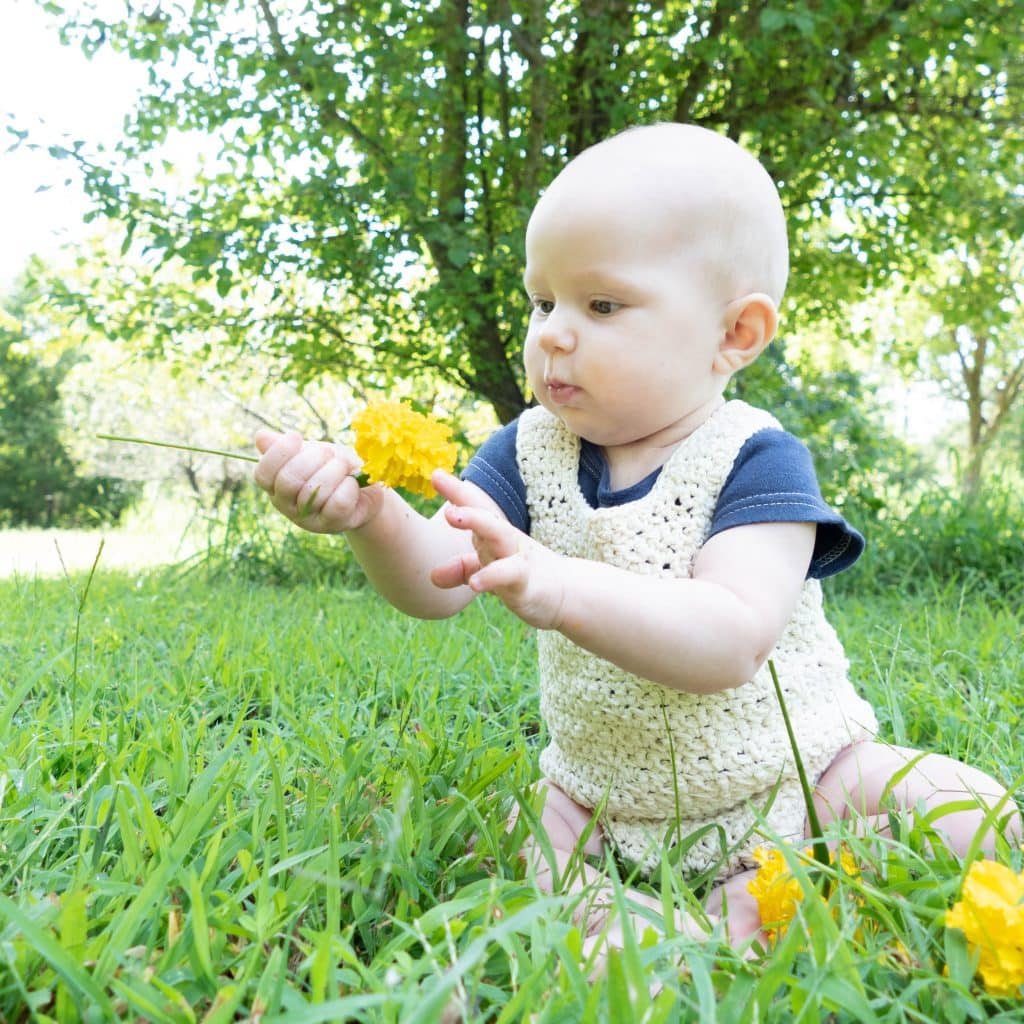
Even though babies grow out of things overnight, making clothes for them is such a special pastime. If you tend to be a very practical person, it’s also nice to know that crocheting a baby onesie or romper like the one below, could possibly get passed on to benefit other babies in the future, too!

About the Crochet Baby Onesie Project
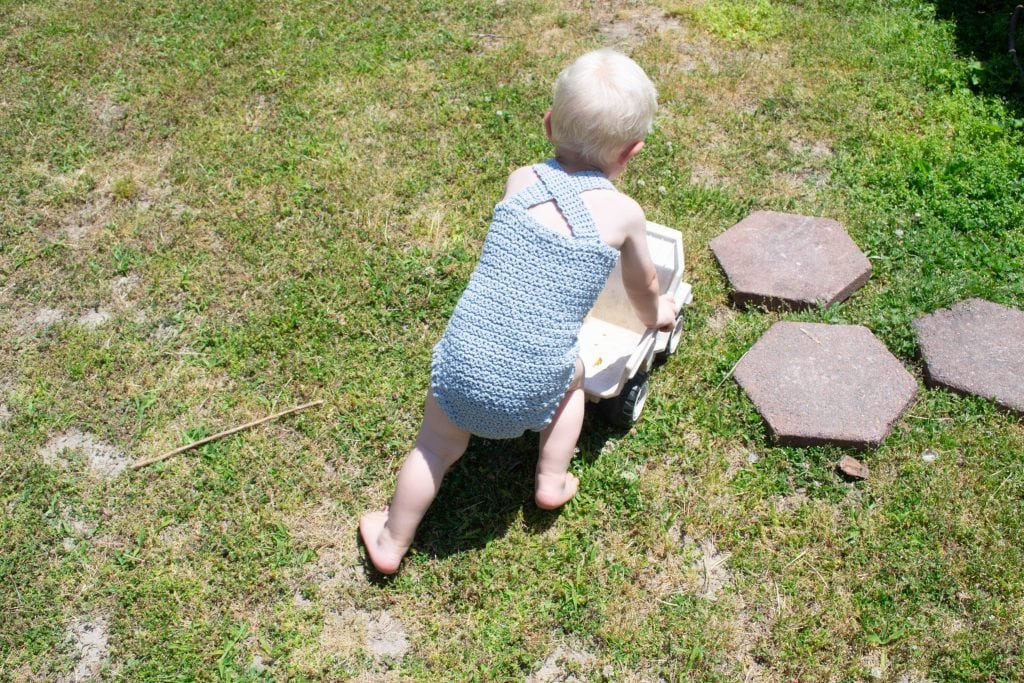
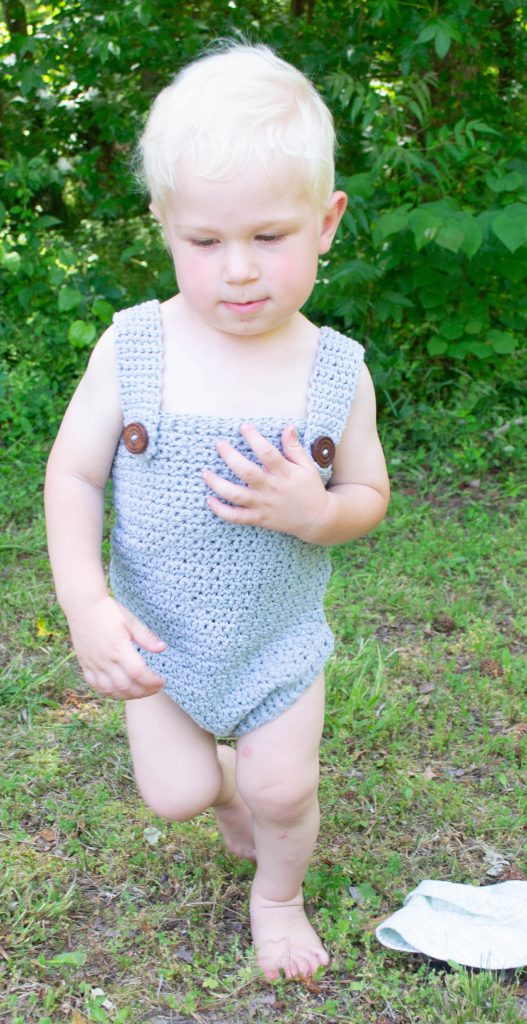
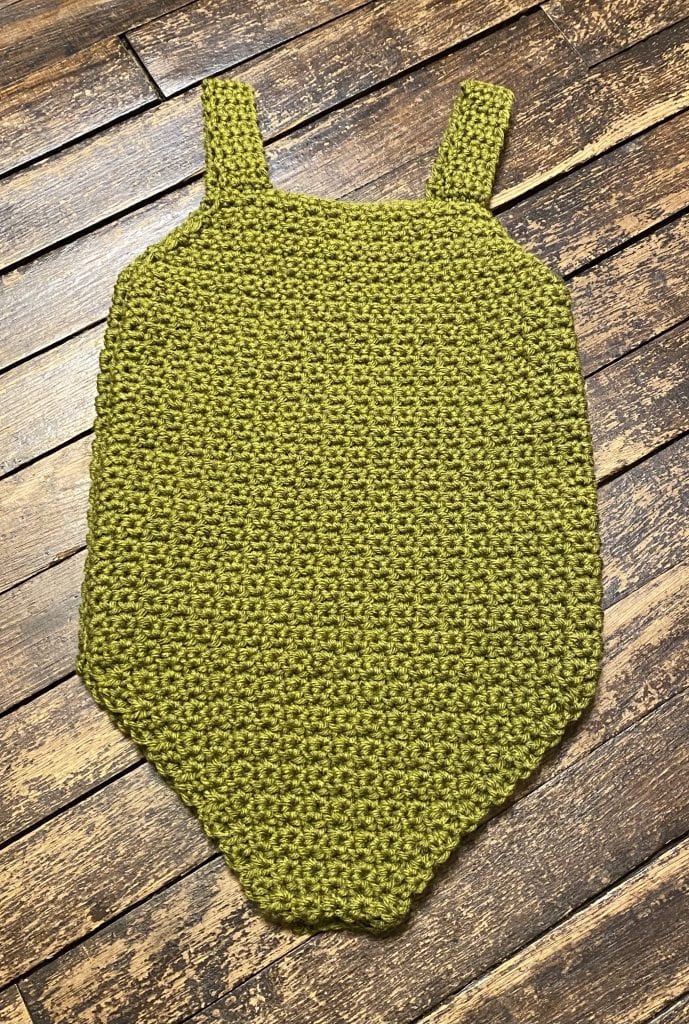
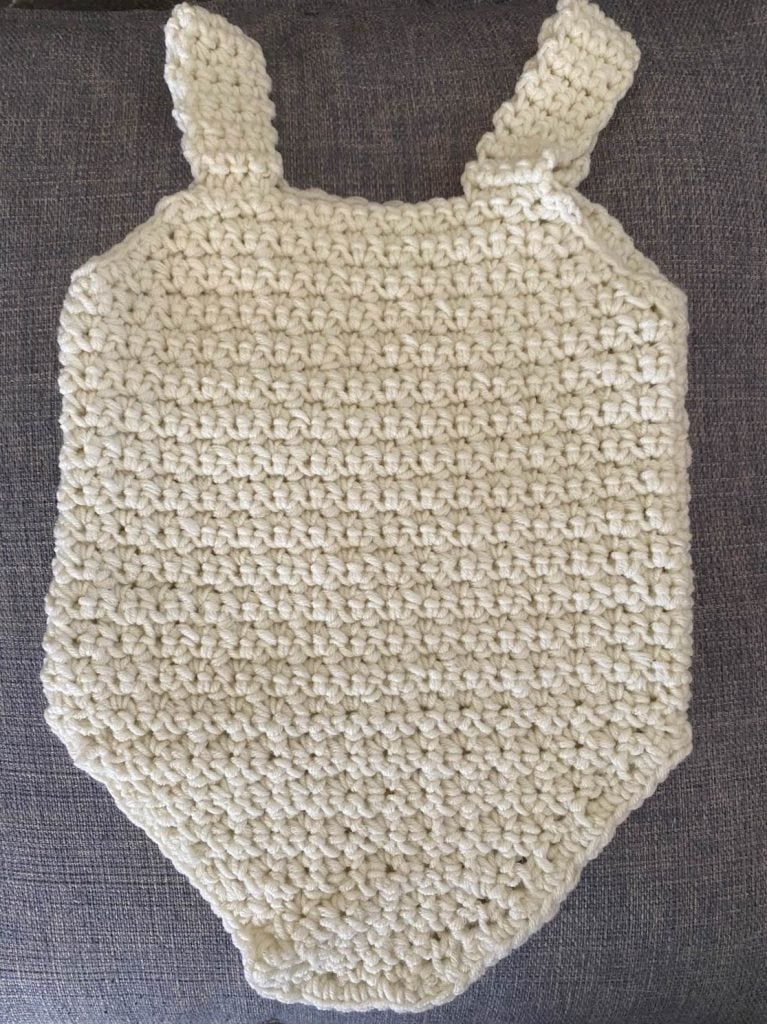
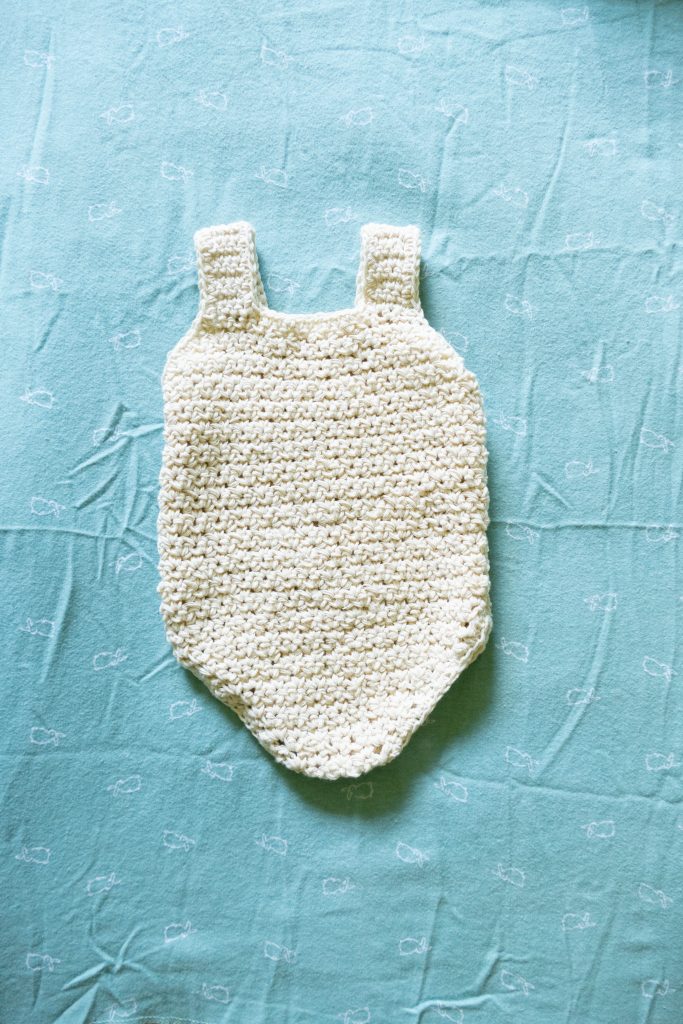
This Grit Stitch baby onesie/romper is a new baby design that I’m delighted to share with you today. It was an absolute pleasure to make this for my own little model.
But, since this crochet pattern includes just a few simple shapes and minimal details, it’s truly a classic design that you can create for just about any baby or small toddler. Plus, depending on your choice of yarn and color, this is a project that can be made for any season.
Important note: The FREE pattern below is only for 6 months old baby. If you want access to ALL the sizes, you can purchase the PDF pattern below! Thanks for your support.
I hope you enjoy!
(Note: This post may contain affiliate links, meaning that if you make a purchase it may benefit me at no extra cost to you. You can read all of my affiliate disclosures and other disclaimers on the disclaimers page. )
You can find more helpful details on this project and to see directions for the six month size.
Prefer the PDF Pattern in All Sizes (New Born-3T)?
Grab the ad-free, printable PDF pattern.
You can view it on your computer, phone or tablet or download and print it at home.
Skill Level
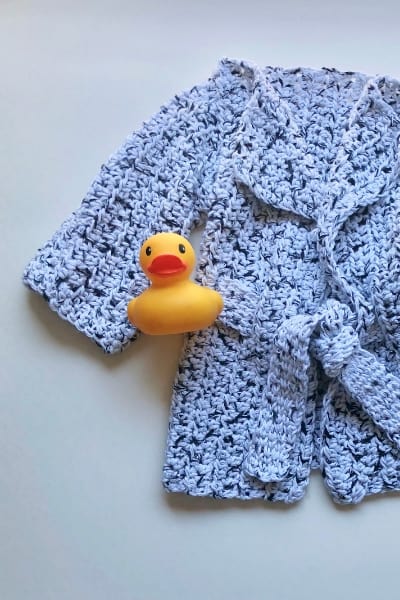
The entire body of the romper is done in the grit stitch. As a very simple variation of single crochet, this pattern is easy to execute and creates just enough texture.
I would label this project as an intermediate level crocheter. This is mainly due to the increases and decreases needed to create the romper body.
Material Needed
- G/4mm hook
- Light worsted yarn: From 165-450 yards depending on the size you are making.
- 2-3 snaps for rom per bottom
- Sewing needle and thread
- Scissors
- Tapestry needle (for weaving in ends)
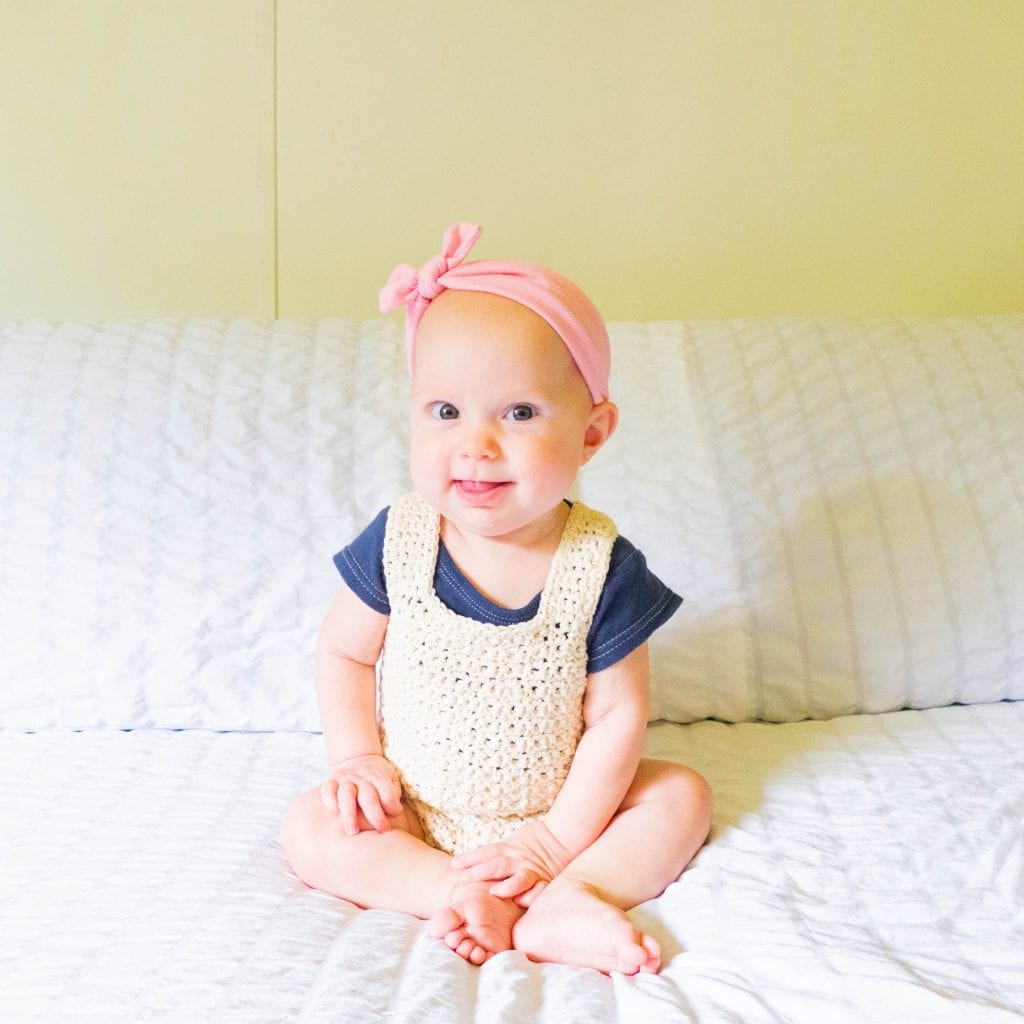
For my baby’s onesie that you see above, I used Paintbox Recycled Cotton in the “string” color.
Sizing
The size of this pattern is based on the size of a baby’s chest, as well as length. For the six-month size (which is what I made for my little girl pictured) the pattern is made to fit a chest size of 17” around.
There is also a size chart with these details in the pattern download.
While this pattern runs a bit small, it also has a tendency to be very forgiving with stretch once its put on a living, wiggly baby. In my experience, it’s most accurate to say that the pattern fits an average baby as soon as they are the “correct” age for that size.
When in doubt, size up for longer wear!
Gauge
The gauge for this project is 14 stitches and 14 rows of single crochet per 4×4” swatch.
Abbreviations
This pattern is done using US terms.
- ch: chain stitch(yarn over, draw a loop through)
- hdc: half double crochet(yarn over, insert hook, draw a loop through)
- sc: single crochet(insert hook, draw up a loop, yarn over, draw through 2 loops.)
- sc2in1: start a sc, start the next sc, and finish both of them together(single crochet decrease)
- ss-slip stitch(insert hook and draw a loop through work and the loop on the hook)
- st/sts: Stitch/stitches
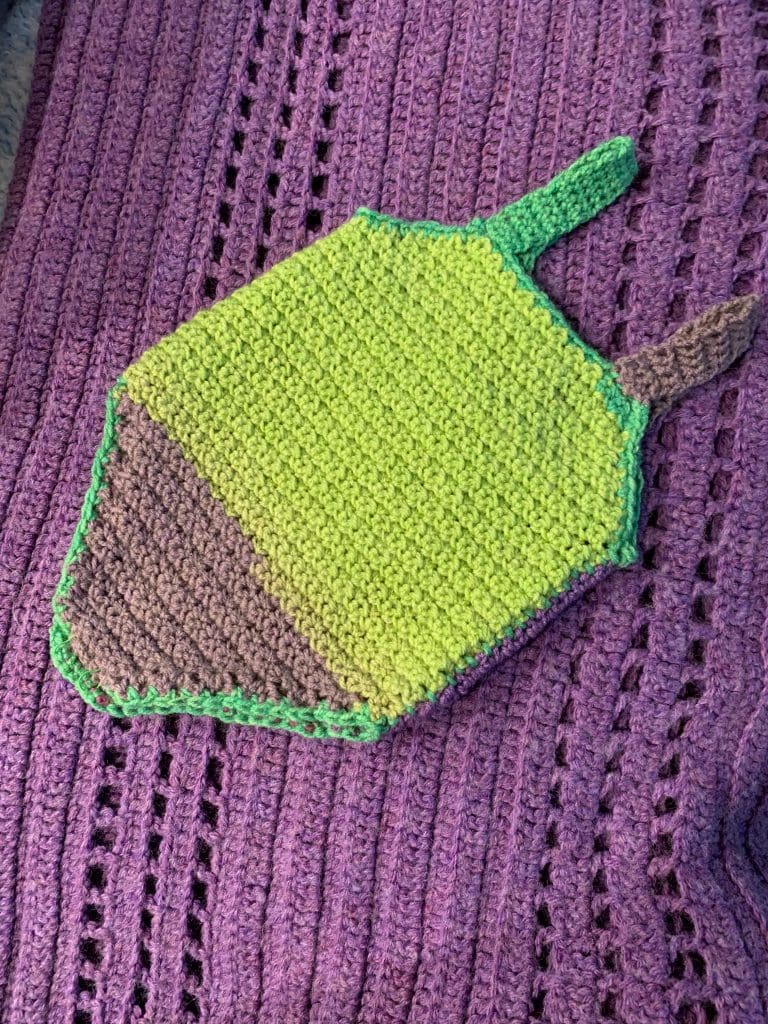
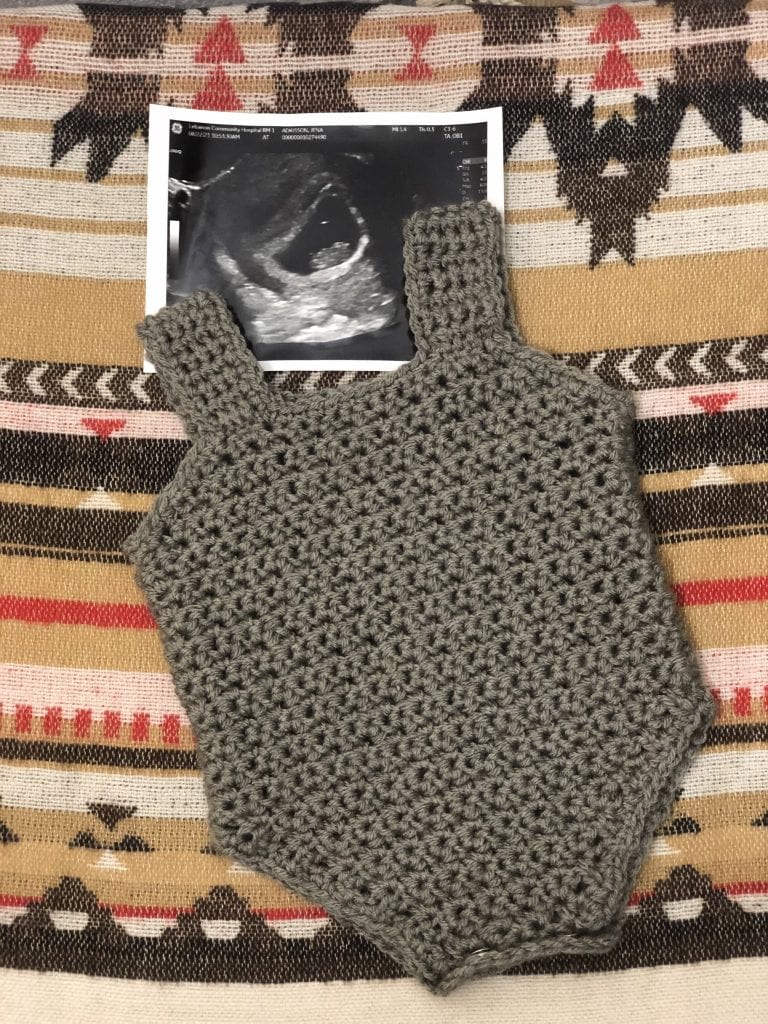
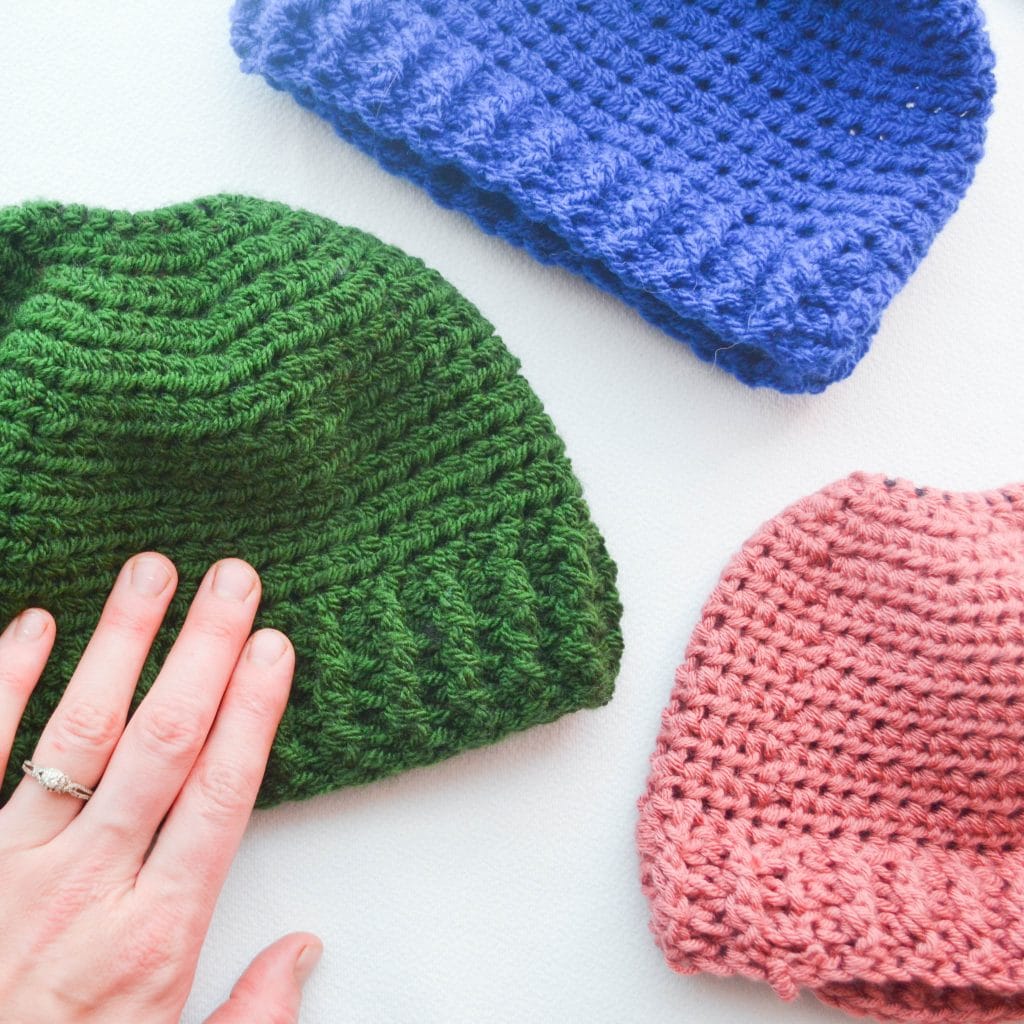
Tester Pictures
Below, you can see some of the wonderful onesies that the testers completed for this project.
They all did such a lovely job!
Pattern Directions for 6 Months Old Size
The following directions are for crocheting the Grit Stitch Romper in the 6 month size:
Main Body Piece (make two)
Increasing
Ch8
Row 1: starting in the second chain from the hook *sc2in1, and skip a st* repeat across the row to the last st, and finish with a sc2in1. (8sts) Ch2 and turn.
Row 2: hdc. ch1 *skip a st, sc2* rep across the row to the last st. Ch1 and hdc. (10sts)Ch2and turn
For the next 12 rows: Repeat row 2. By increasing 2sts per row(with the ch sts) you should finish with 34sts.
Middle section
For the next 21 rows: sc. *skip a st, sc2in1* rep across the row to the last st, and then sc. (keep the same stitch count throughout)Ch1 and turn.
Decreasing for onesie top
Note: for this last section, the turning chain counts as a stitch.
For the next 7 rows: *skip a st and sc2in1* rep across to the last 2sts. Skip a st and sc.
You should Finish with 20 sts. ch1 and turn.
Straps
Pick the body piece that you want to use for the back. At one of the top corners of the neckline, attach the yarn.
For 20 Rows: sc4. Ch1 and turn.
SS the end of the strap to the opposite side of the onesie at the neckline corner. Repeat this process for the second strap on the opposite side.
Seaming, trim, and finishing
Lay the onesie flat and seam the two body pieces together from top to bottom with ss. Start at the beginning of the decreases at the top and bind off when you get to the top of the leg increases(only seam together the straight sides).
(Optional) work one row of sc around the bottom, neckline, and arm openings to create a clean edge.
Weave in any remaining ends.
At the romper bottom, stitch on 2-3 evenly spaced snaps with a needle and thread.
Final Thoughts
Once you finish the onesie, take that final step to weave in all your ends, trim the sewing threads, and block your project if you want to. Now it’s ready for a sweet little babe!
Thanks so much for taking an interest in this project.
If you take your precious creative time to make a Grit Stitch Onesie/Romper, I would love to see your results (you can message me or tag me in pictures on Instagram at @ameliamakesblog.
And before you go, don’t forget to grab your free pattern bundle to stash for some lovely future WIPs as well.
Want a few popular patterns as free PDFs?
Keep the Crafting Delightful!
Amelia
What’s Next?
- Share on Facebook or Instagram: I always love seeing fellow crocheters make my patterns! Tag me when you’ve completed it @ameliamakesblog
- Pin the post: Save this post on your Pinterest board, and get back to it later.
Join my Facebook Group
Share your ideas and pictures on my Facebook Group! This is a small private group of crochet enthusiasts that would love to hear from you!
The Grit Stitch Romper is a classic crochet baby project suitable for any season