
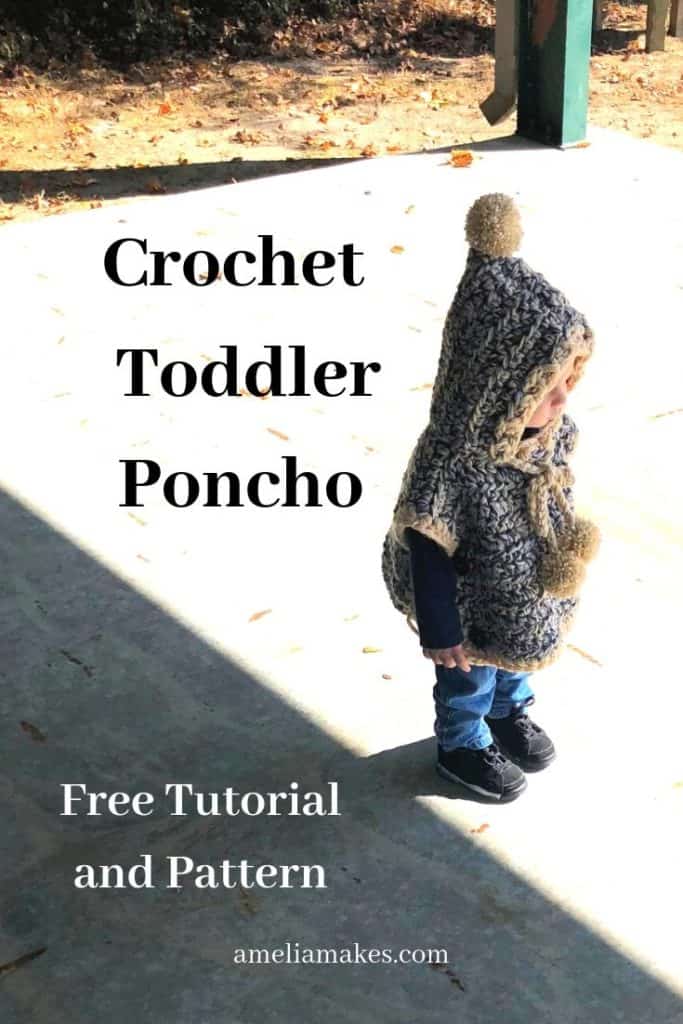
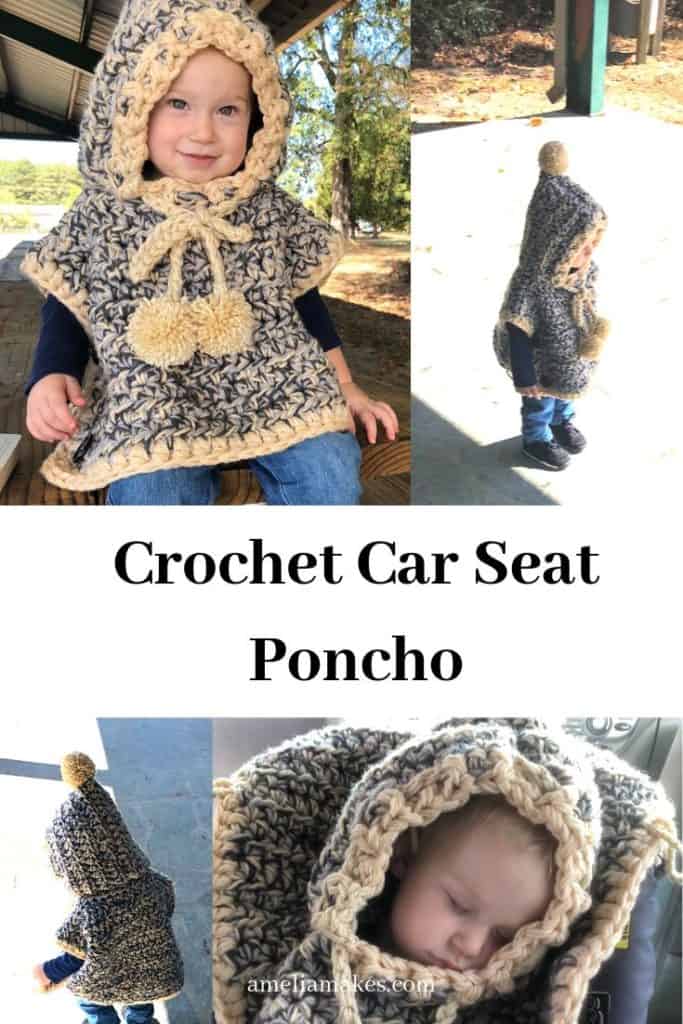
This free crochet pattern for a poncho is great for babies and small kids to wear in their car seats, but the tutorial can be followed to make any size!
Cooler weather is finally here, and I am so excited to share this project with you. The car seat poncho, which is such a great idea, has been made in many different ways over the last couple of years.
In this crochet version, I have attempted to create an easy-to-follow design with a tutorial that you can very easily adapt to your needs. Whatever size you’d like to meet, yarn you’d like to use, and particular details you’d like to add, this crochet poncho concept is good for car seat rides as well as just walking around.
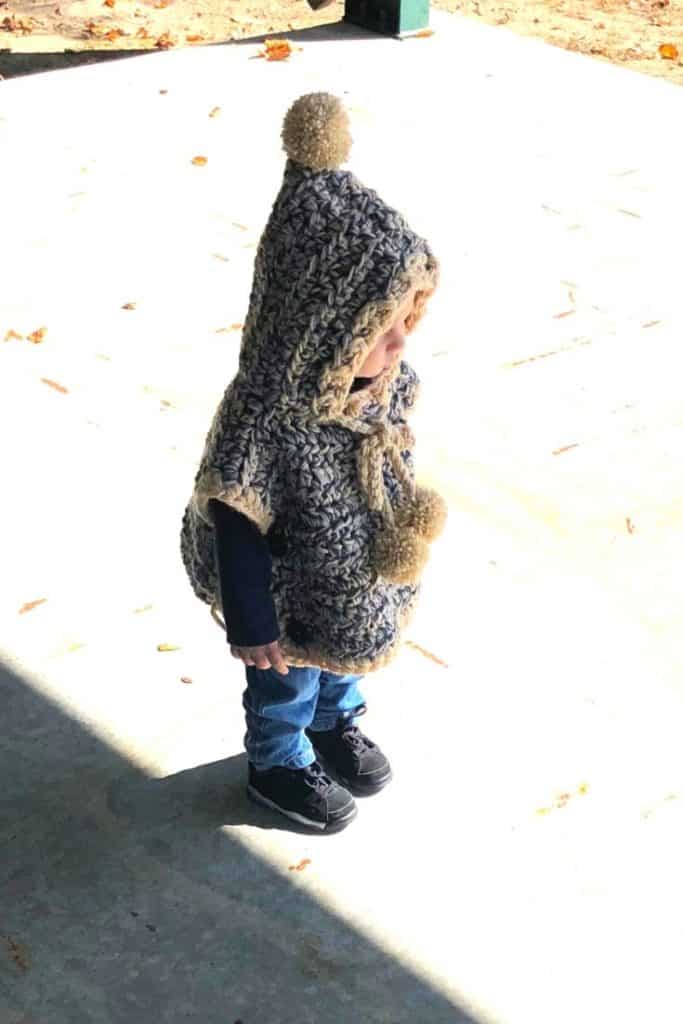
the poncho I created is worn by an 18 month old, and I made it on the larger side hoping it will fit from the 2T-3T range.

I’ll be sharing the specifics of this pattern throughout the post, so that you can make one the same way.
And now, more about this cute project!
Prefer the PDF Version in Size 2T-3T Range?
Inspiration and design
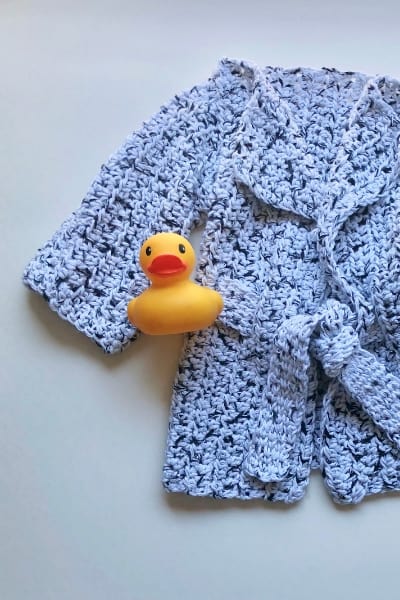
After seeing different types of car seat ponchos, I knew I wanted to make one for my son this year. To make it work up quickly and be nice and cozy, I opted to use three strands of yarn. Since just came up with a combination of yarns that I already had, this became a great stash buster. Plus, I think the combination of neutral colors turned out really nice.
The shape for this poncho is rectangular rather than circular. This is purely a matter of taste because, personally, I thought that I would like the rectangular shape with the corners better than a circular poncho.
Also, I thought that this shape would allow more freedom for moving the arms with as long as I wanted to make it. If you decide you would rather crochet a circular poncho like this one, it wouldn’t be hard to do, but the scope of this tutorial just won’t cover it.

Materials Needed
Yarn
The first thing to do with this project is to pick the yarn you would like to use. As I said, I used three strands of yarn for this poncho, and they are all aran weight. This means that mine worked up very much like a super bulky yarn.
All three strands of the yarn that I used are different colors: dark grey, light grey, and a light tan color. I chose to use all acrylic just so I can machine wash this on the gentle cycle if I need to. To see an example of these colors and lots of others in an aran weight, you can check out this yarn. I needed a full two skeins (3.5 ounces each) of each grey color and almost three skeins for the tan color since I used it for all of my trim, ties, and pom poms. All in all, I used close to 1,400 yards of yarn for this thick and cozy poncho.
Unfortunately, I can’t really foresee how much yarn you may need for your poncho depending on the size you want to make, but maybe seeing how much I needed will give you a starting point to estimate. If in doubt, I would highly suggest you start working with a yarn that you know you can get more of. (Click here to see my favorite online yarn source)
Hook
Once you have your yarn picked out, go ahead and figure out which hook size would work best for your project. Obviously you might see a hook suggestion right there on your yarn label, but I would also encourage you to test it out and see if you actually like the result in whatever stitch you hope to do your poncho in.
For my poncho and three strands of yarn, I used a size N/10 mm hook. Here is an inexpensive hook option if you need one.
Extras and tools
Although that’s all that’s truly all you need to crochet this poncho(plus some scissors and possibly a needle for weaving in ends), you may want to think of any other extras you might want to add. For my poncho, I used four basic black buttons (about 1½ inches in diameter I believe) and used them to create closures for the poncho so it’s a little more secure and warm when little one isn’t in his car seat.
Two buttons are sewn on each side below the arm area, and I created simple yarn loops with a chain stitch and much smaller hook to attach to the back and slip over the buttons when desired.
So far this seems to be working out great, and the buttons give my boy something interesting to try figuring out while we’re riding in the car.
Once you have your yarn and other materials, you’re ready to whip up a poncho! If you’re making one similar to mine, it can be worked up surprisingly fast.
Step-By-Step Crochet Car seat Poncho Tutorial
Here are the steps I took to make this poncho. Each section contains general instructions that you can use to crochet any size, as well as the specifics of the one I made.
Poncho Front
To start on the poncho front, you will first need to assess how wide you think the whole thing should be. Remember, this is a rectangle going from the front to back. You can certainly do this completely by trial and error, or you start by crocheting a swatch with your chosen yarn and hook and calculating from there.
By the way, you can absolutely do this project in whatever stitch or stitch combination you want. I am using HDC(half double crochet stitches) for this entire project, and you can find a tutorial on half double crochet here. But, you are welcome to choose any stitch, just make sure you use the same stitch in your swatch as you do for your actual project, to keep the dimensions from changing up on you!
My little poncho is 25 stitches wide in hdc(not including the border because that comes later). Once I figured out that this is what I wanted, I simply started by chaining 27 and doing my first row by working 25 half double crochet stitches.
The rest of the front of my poncho is simply 14 more rows exactly the same(15 rows of hdc total). Pretty simple, right? Be sure to keep track of how many rows you crochet for the front of your poncho project.
Neck Opening
The next step is to crochet a row with our neck opening. The main goals here are to first make sure that you get the opening large enough. Secondly, make sure that your opening is centered with equal stitches on either side of the row.
In my poncho, I ended up leaving 11 stitches(remember, mine are big) for he neck opening, which left me 7 hdc stitches on either side of the opening. Written out, these directions would look like this:
Row 16: hdc 7, ch11, hdc7.
Poncho Back
Now, we can crochet the back of the poncho.
Done with hdc just like the front, I worked 17 rows to crochet the back of this poncho. It worked out well to make the back a little longer than the front, although that’s completely up to you.
When you are done crocheting the back of your poncho, you can either cut your yarn and bind it off, or you can consider “skipping ahead” and working any trim you want for the outside edge of the poncho if you want to do it in the same color(s). As you can see, all of my trim is done in the tan color, so I chose to stop my work at the last row of the back and come back to crochet the border later.
Hood (Optional)
Making the hood
I opted to make a very generously sized hood for this poncho. It is 16 stitches wide(meaning I started with a chain of 18 stitches), and 22 rows long. After finishing your rows for the hood, slip stitch the top together by folding the hood piece in half and seaming one side together from the edges/corners to the fold. When finished, leave a tail of 4-6 inches if you would like to use it to attach the Pom Pom later.
Attaching the hood
To attach the hood, I centered it one the neck opening and made sure I was working on the inside of both pieces. I slip stitched the hood to the main body part working from one side to the other. My hood reaches around a little bit to the front on both sides, and the seam is actually at the top of the head. Although I might have wanted the seam at the back, I think it’s better on top in this case because I made the poncho so thick.
Border/Ribbing
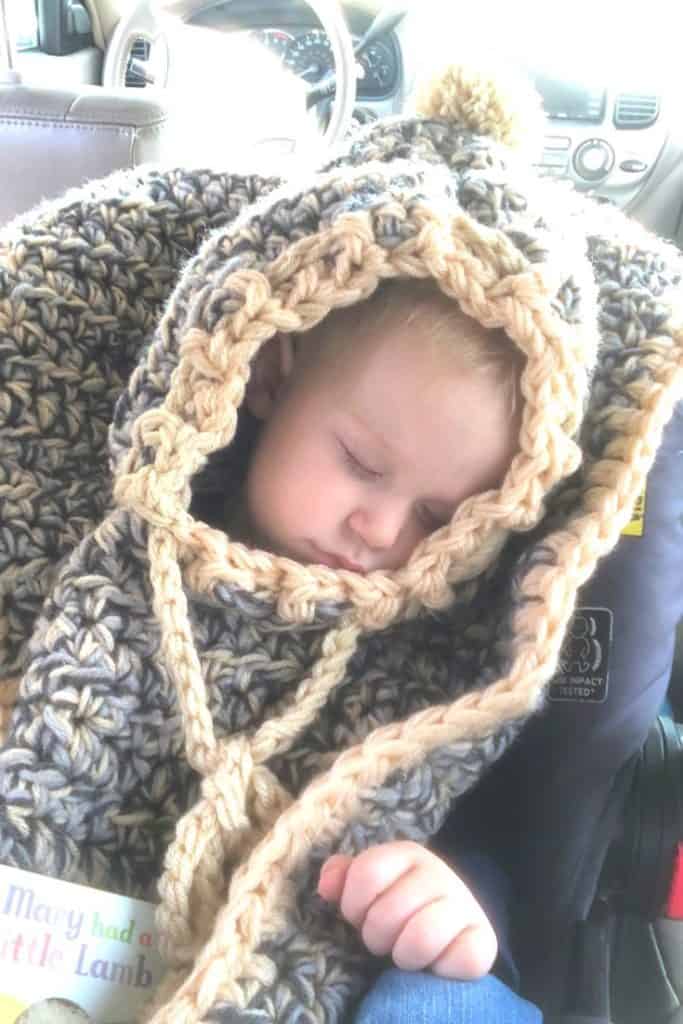
I added 1×1 trim around the hood opening using front and back post stitches in half double crochet. Around the edge of the body I did normal half double crochet for the border. While I found I only needed two skeins of my first two colors, I needed three for the color of the trim and the pom-poms.
Details
For the tie in the side poncho I put three strands together again, and chained 90 stitches. This made my tie/drawstring for the hood measure about 44 inches long with plenty of stretch. For putting the tie in around the hood,make sure you thread it through before putting the pom-poms on the ends.
And while we are on the topic of pom-poms, please know that you can make them any way you want. Although there are special pom-pom makers, I still prefer to use a simple homemade pom maker like the one in this tutorial.
The pom poms I made for this crochet poncho were all made on a 1½ inch form, but for the pom-pom that was going on the hood I wrapped the yarn several more times so that it would be a bit bigger.
Finishing
After attaching my large hood tie and pom poms, this poncho still had some finishing work to do. Since I picked out buttons to make some side closures, I went ahead and sewed those on the front of the poncho at the proper places.
To make the button loops, I did a simple chain stitch with a single strand of the tan yarn and a much smaller crochet hook. When all four were done, I tied the ends together around a stitch in the poncho body, so that each loop could slide easily and would be in the right place.
Finally, weave in the ends. Since I used three strands of yarn, I did have a lot more ends to weave in. It was worth it though!
Although there are different methods for weaving in ends, I prefer to use a large needle or tapestry needle myself. If you’d like, you can check out my tips for weaving in ends here.
Final Thoughts and Pattern/Template
Thank you so much for taking a look at this project! I hope it helps you crochet whatever size poncho you’d like and that you’re own project turns out amazing! Feel free to let me know how it goes or reach out if you run into something I didn’t cover well enough. I’m happy to help and update the information too!
If you’ve enjoyed this project, feel free to grab my free patterns bundle here. By becoming an Amelia Makes reader, you’ll be the first to know about new projects and tutorials.
If you would like make a similar poncho to mine, you might also want to check out the Makers Crochet Vault. Vault members get access to ALL of my pattern downloads, as well as exclusive video tutorials.
Keep the crafting delightful!
Amelia
Car seat Ponchos are such a great idea for keeping little ones cozy, and this version is meant to be easy, cute, and customizable for whatever size and yarn you want to use.

i can’ find the patter for the car seat poncho! What am doing wrong?
Hey Maria-the pattern is in the resource library page, which is accessed with the password you should have received in your first emails from me. Did you check for the password there?
Once you get to that page, the poncho is with my other patterns. To download the actual file, either for the 2T version or the customizable template, you can click on the words where they are colored, because that’s linked to open the file page for you.
Please let me know if that helps!