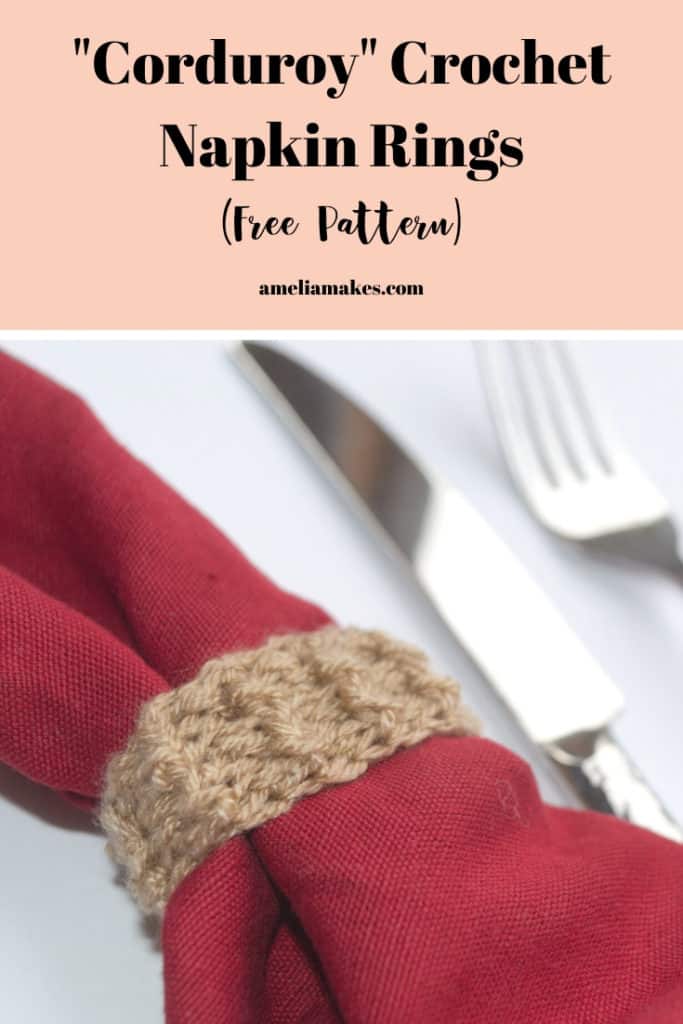
This crochet concept easily creates the finished look of trendy corduroy fabric, and you can use it right away to whip up a quick project for your table!
I am not one to usually follow trends, but it’s been pretty obvious that corduroy(the heavier, ridged fabric) has been particularly popular lately. It’s been in plenty of fashion lately, and can’t help but remind us of really classic teddy bears and older, comfy furniture.
After seeing a report on how much interest has spiked recently, I was reminded of some light grey corduroy that I have in my own fabric stash (because I sew, too, at least occasionally) that I meant to make something with for one of my kids.
BUT, then I got to thinking that it would be pretty easy to crochet corduroy-or at least something that looks like it- and that it would be a much softer than the real thing.
(Note: This post contains affiliate links, meaning that if you make a purchase it may benefit me at no extra cost to you. You can read all of my affiliate disclosures and other disclaimers on the disclaimers page. )
So with that in mind, I’ve put together this very simple tutorial for how to crochet a corduroy look for your own trendy project. Plus, there’s a small and quick (so that it doesn’t sit undone in the yarn stash) project included that you can get done right away to practice the technique.
First, let me explain my yarn choice:
The Right Yarn
Although you could technically crochet with a ridged, corduroy-like effect in thicker yarn, I wanted to really mimic the fabric as much as possible. To do this, I chose to work with lace weight yarn so that my resulting “fabric” wouldn’t be too thick and the ribbing pattern would look nice and tight. In short, the end product looks very realistically like corduroy, it’s just softer.
Using such a small yarn means that the pattern grows rather slowly, but it’s worth it in my opinion.
You can check out some lace weight yarns here, and pick whatever color you would like. I chose to use a basic acrylic yarn that I already had in my “stash” because the color was perfect for a traditional corduroy look. Whatever you choose, know that if you want to make the same little crochet corduroy project that I did(napkin rings), then you will probably have plenty of yardage left over. The rings don’t use much at all!
Pattern for Crocheting Corduroy
Since corduroy is a very tightly ridged fabric, mimicking it in crochet meant working with a ribbing pattern. Simply working in a pattern of alternating front and back post stitches makes the ribbing a bit tighter than other ways of crocheting ribbing, so this is what I utilize in my project and what I’ll do again for any other project that I want to give a corduroy look to.
To make the work even tighter, I am working in half double crochet stitches (hdc) rather than a taller stitch. I suppose this could be tried with single crochet stitches(sc) but that would work up VERY slowly in such thin yarn.
If you need a refresher on half double crochet or haven’t tried it before, you can see the full tutorial for hdc here.
Video Demonstration
You can see a demonstration of my corduroy crochet pattern by watching me work on my swatch in this video. Then, take your own try by working on your own napkin rings!
(If you’d like to download this pattern for yourself, there’s a way to do that at the bottom of the post).
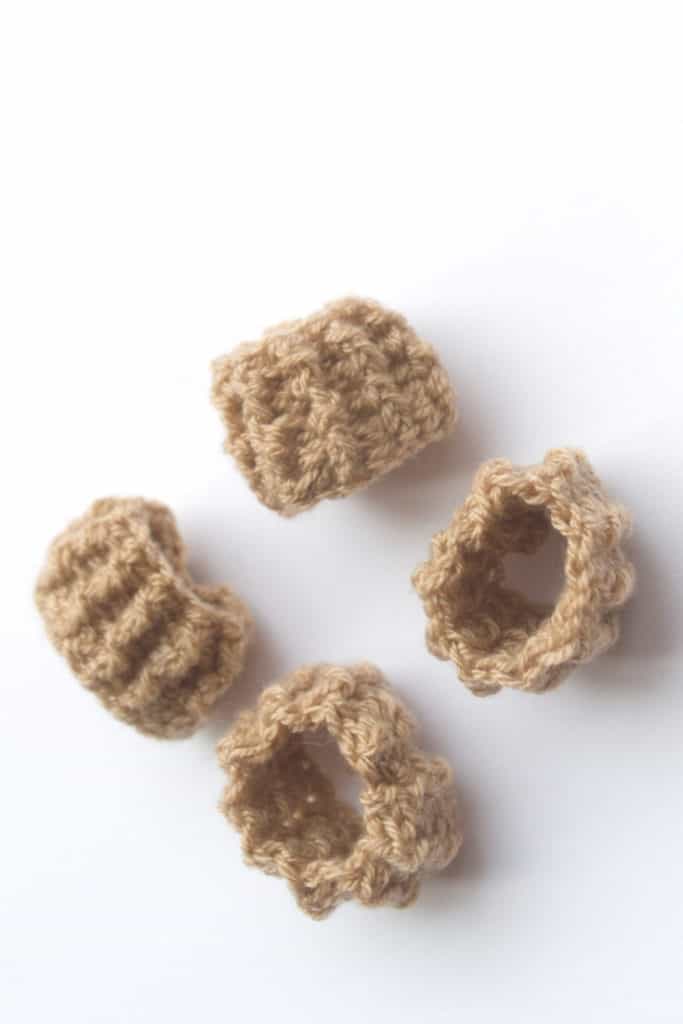
Example Project: Corduroy Napkin Rings
You can follow these instructions to make your own “corduroy” napkin rings. After the first row they work up very quickly.
Materials
- Lace weight yarn (just a few yards for each ring)
- Size C crochet hook
Abbreviation Used
- CH – chain (yarn over, pull loop through)
- HDC – half double crochet(yarn over, insert hook, yarn over, draw up a loop, yarn over, and draw through three loops)
- ST/STS – stitch/stitches
Directions
Row 1: chain 22 and work a Hdc into the second chain. Hdc across (20 stitches).
Alternatively, you can simply work 20 foundation Hdc stitches.
Chain one and turn your work
Rows 2-5 : Hdc 1 normally (in the top of the stitch). Now for the next 18 stitches, alternate between front post Hdc stitches and back post Hdc stitches (FPhdc and no Hdc). This creates the beautiful ribbed look).
Finish with another normal Hdc stitch.
Chain one and turn(except for the last row).
To finish, simply seam up the two narrow sides to create the napkin ring. I like to do this starting where my yarn already is and just slip stitch down the side.
Since this is such thin yarn, I find it works well to tie the two ends of yarn together and simply trim the ends close(rather than try to weave the ends in).
Make as many of these as you need, and enjoy!
Notes
Don’t worry if your sides are a little uneven-seaming the napkin holders will hide that as long as there’s not a huge variation in your stitch numbers from row to row.
May you have a wonderful rest of this season, and enjoy your creative time. Take time to enjoy your skills and learning new things whether you are working on something like these little napkin rings for your home, whipping up a gift, or creating something beautiful for yourself.
Keep the crafting delightful!
Amelia
Crocheting with a corduroy effect is a fun way to get crafty with this trend and create a nice soft final product!