
This Crochet Wreath is perfect for laid-back summer crocheting, with multiple quick patterns that you can mix and match.
Welcome to Amelia Makes’ beautiful Floral Wreath.
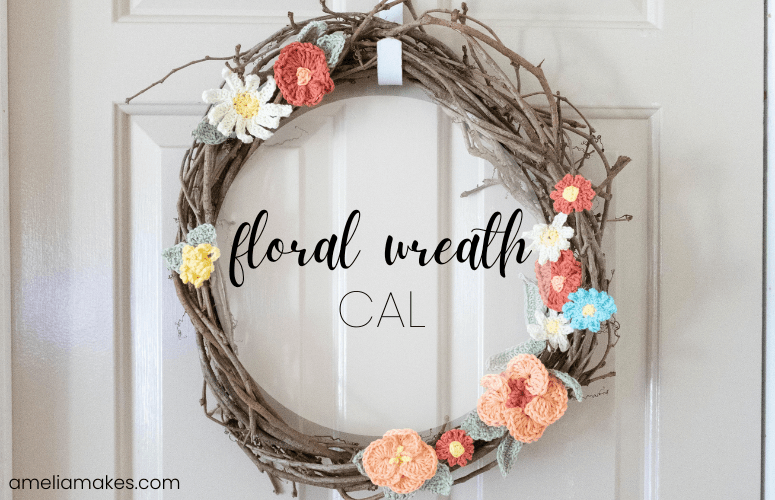
You can find all of the links to the different CAL patterns below, as well as all the other information you need to get started.
About The Crochet Floral Wreath
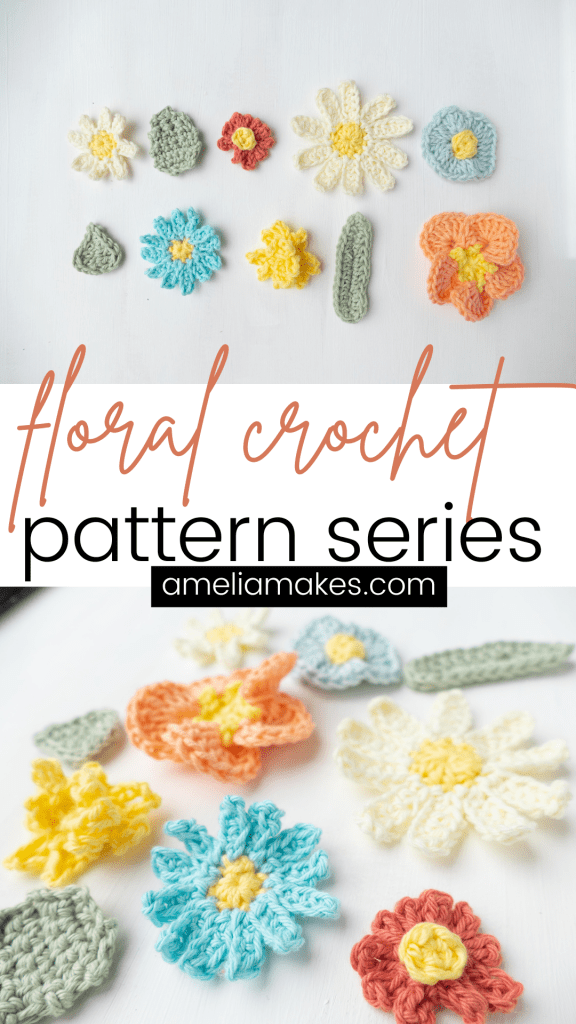
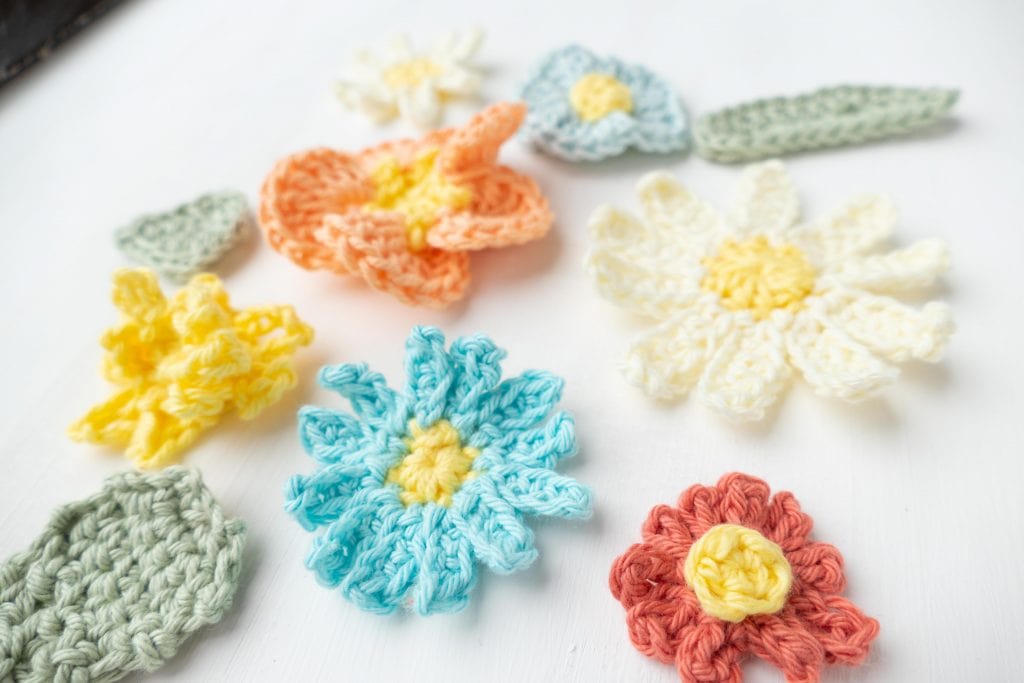
This CAL will feature 10 individual patterns for flowers and leaves. I absolutely love these patterns because these flowers are bursting with beautiful colors and makes me feel like it’s the start of summer!
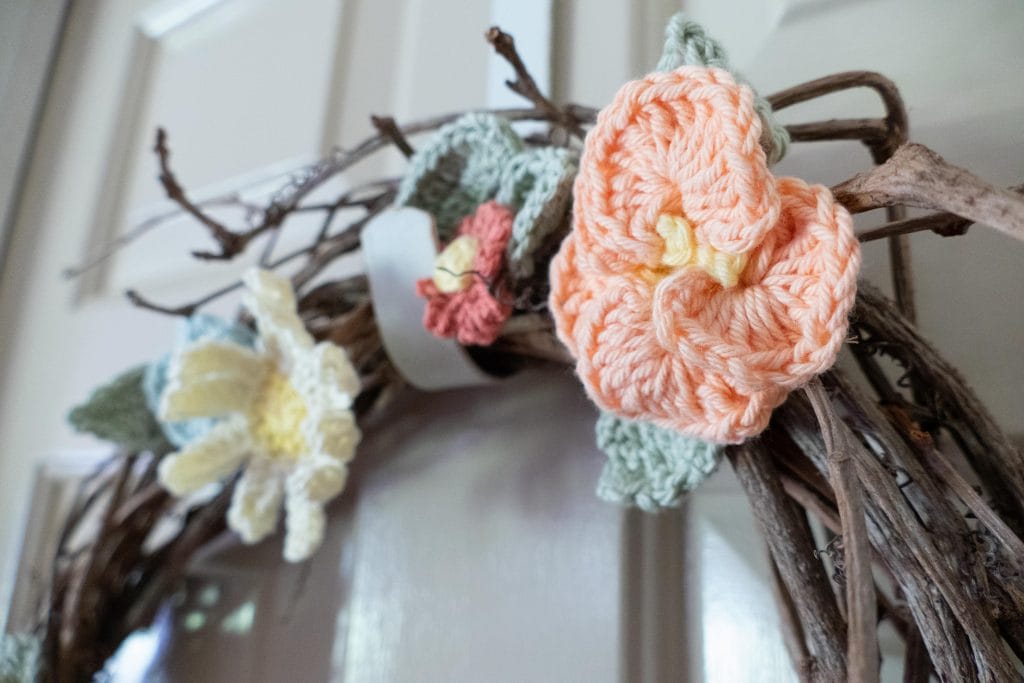
I love coming home and seeing my wreath decorated with all the crochet flowers. And the best part is, you can customize it however you like!
These are great for embellishing any project you desire. Or, you can also connect them together.
Prefer the PDF Version?
Grab the ad-free, printable PDF patterns of ALL my flower designs.
You can view it on your computer, phone or tablet or download and print it at home.
Skill Level
For the most part, advanced beginners and beyond should have no trouble for this project. But you can get a better idea by looking at the stitches used in the abbreviations list for a particular part.
Please refer to the post for each pattern to see what stitches and skills are involved with making it.
Gauge
Matching gauge is NOT critical for taking part in this CAL or creating any of the designs. However, I know many of you want ALL the details for how my example wreath was made, so that you can get the best idea for how yours may turn out if you do x and y differently (use a different type of yarn, a different size wreath, etc.). In the creation process I am using dk/light weight yarn and an E hook. Whatever type or weight of yarn you decide to use, tighter stitches tend to do better.
With all that said, the “official gauge for these patterns is 10 rows and 9 stitches for 2x2in using dk yarn and an e/3.5mm hook.
Sizing
What makes this such an easygoing CAL is that you can really pick and choose which designs you want to use, and how many flowers and leaves you want to use. Each one ranges from approximately 1.5-3” wide/long in the DK yarn I am using.
You can technically use whatever type of yarn you want to make these flowers. In fact, you may want to experiment with a few different types as the CAL goes along. The designs are all “officially” written for cotton dk yarn, BUT I will also be making some of my own flowers in worsted or aran yarn just to show you a little variety there. The yardage needed is based on using DK weight.
Materials Needed
Having such flexibility with this CAL means that providing a very specific materials list is a bit harder. But, just for the sake of estimating, here’s what you need if you want to make a wreath that has 1-5 of each of the designs:
- A wreath. I’m using a grapevine wreath like this one, but you can certainty use a solid option like the craft foam wreaths as well(just keep in mind that you may want to paint a foam wreath if you’re not planning on covering the entire thing with crochet flowers and leaves).
- About 10-50 yards of yarn for the centers of some flowers, like a yellow, white, brown, etc. Each flower center uses less than a yard so this is very minimal.
- About 60-300 yards total of yarn in your flower colors. This is a great stashbuster project!
- Extra yarn for stitching some things together and/or tying your flowers on to your wreath, OR some good glue.
- Scissors
- A tapestry needle(this is optional, but using a tapestry needle is my favorite way to weave in ends.)
Variation Ideas
Feel free to experiment with lots of different colors and yarn types for this project!
Free VS Paid CAL Components
It may be worth noting that there are both free AND paid aspects to this CAL, so that everyone can participate in a way that works for them.
The first four parts of this CAL are free forever, including the written pattern and video tutorial. They will stay up in their blog posts, and you can reference them at any point. The last 6 parts of the CAL were free on their featured day, and are now available in the Crochet Makers Vault. You can also choose to JUST get this set of 10 patterns in a pdf bundle using the button below:
Links to the CAL Patterns
Okay, so with ALL of that information out of the way, here are ALL the links(as they become available) for the different patterns that make up this CAL:
- Part 1: Mini Daisy 1
- Part 2: Leaf 1 (all of the leaf patterns for this CAL will share a blog post).
- Part 3: Tiny Flower
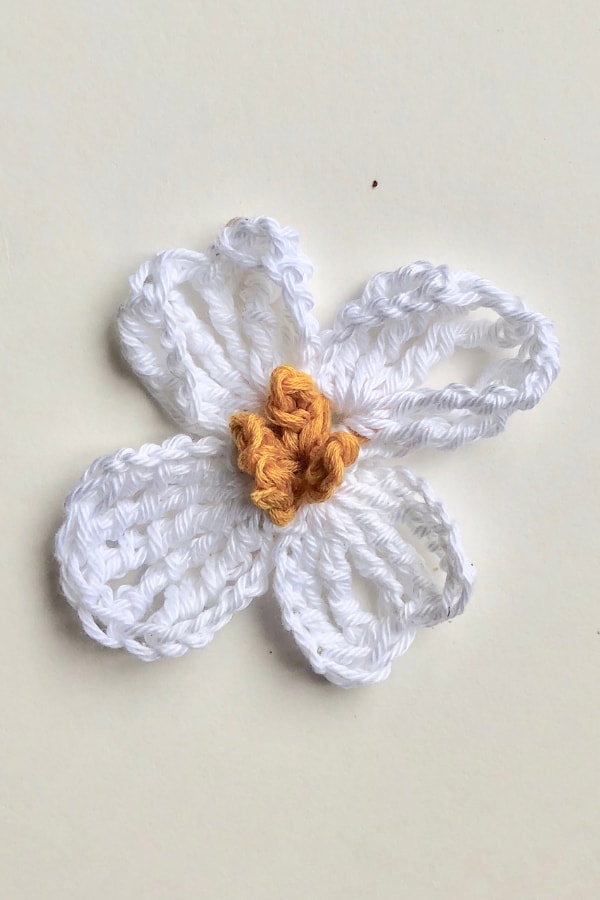
- Part 4: Large Daisy
- Part 5: Crochet Ruffle Flower
- Part 6: Leaf 2
- Part 7: Mini Daisy 2
- Part 8: Crochet Dandylion(aka the Loopy Flower)
- Part 9: Leaf 3
- Part 10: Single Crochet Rose
Wreath Assembly and Hanging
There are three ways that I have experimented with putting the wreath all together: sewing, tying with yarn ends, and glue.
Attaching with Glue
For gluing, I simply used a normal hot glue gun and sticks. This worked well and went very quickly. However, since your wreath may be in the sun make sure you use a glue that will not melt too easily. Mine softened up a little bit in the worst summer days, so using a stronger glue may be more suitable. Glue may also be the only practical way to assemble your wreath if you are using some kind of solid wreath form rather than a grapevine wreath like I’m using here.
Attaching with Yarn Ends
For some flowers, using the yarn ends themselves works very well if you haven’t already woven them in. I tried this using some of the ends towards the centers of the flowers, and it worked particularly well. If you choose to use this method, it’s important to tie the flowers tight enough that each flower will stay in place. If you want, adding a little dot of glue here and there could still reinforce where the blooms are tied on and help them stay in place.
Attaching by Sewing
And finally, if you’re handy with a needle and thread or feel like putting in a few extra minutes to try, you can also sew the elements onto your wreath. You can use actual sewing thread or simply use the same color yarn as your flowers and leaves. However, if you use sewing thread you may be able to stitch along several pieces and attach more than one thing to your wreath before starting with a new piece. As with the end-tying method, you can still feel free to use a little glue to make your pieces extra secure.
However you decide to put your wreath together, when finished it can be hung on a simple wreath hanger indoors or outdoors as part of your favorite summer apartment porch ideas. Then, simply step back and enjoy your DIY welcoming artwork!
Getting Featured:
I always love seeing how fellow crocheters use patterns from Amelia Makes to make their own beautiful projects. And, for this CAL I am particularly excited to be featuring some of you!
So, if you’d like your work to be shown as an example of one or more of these CAL designs, simply fill out this form.
You’ll be prompted to include a picture of your own flower/leaf, or a picture of your own wreath when it’s all done. If you’re featured, I’ll send you a gift just to say “thanks!”
Final Thoughts
It’s been great having you at Amelia Makes today! If you like the look of this CAL but are new to the website, be sure to get on the list for updates and so you can be the first to see new projects just like this one. . Each week I send crochet tips and tutorials, behind-the-scenes info, and other resources for my readers. Plus, as a bonus for signing up you’ll immediately get my mini bundle of surprise patterns straight to your inbox!
Keep the Crafting Delightful!
Amelia
Pingback: Super Quick Crochet Flower-FREE Pattern - Amelia Makes
Pingback: 2-Round Free Crochet Daisy Pattern - Amelia Makes