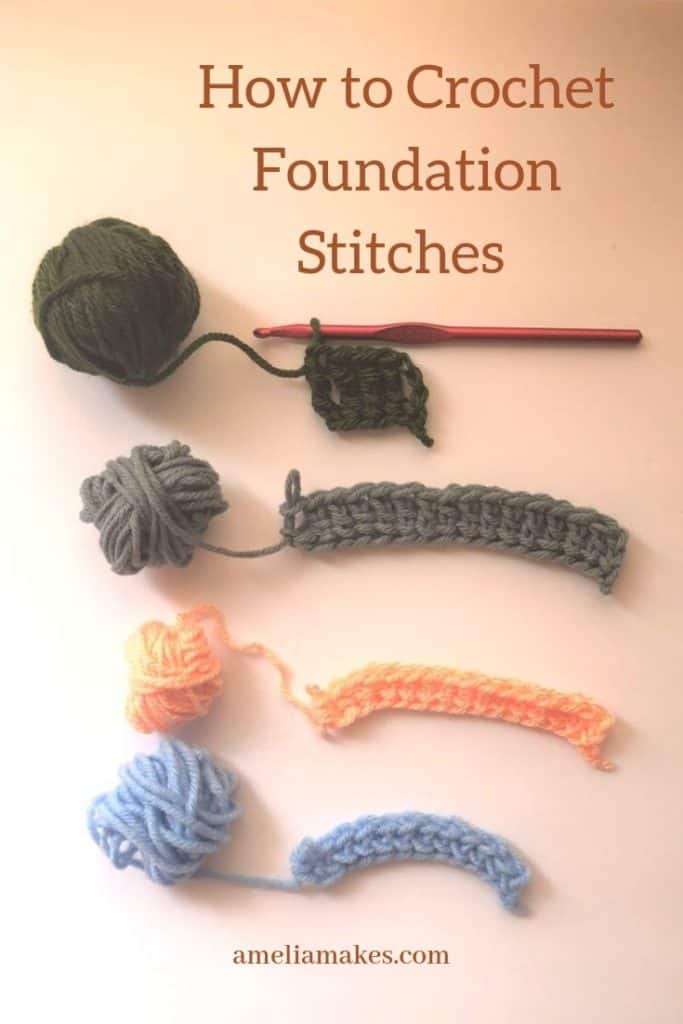
Foundation stitches in crochet are a lesser-known alternative way to start your crochet project.
If you’ve been trying to crochet or have known how to for awhile, you’ve probably already learned that the first row is the hardest.
Oh yes, there may be difficult parts later on in the pattern, but getting that first row set up by working into your chain stitches just tends to be a bit awkward. Thankfully, there’s an easy alternative to the traditional way of working into a chain: Other foundation stitches.
Instead of creating a chain as long as the width of your project and then going back to work into it, foundation stitches actually allow you to go straight into working your first “actual” row of work. This basically eliminates all of the frustrations that can come if you are starting with a long chain. Foundation stitches have a few unique advantages as well.
Foundation stitches can be done in all of the basic stitches: you can have single foundation stitches, half double foundation stitches, double… and so on. Below, I’ll give you more information on why this is such a beneficial technique to try, and then we’ll dive in to how these stitches are actually worked. It seemed like magic to me at first!
If you’d like to go straight to the video demonstration of these foundation stitches(and come back to all these other details later) you can find that towards the bottom of the post.
Benefits of Foundation Stitches
Crocheting with foundation stitches comes with two major benefits: less counting and more stretch.
Less counting and easier counting
There are really a couple of drawbacks that can come up with using the traditional foundation chain. Perhaps the biggest, though, is all of the counting involved. With the foundation chain, you need to count all of the chains that are needed to get started, as well as the stitches in your first row. In the event that your number doesn’t add up(I’m sure I’m not the only one this has happened to), taking that work out can be extremely frustrating, especially if you have a lot of stitches to do.
Side note: Anytime you find yourself having to count a lot of stitches of any kind, stitch markers are the way to go! Putting a stitch marker in your work every ten stitches or so can be a huge time saver!
Since crocheting foundation stitches goes one full stitch at a time-whether its single crochet, double crochet, or something else-that chance of having a mix matched number right at the beginning is totally avoided. You still need to keep track of how many foundation stitches you’ve done, but it’s one set of counting instead of two.
Another drawback to chains that gets avoided is the twisting. Instead of having to hold your chains just right to consistently work your first row in the right place, foundation stitches work a little differently. Although twist is still a possibility, it’s doesn’t take nearly as much concentration to keep your work straight.
STRETCH
But as far as I’m concerned, the biggest advantage to using foundation stitches is the stretch. Using one straight line of chain stitches results in a rigid line of beginning crochet that doesn’t have much give. However, foundation stitches have a good amount of give.
The moderate stretch provided by foundation stitches doesn’t just make the work potentially more comfortable(think garments with edges that have a bit of stretch at the edges rather than don’t), it also makes it easier for the first row of your work match the rest of your rows visually.
How to work foundation stitches in crochet
So now that you know some valid reasons for using foundation stitches, let’s see how they’re worked! All types of foundation stitches get set up with just a few chains, which are then extended from the bottom as you add stitches.
Note: If you need a refresher of how any of these stitches are normally worked, you can check out my overview of basic crochet stitches.
Small starting chain
Depending on which foundation stitch you are doing, usually they start with two to four chain stitches. This is mainly just to provide the height you need for your stitches, just as you could do with any other row.
Adding Stitches
After that, new stitches are begun in your first chain. You may need to yarn over depending on which foundation stitch you are actually doing, but then every version requires that you insert your hook in the first chain that you did and chain two coming out of that bottom point(the video helps to clarify that a lot).
Chaining two creates enough width for new stitches to continually be added, and it also gives foundation stitches that wonderful stretch. After creating the needed width from the bottom of your work, the new stitch is worked normally.
Below you can see my video of these different foundation stitches to just see what I mean by these steps. Then, take a look at the specifics of which version you’d like to try first!
Video Demonstration
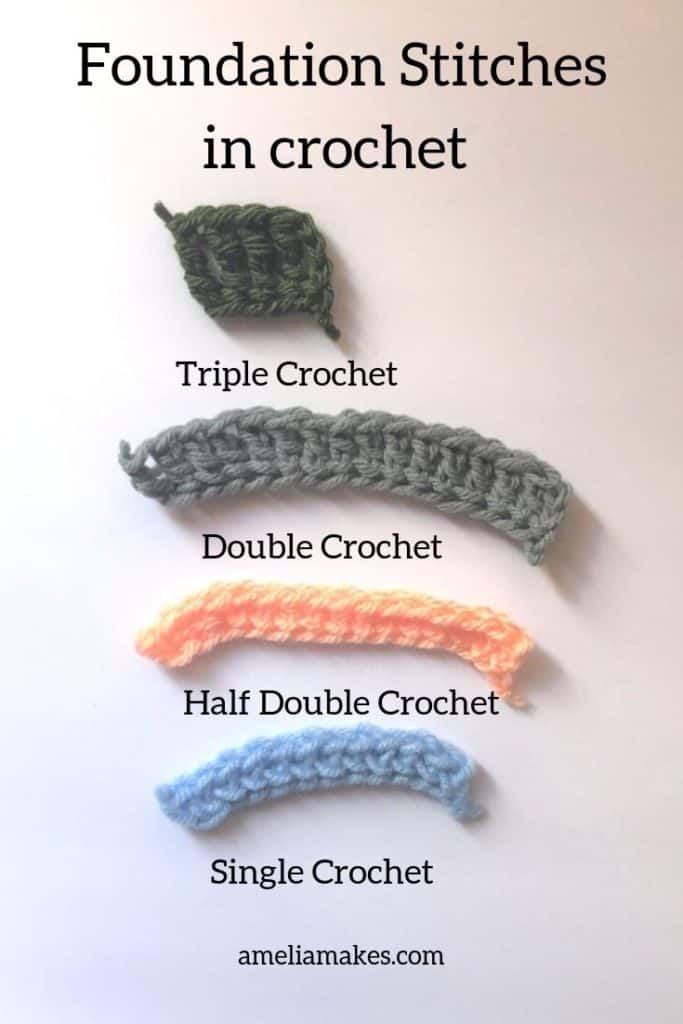
To get a better visual for foundation single crochet, half double crochet, double crochet, and triple crochet, take a look at the video below.
Summary of each type of foundation stitch
Now that we’ve gone over the process of doing foundation chains, lets look at things a little more specifically for each type of stitch. If you are learning how to this for the first time, I would suggest watching a video demonstration(like the one I have below) and then using these written directions as a reference while you keep working.
Single crochet
- For foundation single crochet stitches, start by chaining two. Although you only need two chains, but it may still be easier to use three if you find two difficult.
- Insert your hook in your very first chain(the second chain from your hook, since we don’t count the loop that’s actually on your hook). Chain two by drawing the yarn through there.
- Now, yarn over and finish like a normal single crochet.
- To continue with more stitches, insert your hook into the bottom of that first sc and then repeat the process of chaining two at the bottom before you finish the stitch.
Half Double Crochet
- To work foundation half double crochet, start by chaining three. Yarn over, and then insert your hook in the very first chain.
- Chain two. Now, yarn over one more time and draw your yarn through the other three loops that should be on your hook. The last part is just like finishing a normal half double crochet stitch.
- To continue with each new stitch, yarn over and then insert your hook into the bottom of the previous hdc. Then, repeat the process of chaining two at the bottom before you continue with each stitch.
Double Crochet
- To work foundation double crochet, start by chaining three. Yarn over twice, and then insert your hook in the very first chain.
- Chain two. Now, yarn over one more time and draw your yarn through two loops at a time, until the double crochet is finished.
- To continue with each new stitch, yarn over twice and then insert your hook into the bottom of the previous dc. Then, repeat the process of chaining two at the bottom before you continue with each stitch.
Triple Crochet(and beyond)
- To work foundation triple crochet, start by chaining four. Yarn over three times, and then insert your hook in the very first chain.
- Chain two. Now, yarn over one more time and draw your yarn through two loops at a time, until the triple crochet stitch is finished.
- To continue with each new stitch, yarn over three times and then insert your hook into the bottom of the previous tc. Then, repeat the process of chaining two at the bottom before you continue with each stitch.
Although it is possible to work in larger foundation stitches, I think it would become less practical. However, larger stitches can be done by simply chaining more at the beginning, and then doing more yarn overs before you chain two at the bottom of each stitch.
Final Encouragement
I hope these instructions and the accompanying video have been helpful to you, and that foundation stitches are very clear to you now.
Before you go, make sure to sign up for emails if you would like weekly tips, encouragement, and new project announcements. As a bonus, I’ll send you my master list of 101 crochet ideas!
And finally, don’t forget to pin this for later so you can find it easily!
Keep the crafting delightful,
Amelia
Crocheting with foundation stitches provides more stretch and can be easier than working with chain stitches at the start of a project.