
No matter how patient you are at learning something new, it feels amazingly good to see progress. This is especially true when you learn the Double Crochet Stitch (dc).
With crochet, the first step in learning is to practice the chain stitch, but it isn’t until we start to build on that chain that we start to make an actual piece of crochet “fabric” and our stitches start to look like something.
In this tutorial, we are going to go over the steps for crocheting the “double crochet.” This is one of the most popular crochet stitches and is fun to do!

There are multiple versions of the basic crochet stitch that will grow your work beyond a simple chain. The reason I’m choosing specifically to teach you how to crochet the double crochet stitch is that (a) it goes quickly enough that your progress will be noticeable in a short time and (b) it still doesn’t have a ton of steps and gives you a good starting point to understand other crochet stitches.
Here’s how you get started with double crochet. Right below are the step-by-step instructions, but there is also a video tutorial towards the end.
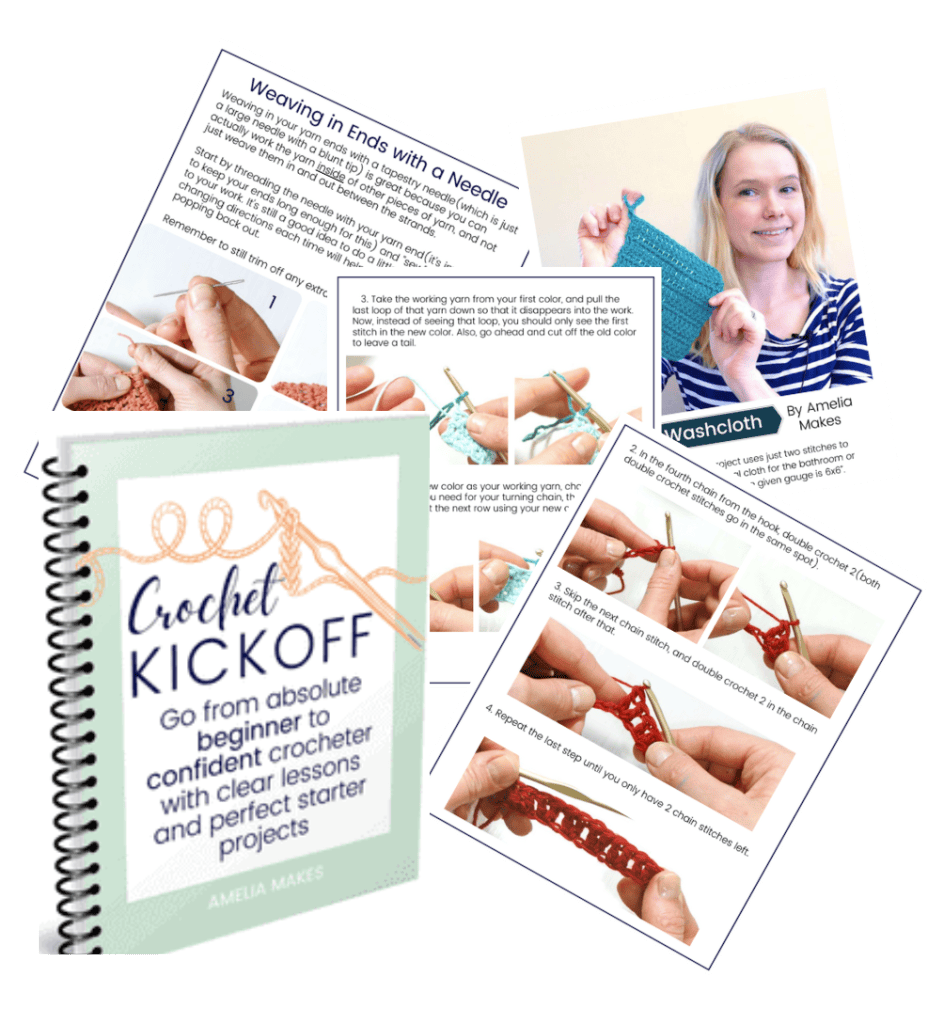
Get My Beginner’s Crochet Ebook!
A detailed beginner’s guide that gives you step-by-step photo tutorials on how to crochet with confidence in just a few days.
How to Double Crochet – Step-by-Step Guide
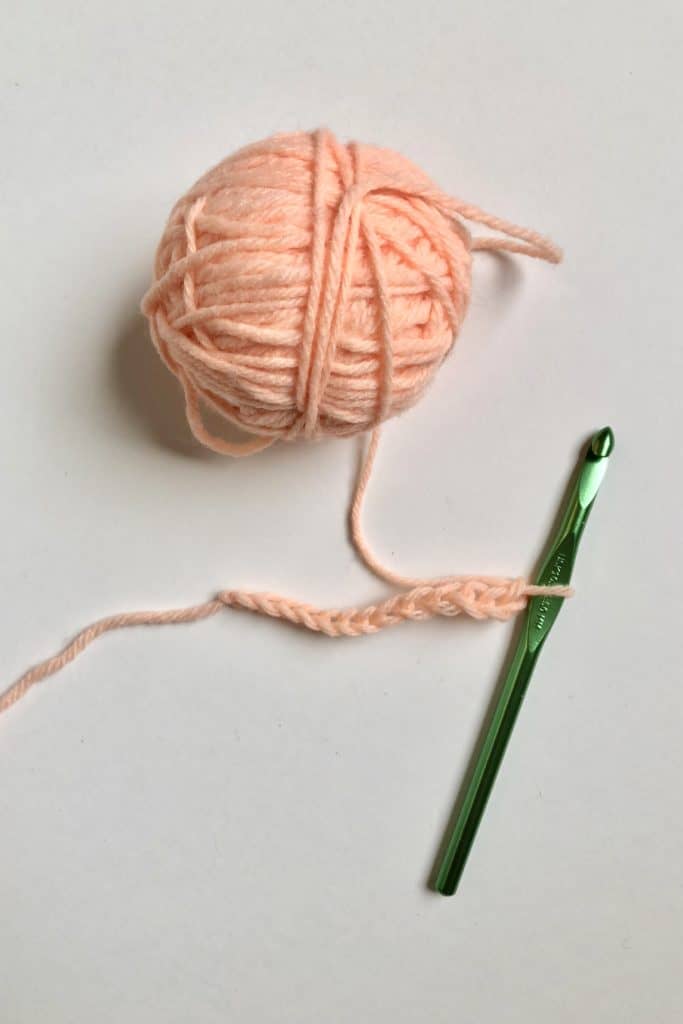
- First, start with your chain. Your chain will need to be as many stitches wide as you want your practice piece to be. Plus, you will also need to add two to that number, because the first two stitches will start off your row of double crochet.
I think that around ten stitches wide is a good starting point for practicing any new stitch, so I made my beginning chain 12 stitches total.
If, for some reason, you choose to start with a different number, just keep it manageable and remember the number of chain stitches you start with.
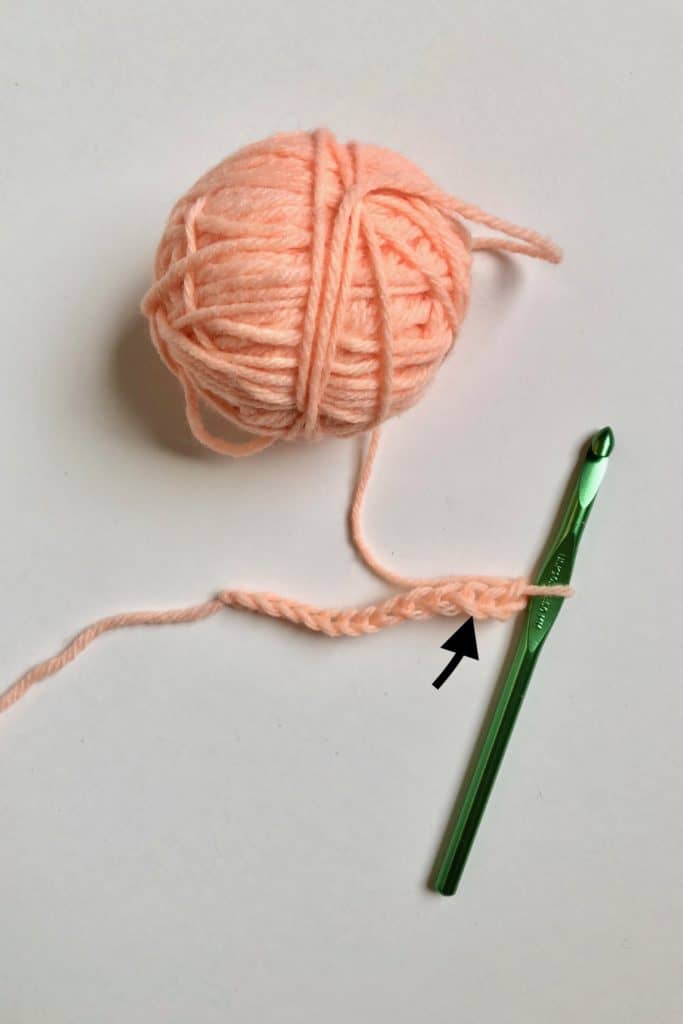
2. Now, look at your chain and count back three stitches from your hook. This does not include the stitch you have on your the hook. This third chain stitch is where you are going to insert your hook in a moment.
If you read the first lesson on how to crochet a chain stitch, you’ll probably remember that I said there are three basic movements or skills involved with crocheting.
The first two crochet skills-looping the yarn and pulling it through-are first accomplished in crocheting the chain stitch. Inserting your hook back into your stitches is the third foundational part of crochet, and it’s coming up now.
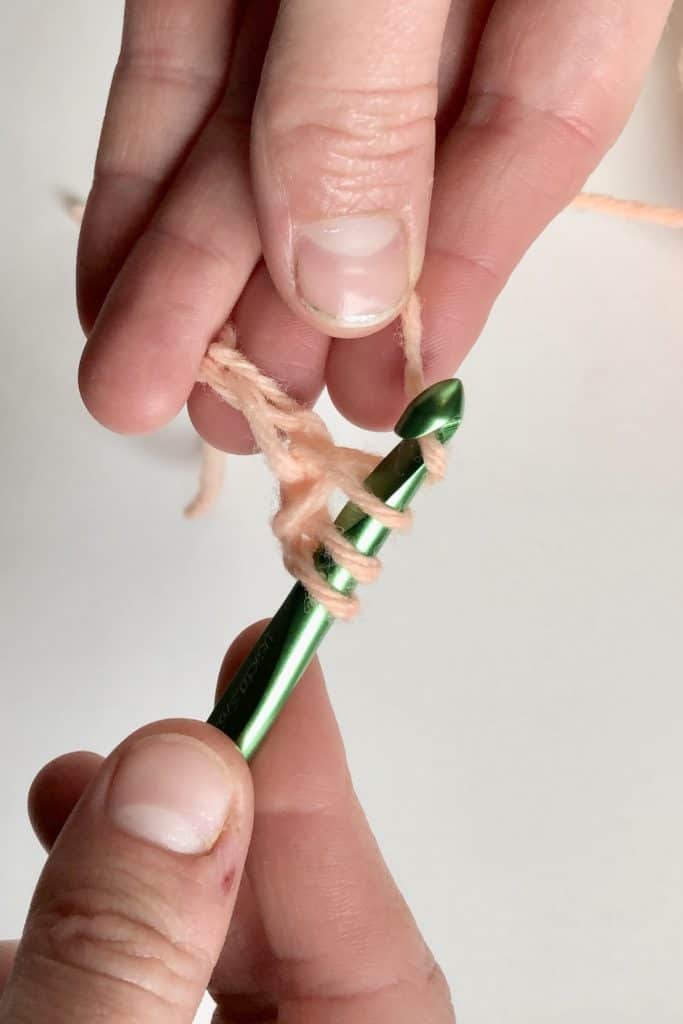
3. Now you are going to yarn over once. Simply loop the yarn over the hook in the same way as you were doing for a chain stitch
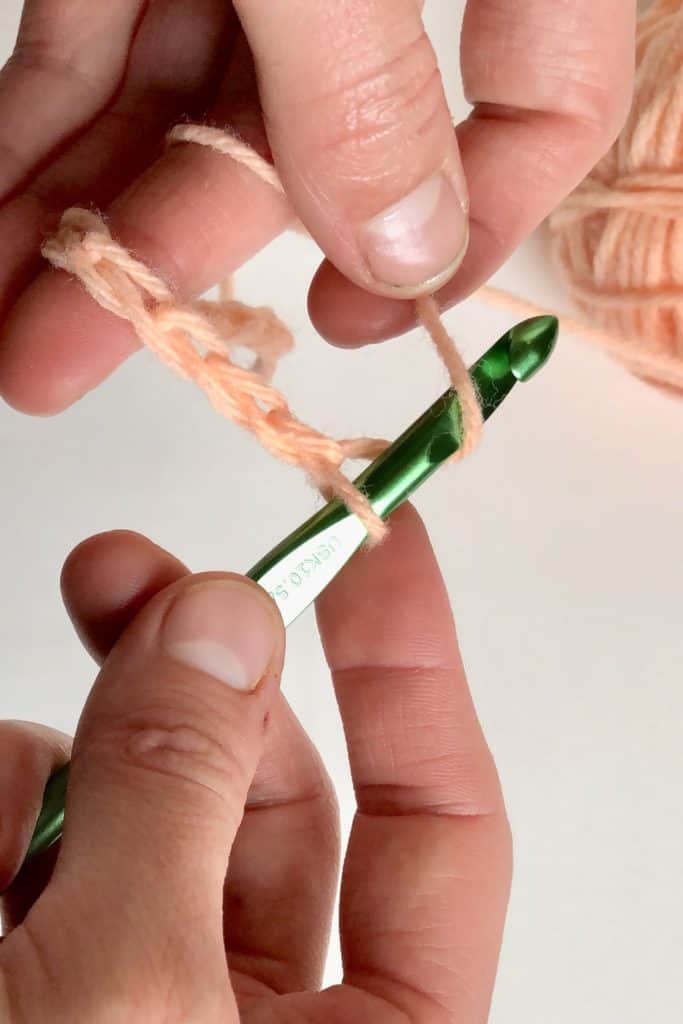
4. Now it is time to Insert your hook. Without losing the “yarn over” that you just put on your hook, put the end of the hook through the third chain stitch that you found a moment ago.

Every chain stitch has three pieces of yarn to it. You’ll see that I inserted my hook under the top two pieces of yarn in the chain stitch, and my hook is above the third one.
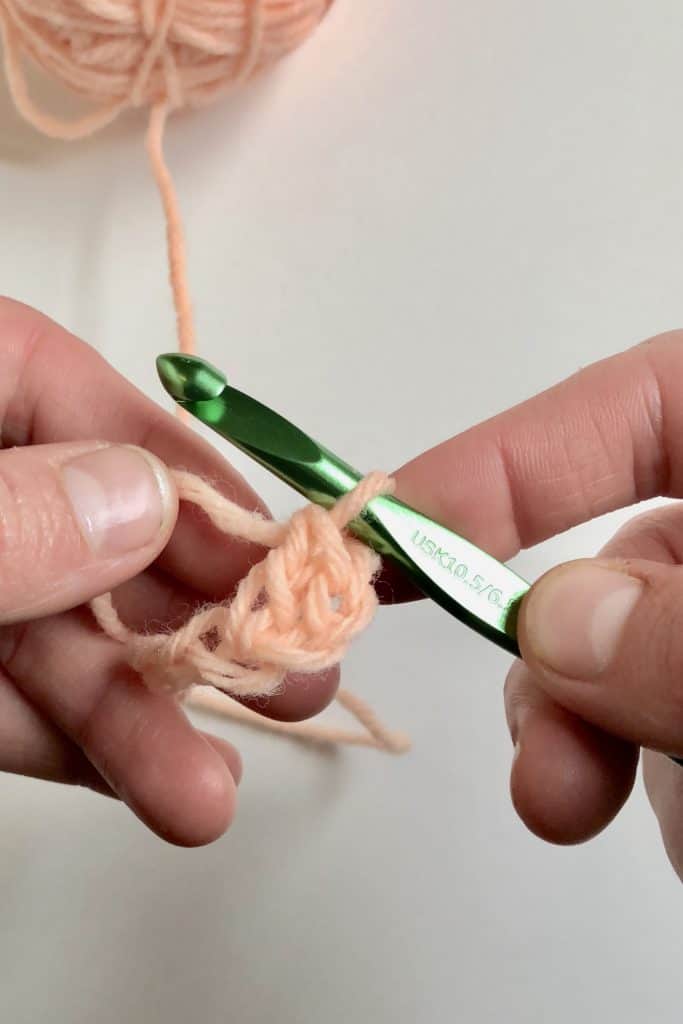
5. With the end of your hook at the back of the stitches, you are going to yarn over again and draw another loop of yarn through.


Now you should have three loops of yarn on your hook: The part you just pulled through, your yarn over that you made in step three, and your last chain stitch.
6. At last, the fun work of completing the stitch begins.
First, you are going to add another yarn over.
Then, draw that yarn over through the next two loops on your hook so that they are worked into the stitch.

Repeat that process one more time by adding one more yarn over and drawing it through the last two extra loops you have on your hook.
It’s a sort of a “two steps forward, one step back” situation.
You should be left with one loop on your hook.
Congratulations! You finished a double crochet stitch (also called dc for short).
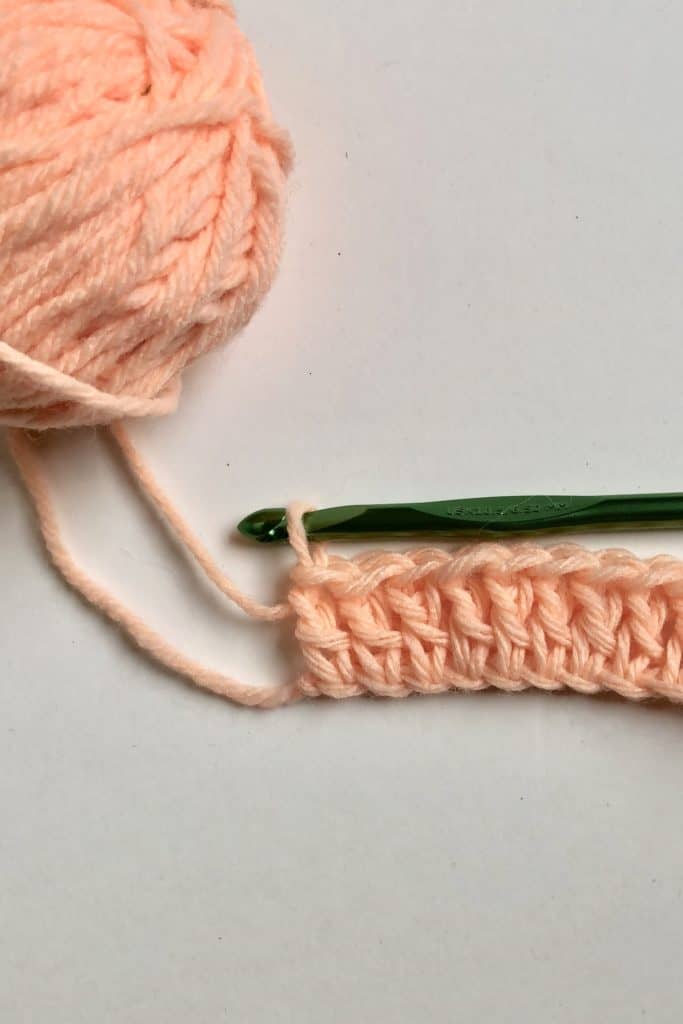
From here, you can start another dc by yarning over again and inserting your hook into the next chain stitch. You can keep repeating these steps across your whole row of chain stitches.

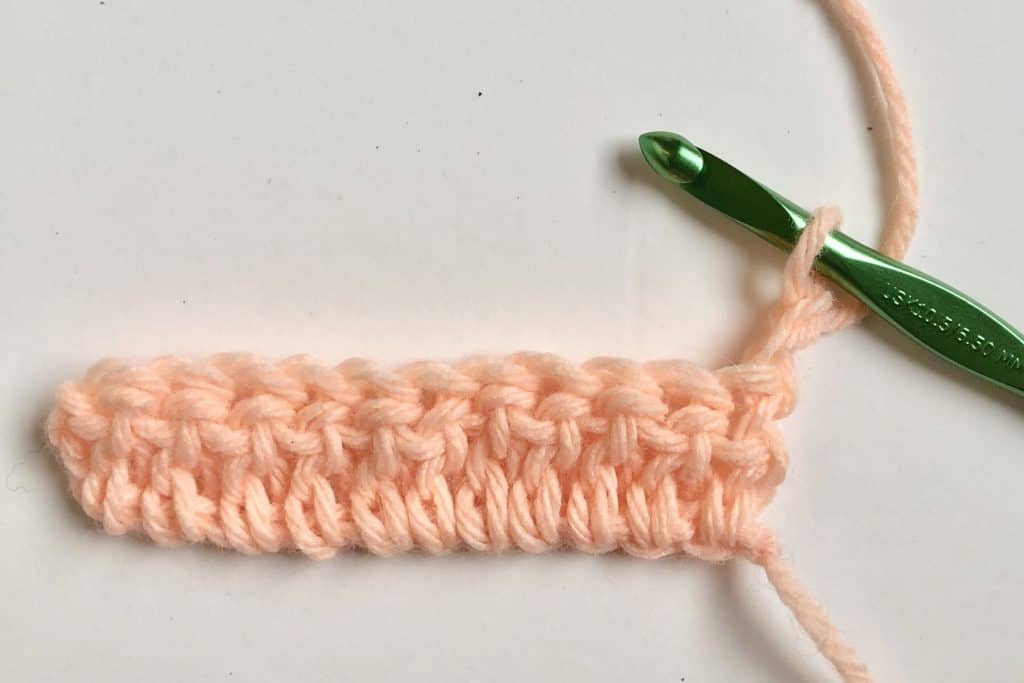
When you are done, you should have a row of dc stitches that looks like this:
Completing More Rows
After your first row, moving on to other rows is very easy:
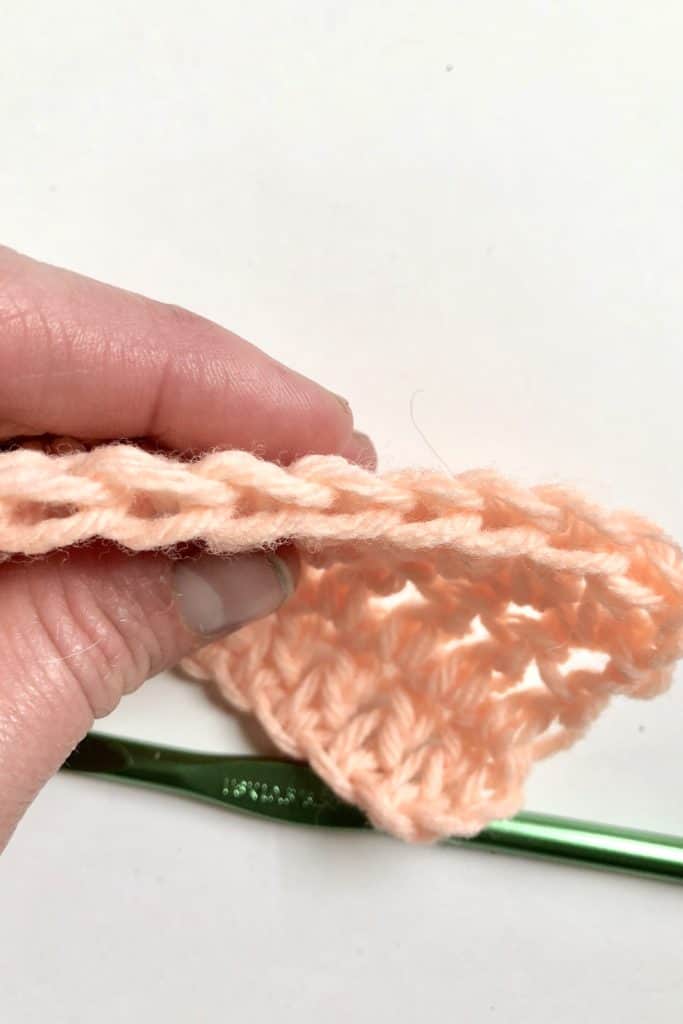
- With your work still facing you as it was for the first row, chain 2(make two chain stitches).
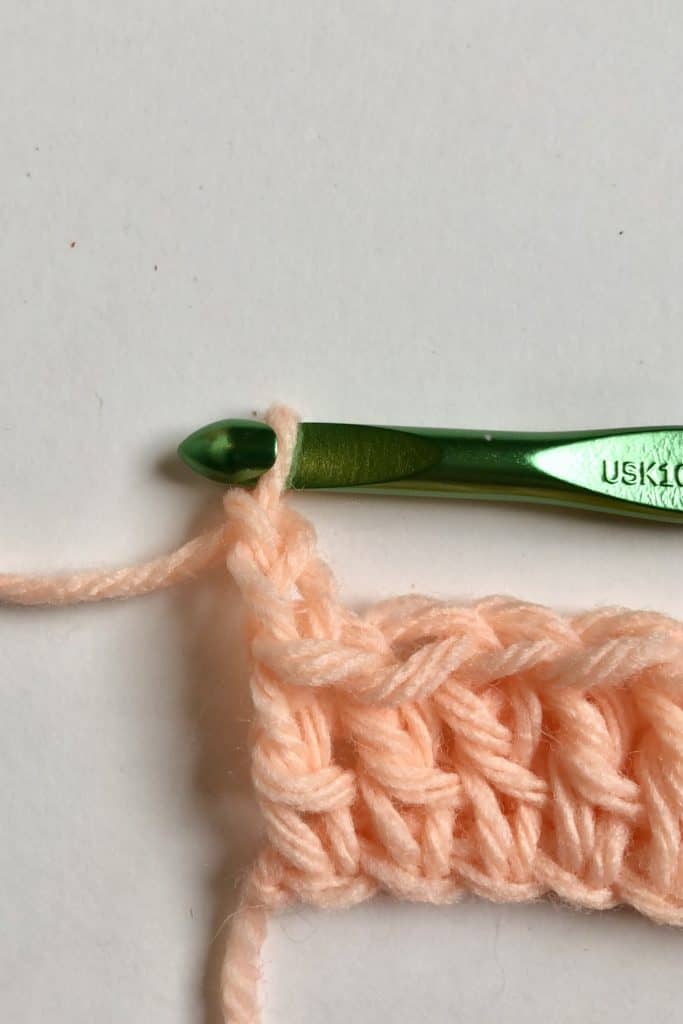
2. Now, turn your work over so your 2 chain stitches are on the right side.
3. Yarn over, and start your double crochet stitches again!
You don’t need to skip any chain stitches now because we have our foundational row already completed. Just insert your hook into the next stitch one at a time (you will be working right into the tops of the stitches you just completed. The top should look exactly like another neat chain ready for you to work into.)
The Double Crochet Stitch Video Tutorial
Here’s the video for you to work along with as well:
Tying It All Together
By the time you start getting comfortable with the double crochet stitch, I hope you are starting to get excited. You may still feel like an absolute beginner with crochet, but in just two lessons you have learned all three of the “essential movements” of how to crochet. Most of what you learn from now on will just build on this.
I’m so proud of you!
If you still haven’t signed up for emails, be sure to do that so that you can continue to learn and build on the skills you’ve learned so far. As a bonus, I’ll send you my master list of 101 crochet ideas right away!
Pinning this page would also be a great way to save this post in case you want to review later.
Keep the crafting delightful,
Amelia
What’s Next?
- Share on Facebook or Instagram: I always love seeing fellow crocheters make my patterns! Tag me when you’ve completed it @ameliamakesblog
- Pin the post: Save this post on your Pinterest board, and get back to it later.
Join my Facebook Group
Share your ideas and pictures on my Facebook Group! This is a small private group of crochet enthusiasts that would love to hear from you!
