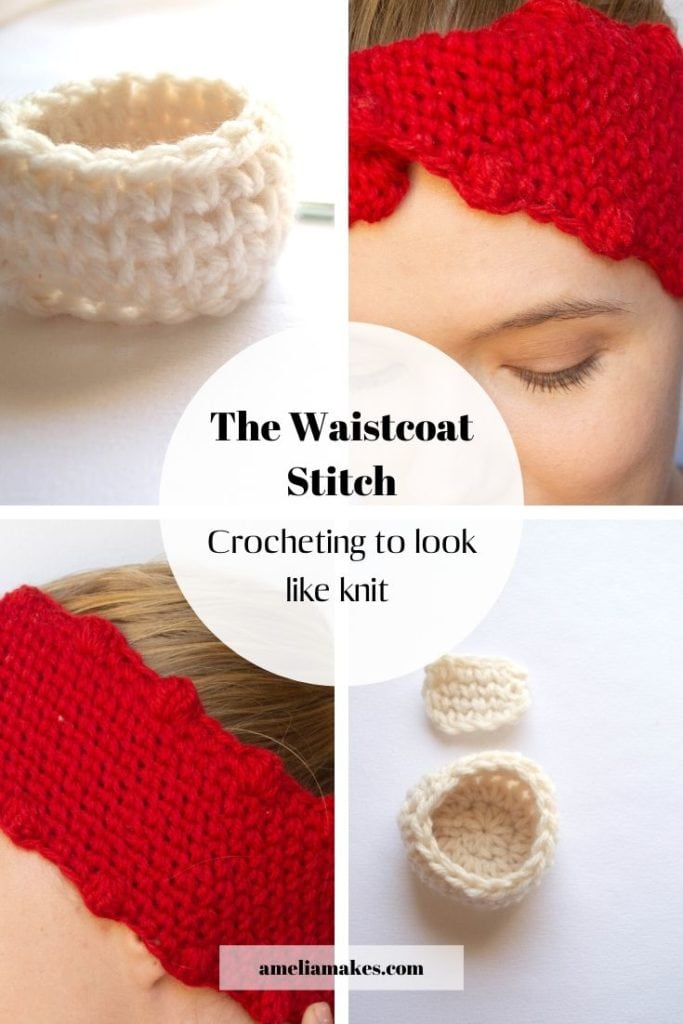
The Waistcoat stitch is a very versatile and useful crochet stitch that requires a simple variation of single crochet with striking results
Today I’m excited to show you a stitch that can be done very simply, but with a really impressive outcome. It’s featured in three upcoming projects that I’m getting ready for you as we speak, so I wanted to give you a chance to get familiar with it before those are published! Below, we’ll be talking about how to crochet the Waistcoat Stitch.
The waistcoat stitch is basically a modified single crochet stitch. In fact, the only real difference is where the hook is inserted. In the Waistcoat stitch, each stitch is worked right through the body of another stitch, rather than through the top of it.
We’ll circle back around to that concept in just a moment, and go over how to work this useful little stitch under two different circumstances.
here’s also a video demonstration with instructions at the end.
Here are some reasons why the “knit stitch” is so nifty:
Characteristics of the Waistcoat Stitch – AKA the Crochet Knit Stitch
The waistcoat stitch is often called the “knit stitch” for good reason. The way that the waistcoat stitch is worked gives the stitches a very chain-like, or interlocking look much like smooth knitting.
(If you like the idea of crochet that looks like knitting, you can also check out this video of another knit-look stitch.)
But besides being a good crochet alternative for those who like the knit look, the waistcoat stitch also has some other strengths when compared to “normal” single crochet.
For one thing, the waistcoat stitch does not stretch as much as single crochet. Due to the stitches being worked together a bit tighter and “overlapping” in a sense, the stitches simply do not give quite as much.
This is nice for projects where the work will be put under some stress regularly, because waistcoat stitch tends to keep its shape better than single crochet rows worked in the normal way.
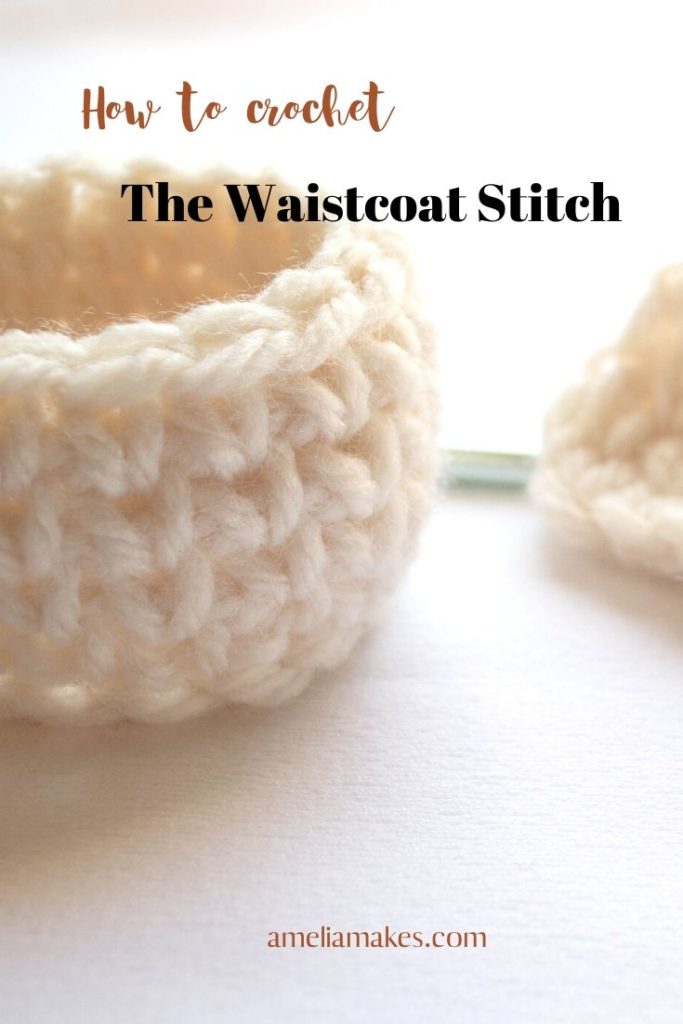
Similarly, this sturdiness of the waistcoat stitch makes it particularly suitable for projects like baskets, where a firm and defined shape is desired. Using a tight gague in waistcoat stitch can allow you to render crochet pieces that are downright architectural.
However, waistcoat stitch can also benefit soft projects, like clothing and accessories. The same process that creates firm and long-wearing baskets can also make soft pieces that lasts longer, because of the smoother texture.
The main difference will simply be that in wearables and other soft projects, the waistcoat stitch will probably be made with a much looser gauge and softer or thinner yarns as well.
And finally, the last benefit I have found to the waistcoat stitch is added warmth and thickness. Although this stitch is not quite as thick as the thermal stitch (which I will create a tutorial for soon) it is thicker than single crochet alone and therefore can be used where a little extra coverage or coziness is desired.
How to Crochet the Waistcoat Stitch Step by Step
So now that you’ve seen the benefits of the Waistcoat stitch, here’s what you need to know to actually work this versatile stitch for yourself:
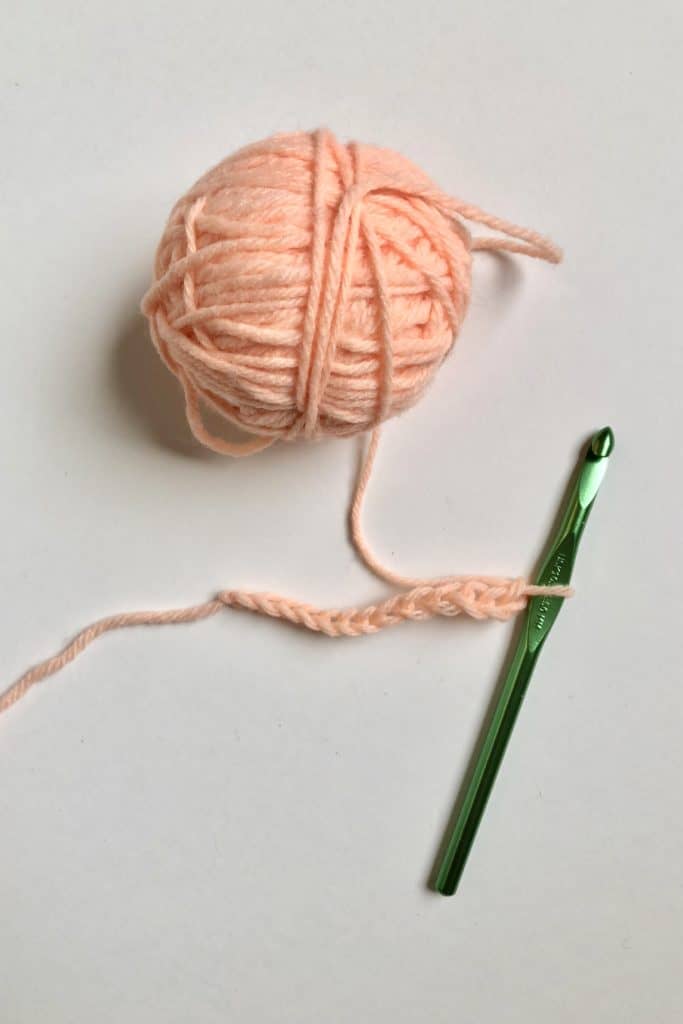
Prerequisite: Steps of Single Crochet
First of all, to work the waistcoat stitch it would probably be best to first learn the single crochet stitch. Many of you reading this will probably already be very familiar with this common stitch. If not, I recommend learning it and practicing single crochet a bit. Not only will this help you overall by knowing a very commonly used stitch in crochet, but it will also make it extremely easy to learn the waistcoat stitch(the only real difference between the two is explained next).
To go back and brush up on single crochet, you can look at my tutorial for that here.
Working into the Stitch Body
Assuming that you are familiar with single crochet, the only thing you need to learn for crocheting the waistcoat stitch is modifying where you insert your hook.
Rather than inserting your hook through the top of a stitch in the previous row(as with normal single crochet) you are going to insert your hook into the very middle of the stitch body instead. More specifically, the waistcoat stitch is accomplished by sticking the hook through what looks like “V” where a previous stitch was made. Depending on whether you are working in rows or in the round, this is going to play out in a slightly different way. Please, please read the next section where I explain the difference between the two.
Waistcoat stitch in rows verses rounds – The differences
As I said above, crocheting the waistcoat stitch means inserting your crochet hook into the body of a previous stitch where it looks like a “V”. However, depending on whether you are working in rows or rounds, the body of the stitch you are working in to may look like a V upside down. Here’s how it works more specifically:
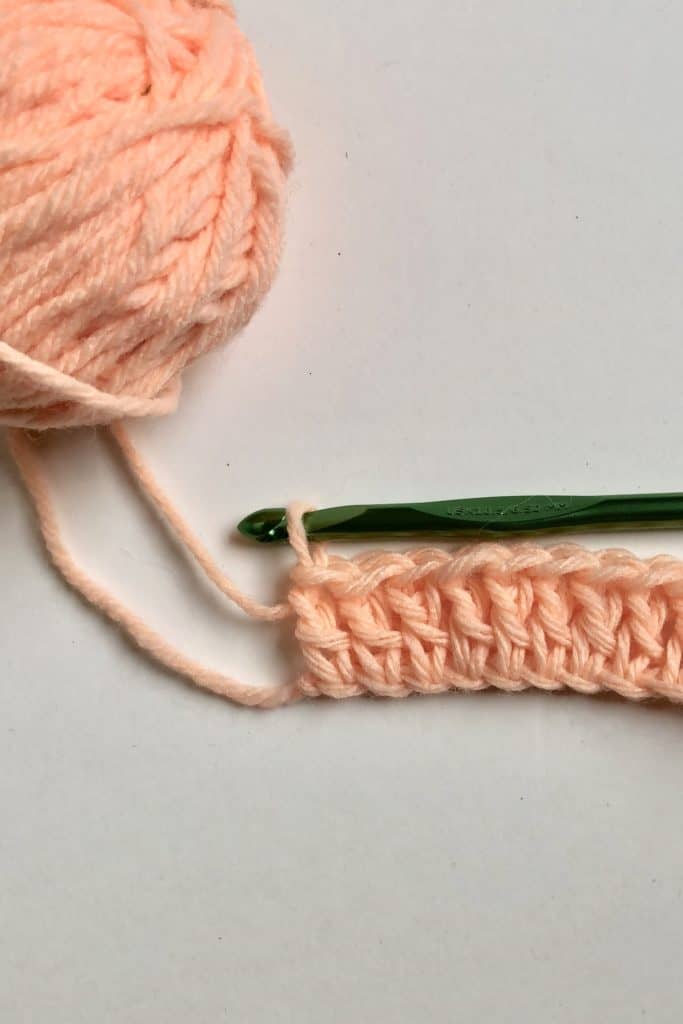
Working the Waistcoat Stitch in Rows
When working in rows crocheting the waistcoat stitch, you will always be working in to the backs of previous stitches. This is because, of course, we typically are going straight across a row and always turning our work at the end of a row.
When you actually do this and look at the stitches, it becomes clear that the body of each previous stitch resembles a V that is upside down. The spaces in-between the stitches may be close enough to look like a right side up V, but don’t let it fool you!
Working the Waistcoat Stitch in Rounds
Now let’s compare this to working the waistcoat stitch in rounds. Working in rounds means that we will always be working into the front of previous stitches. From the front, the stitch bodies actually do look like V’s that are right side up, so the hook needs to be inserted accordingly.
This difference in working waistcoat stitches from the front versus the back of previous stitches gives us a slightly different look in the way the finished stitches come out. You can see this in the pictures, but it probably shows up best at the end of the video:
Video Demonstration
Below you’ll find my video demonstration of working the waistcoat stitch. Included is a nice close up of working the waistcoat stitch in both rows and rounds:
Waistcoat Stitch Projects
I have three projects coming very soon that utilize the waistcoat stitch. All three are cozy winter accessories-two for moms and one for a matching little one!
You can check out the patterns below as they come available:
Final Thoughts
If you’ve found this useful and would like updates on new projects and tutorials, consider signing up for my regular emails. In addition to updates on new content here at Amelia Makes, I also send out regular tips, encouragements, and other things that I think you may find useful.
As a bonus for signing up, I’ll send you my list of 101 crochet ideas free!
Keep the Crafting Delightful!
Amelia
The Waistcoat Stitch offers many benefits in crochet such as a smooth texture, long-lasting wear, and a little extra thickness