Fingerless gloves are one of the easiest and cutest accessories you can crochet. Here, I’ll show you how to make three easy and simple patterns with different stitches to get you started.
“You know those gloves are really easy to crochet, right?”
This question came to me in real life at a craft fair one holiday season, I had just purchased a pair of simple fingerless gloves from another vendor, and the lady in the booth just next to me was wondering why pay money for something I could of made myself.
Fingerless gloves are a very straightforward project, regardless of what stitch pattern or even what yarn you would like to use. For the most part, they are both simple to make and fun to wear.
The one specific pattern that only uses the single crochet stitch is perfect for beginners to get started with.
Now, I had reasons for wanting these gloves anyway, but this other vendor did have a valid point.
Below, you’ll find a quick overview of how fingerless gloves are made, and then three separate patterns so that you can crochet them yourself.
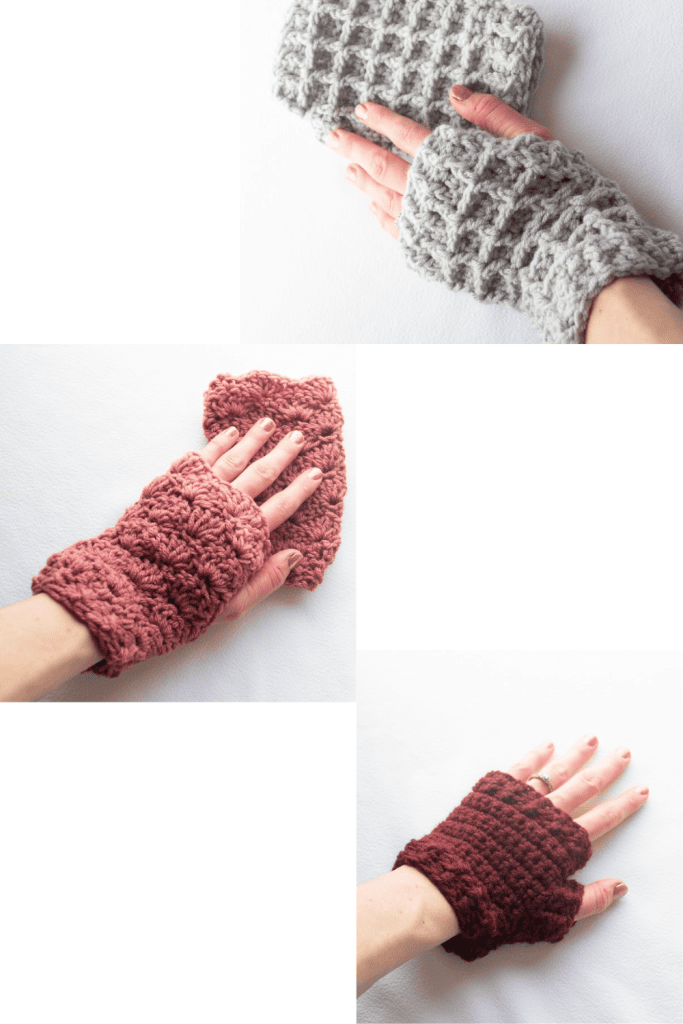
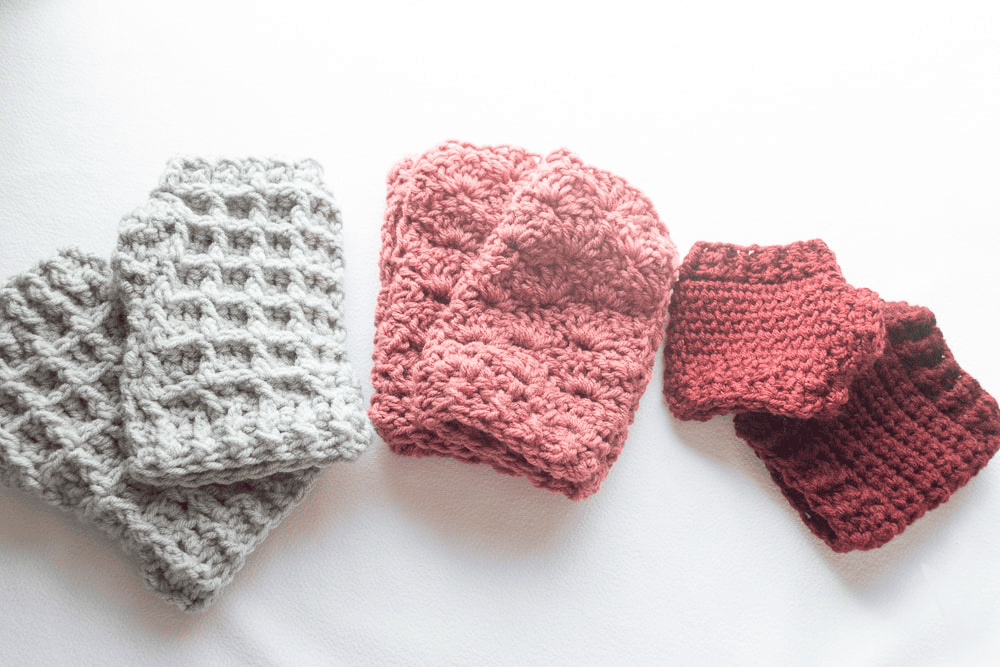
The different stitches for the three gloves include:
And this is why I love crocheting, because every stitch has a unique look and makes each glove look completely different!
Let’s dive in!
(Note: This post contains affiliate links, meaning that if you make a purchase it may benefit me at no extra cost to you. You can read all of my affiliate disclosures and other disclaimers on the disclaimers page. )
Prefer the PDF Version?
Grab the ad-free, printable PDF pattern.
You can view it on your computer, phone or tablet or download and print it at home.
About the Crochet Fingerless Gloves Project
In their most simple form, fingerless gloves can be made out of a crochet rectangle of the right width that is seamed mostly up one side, with an opening left for the thumb. Really, it can be that easy!
To make the gloves a little more fitted, I have added ribbing at the top and bottom of most of the gloves, and a little thumb shaping. I think this makes them a little more appealing and also helps all of the openings to keep their shape. There are only a few extra steps involved with doing it this way, and a few more ends to weave in.
If you would like to try crocheting a pair of fingerless gloves for yourself in a different style or with a different weight yarn, just start with a chain that can go around your hand just above your thumb. At that widest part of your hand, you should be able to bring the ends of the chains together with very little stretch.

Then, add however many “turning chains” you need and start working in rows. Once you have a rectangle that is about as long as you want, decide whether you will add ribbing.
You can add it to that side (whether you’ll call that the top of the glove or the bottom), and then go back and add some on the opposite edge, too.
Then, you can seam up your glove. Just fold your rectangle in half with the right side of your stitches inside and with your ribbing at the opposite openings, use slip stitches to securely seam up most of one side. You’ll want to skip enough space for your thumb to come all the way through, and then add a few more stitches of seaming at the top of the glove.
This is the point where you can add small rounds of ribbing around your thumb opening if you want to.
And finally, once your crocheting is all done for the glove you can weave in the ends (and make the second one!).
I hope you read that and started to get some ideas for textures, colors, and stitches that you just can’t wait to try! However, if you’d like to start with a pattern pre-written for you, below are three original ones to pick from:
My Patterns for Crochet Fingerless Gloves
Below you’ll find all three of my full patterns for different versions of fingerless gloves. The point of having three is not only to give you options for different patterns that you can start right away, but also show you how easy it really is to crochet these in different stitches.
The most simple and beginner-friendly pattern for fingerless gloves is going to be the single crochet version. The waffle stitch and shell stitch versions each have very different textures. There is a lot of variety to pick from but I hope you enjoy making at least one!
For the sake of simplicity, all of these patterns use aran (also called heavy worsted) weight yarn. If you choose to grab the free download that includes all three of these versions, the following abbreviations will also be listed for each pattern.
Here is a total list of all of the abbreviations used:
- Ch-chain
- Sc-single crochet
- Dc-double crochet
- Fpdc and bpdc-front post and back post double crochet
- Hdc-half double crochet
- Ss-slip stitch
You can also check out my tutorial on crocheting the waffle stitch if you would like some extra practice before making the waffle stitch gloves. Regardless of which pattern you decide to make, these will be a great way to keep your hands toasty while still showing off your lovely long or short nail designs.
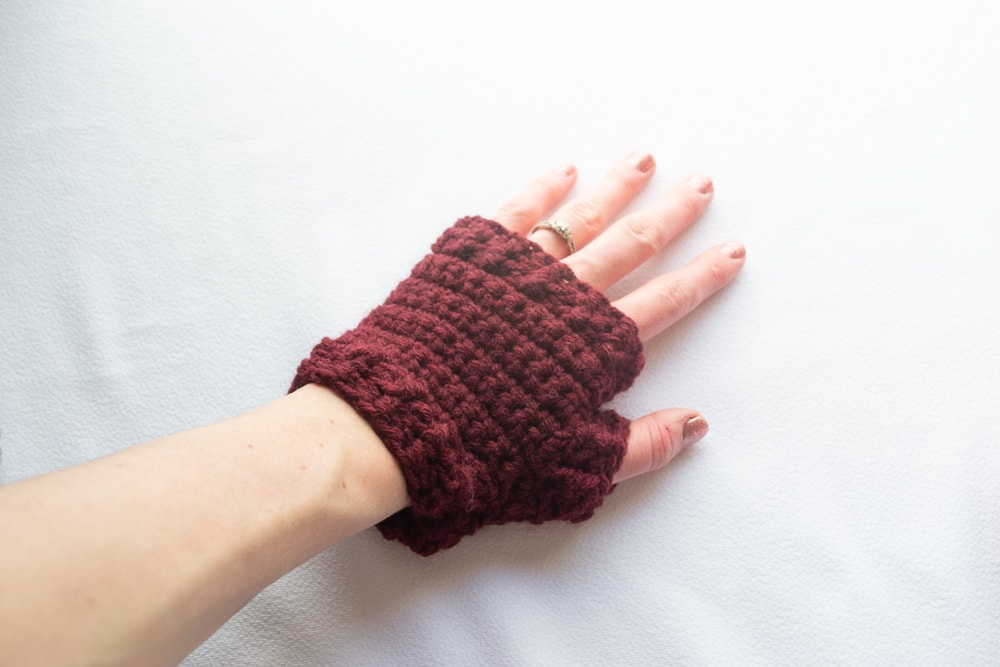
Pattern 1: Fingerless Gloves in Single Crochet Stitch – Great for Beginners
Materials
- Approximately 80 yards of aran yarn for the pair of gloves (more if you want to make longer gloves)
- G hook
Directions
Main glove body
Ch 25
Row 1: skip one chain and sc one in each chain down the rest of the row(24 sts in every row). Ch 1 and turn
Row 2: sc in every stitch. Ch1 and turn.
Repeat row 2 until you have 10 rows total of sc.
Ribbing and Thumb Area
Row 11: Hdc *FPhdc, BPhdc* repeat across row to the last stitch. Hdc. Chain 1 and turn
Row 12: Hdc * BPhdc, FPhdc* repeat across row to the last stitch.
Fold your work with the right side inside, and from where your hook already is, ss the two edges together down the ribbing rows(the last two rows). Bind off with a ss.
Other end:
From either the right or wrong side of your work, start on a corner and repeat rows 11 and 12(this is putting two rows of ribbing on the wrist end).
From the end of your last ribbing row, ss the two edges together up the ribbing rows and the next row as well.
( The remaining gap should be enough for your thumb area to fit comfortably, and even have a little extra space. It will be shaped more next.)
To work ribbing around the thumb, go around the opening with Hdc stitches and then work up to two rounds of ribbing (less if the thumb opening is getting shaped too tightly) as you’ve done at both ends of the glove(using FP and BP stitches). You will need to ss each round (working in small rounds here rather than rows).
When finished with each glove, bind off with a nice tight ss and weave in your ends.
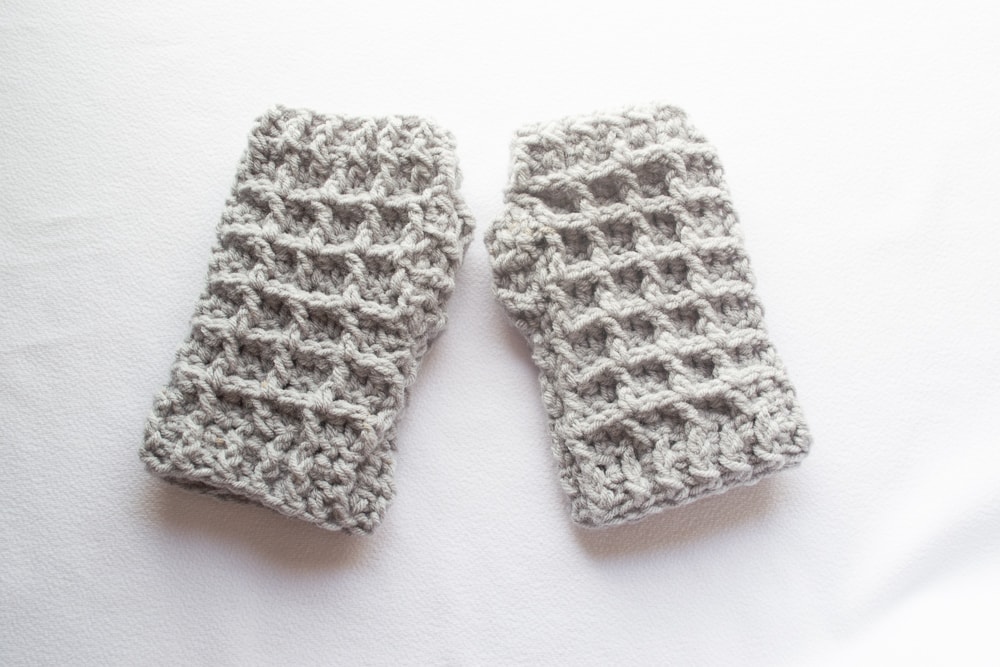
Pattern 2: Fingerless Gloves in Waffle Stitch
Materials
- Approximately 230 yards of aran yarn for both gloves.
- G hook
Directions
Main glove body
Ch 28
Row 1: skip 1 stitch and dc in every other chain. Ch1 and turn. (27 stitches)
Row 2: *dc, FPdc, dc* repeat across the row. Ch1 and turn.
Row 3: *FPhdc, Dc, FPhdc* repeat 6x(7x total). Chain 1 and turn.
Repeat rows 2 and 3 5x for a total of 13 rows
Ribbing
Row 14: Hdc *FPhdc, BPhdc* repeat across row to the last stitch. Hdc. Chain 1 and turn
Row 15: Hdc * BPhdc, FPhdc* repeat across row to the last stitch.
Fold your work with the right side inside, and from where your hook already is, ss the two edges together down the ribbing rows(the last two rows). Bind off with a ss.
Other end:
From either the right or wrong side of your work, start on a corner and repeat rows 14 and 15(this is putting two rows of ribbing on the wrist end).
From the end of your last ribbing row, ss the two edges together up the ribbing rows and about 7 other rows.
(the remaining gap should be enough for your thumb area to fit comfortably. It will be shaped more next.)
Thumb ribbing
Go around thumb opening with Hdc stitches and then work two rounds of ribbing as you’ve done at both ends of the glove(using FP and BP stitches). You will need to ss each round(working in small rounds here rather than rows).
When finished with each glove, bind off with a nice tight ss and weave in your ends.
Pattern 3: Fingerless Gloves in Shell Stitch

Materials
- Approximately 160 yards of aran yarn for both gloves
- G hook
Directions
Main glove body
Ch 32
Row 1: (skip the first 2 ch for the first row only)
Sc *Skip 2ch, dc5, Skip 2ch and sc* Repeat 3x, with your last sc going in to the last chain.
Ch3 and turn.
Row 2: Right there at the edge, dc2 into the top of your sc from row 1. *Sc into the very top/middle stitch of the next shell. Skip 2 ch/find in-between the next two shells and dc5* repeat 2x and then dc3 in the last stitch.
Chain 1 and turn.
Repeat rows 1 and 2 for a total of ten rows. In my gloves, I switched to my lighter colored yarn for rows 9-10.
Fold your work in half and ss the edges together down the last two rows.
Ribbing and Thumb area
On the other end, start on either side and add a row of Hdc. (I ended up getting about 20 Hdc stitches in this row, but I would recommend doing a few more, especially if you decide to make your gloves longer.
Then, add two rows of alternating FPhdc and BP Hdc for 1×1 ribbing.
Seam up the two edges with ss up to about row 5 or 6 of your shell pattern, leaving a few inches for the thumb opening. Bind off with one last ss, and weave in your ends.
Final Thoughts
Whew! Even though these gloves don’t take very long to make, you might be busy for awhile. Not only do these make great quick projects for yourself(you could easily do multiple colors to go with different outfits) they also make fantastic quick gifts and even stash-buster projects!
If you like this project, be sure to get on the list for updates from Amelia Makes. Each week I send out new projects, crochet tips and tutorials, behind-the-scenes info, and other resources for my readers.
Become a Vault Member: The Crochet Maker’s Vault is my exclusive membership for crocheters which allows you to access ALL of my patterns in one place.
Keep the crafting delightful,
Amelia
Taking the time to learn How to Crochet Fingerless Gloves will give you an easy idea for gifts as well as cute accessories for you!