Let’s talk ruffles!
Ruffles are one type of crochet add-on that can allow you to take a very basic pattern and make it more feminine and pretty.
Ruffles have also been trending lately on dresses, tops, and accessories and so learning to crochet ruffles can even allow you to update an existing piece and give it some extra visual interest!
My goal is to make this article’s instructions very straightforward and as easy as possible for you to follow. And five minutes from now, you feel like you can create your own ruffles with no issues.
That’s how easy it is to learn how to crochet ruffles! I’ll even be showing you the different textures and designs ruffles make when crocheted with specific yarns.
Jump to:
- Let’s talk ruffles!
- Free Crochet Ruffle Patterns You Can Try TOday
- Crochet Ruffles Video Tutorial
- What You Need to Know Before Crocheting a Ruffle
- How to Crochet a Ruffle
- Yarn and Hook Size
- adding an afterthought ruffle with surface crochet
- Crochet project ideas with ruffles
- Final Thoughts
- What’s Next?
- Join my Facebook Group
- How to Crochet a Ruffle: Step-by-Step Guide
One quick note though: this article and video do NOT cover how to create ruffles or a ruffle scarf using sashay yarn. While popular, the sashay yarn scarves are not created using traditional crochet stitches, and are kind of their own thing.
Here, you WILL learn how ruffles are made, how to crochet ruffled edging, and be able to follow along creating some with simple stitches so that you can create your own finished products with ruffles wherever you’d like (I’ll also share a very easy and free crochet pattern that you can get started with).
Free Crochet Ruffle Patterns You Can Try TOday
If you’re interested in ruffles, then check out my blog posts on our adorable free patterns that have ruffles!
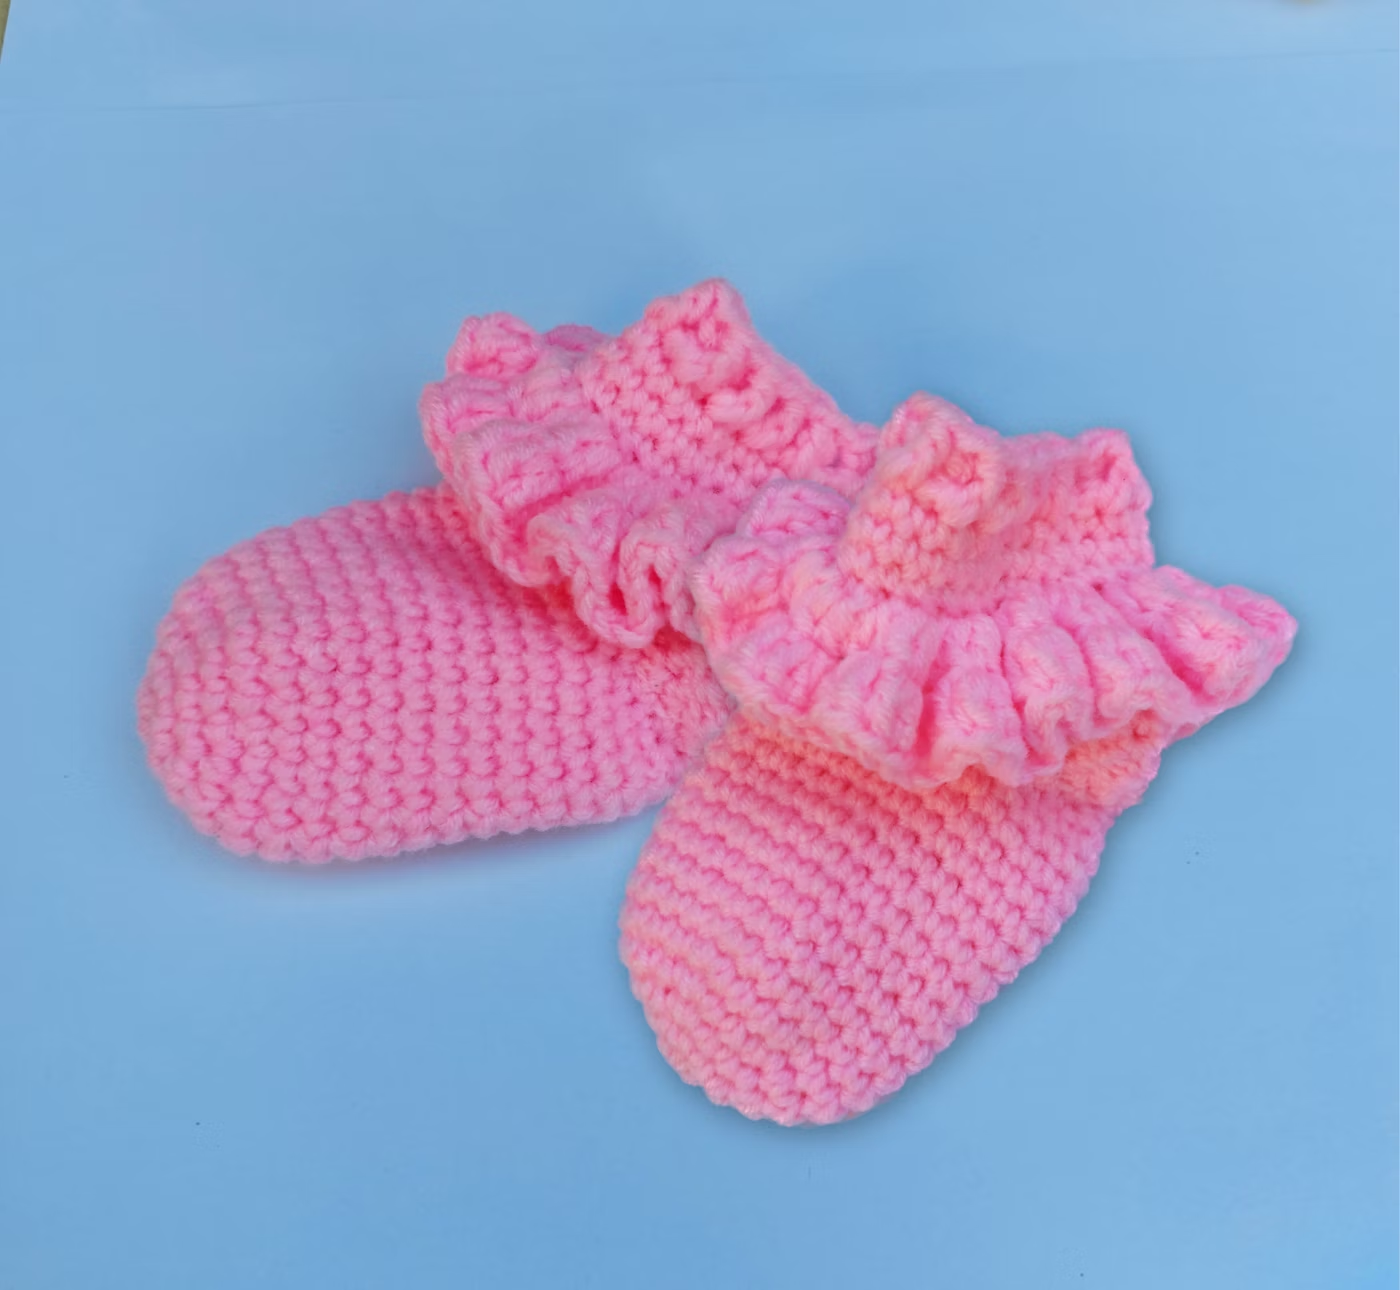
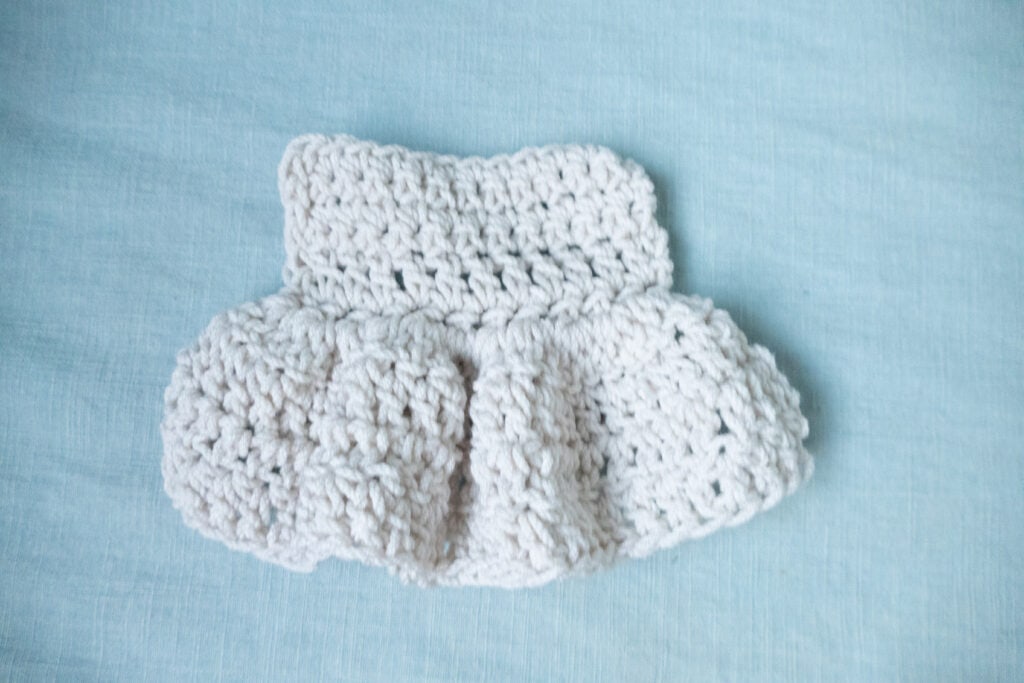
Crochet Baby Socks With Ruffles
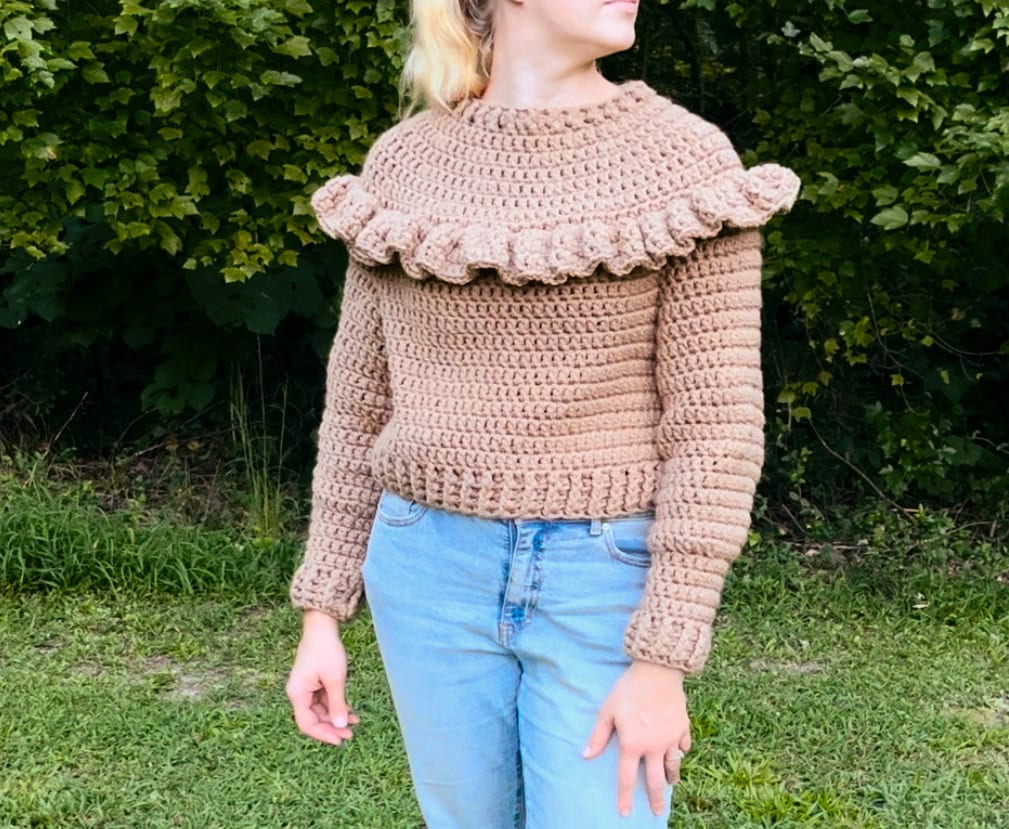
Crochet Gingerbread Sweater with Optional Ruffles
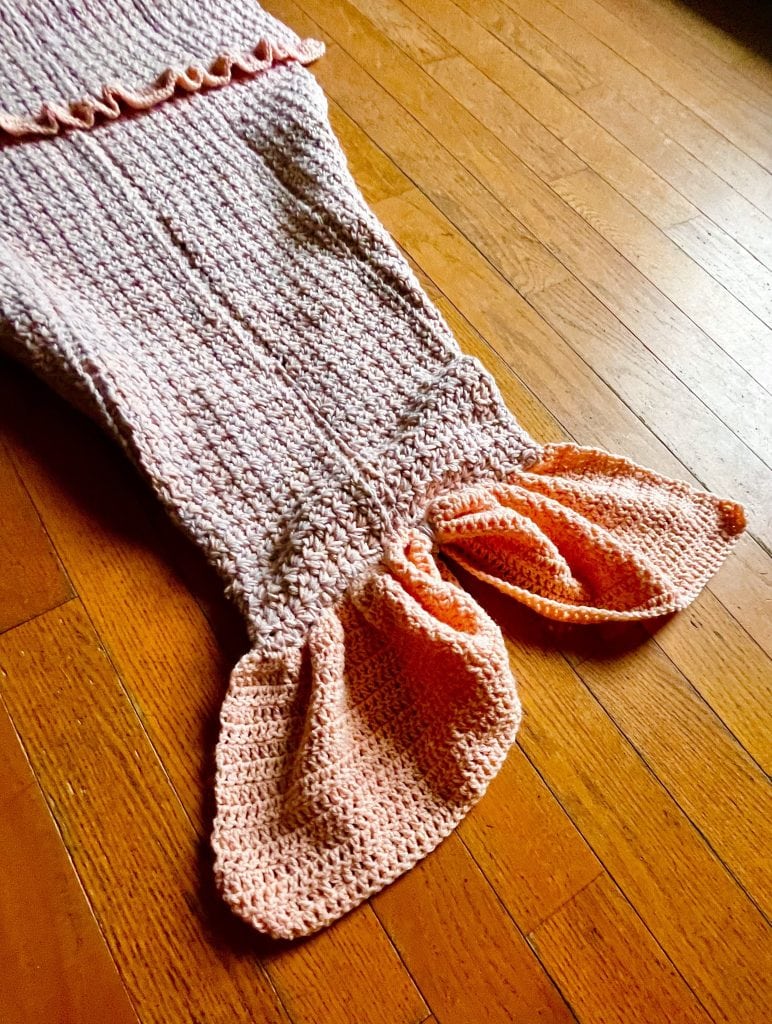
Crochet Mermaid Tail Blanket with Ruffles
Crochet Ruffles Video Tutorial
To see examples of ruffles with different increases and also see a demonstration, check out this quick video I’ve put together:
What You Need to Know Before Crocheting a Ruffle
Before you start crocheting a ruffle, you should know the basic crochet stitches. Crocheting a ruffle is simply a matter of making dramatic increases into your work.
Therefore, it’s best to be comfortable with how increases work. Theoretically, a ruffle can be done in any stitch pattern.
To crochet a ruffle, you need to know how to make increases, which are stitches that add more stitches to your work. There are several types of increases, including single crochet increase, half double crochet increase, double crochet increase, and treble crochet increase. It’s important to note that different types of increases will produce different results, so it’s important to choose the right one for your project.
In addition to knowing how to make increases, you should also be comfortable with working in the round or working in rows. Depending on the project, you may need to work in both styles.
For example, if you’re making a ruffled scarf, you may need to work in rows to create the base of the scarf and then work in the round to create the ruffle.

How to Crochet a Ruffle
Crocheting ruffles comes down to crochet increases. The idea is that to get a ruffle, you simply need to increase your work by a significant amount within a short time.
This will cause your crochet “fabric” to bunch up, resulting in a ruffle. The good thing is that this is very easy to do, no matter what type of yarn or what weight of yarn you are using. Sport-weight yarn, worsted weight yarn, lace yarn to very bulky yarn…it all works.
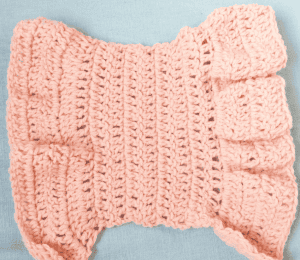
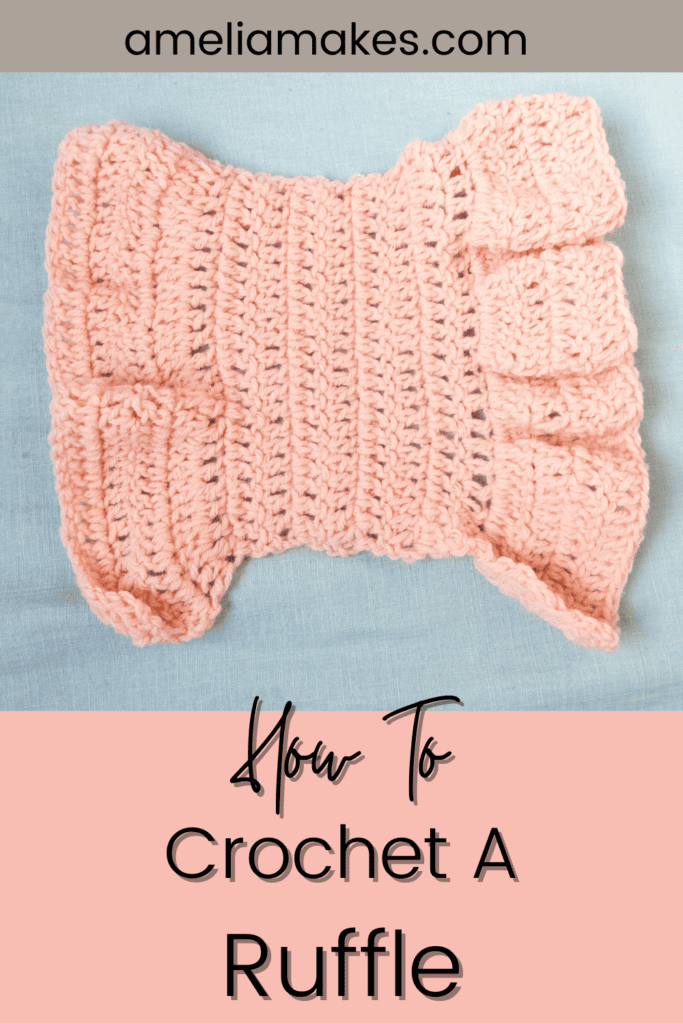
In the video tutorial above and images for this post, medium weight yarns are mainly shown to demonstrate ruffles, including the pink piece below, which is a very common worsted weight yarn crocheted with a 5mm (US H) hook.
Before starting or adding a ruffle to an actual project, you’ll of course need to choose the right yarn and hook size for whatever you are doing.
Yarn and Hook Size
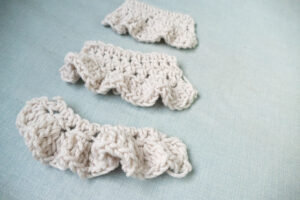
A lightweight yarn will create a delicate ruffle, while a heavier yarn will create a more dramatic effect.
Similarly, a smaller hook size will create tighter stitches and a more defined ruffle, while a larger hook size will create looser stitches and a softer, more flowing ruffle (the differences in how these lay show something that we refer to as “drape”, which ruffles will show off very well).
Basic Instructions for Crocheting Your First Ruffle on the Edge
Okay, so here’s how to get started with this concept and crochet your very first ruffle border. Grab any yarn and a hook that’s compatible with that yarn, and follow along with these 5 easy steps:
- Starting with a slip knot, chain 17. This is your foundation chain.
- Row 1: skip 2 chains and in the 3rd chain from your hook, crochet your first dc(double crochet stitch). Continue to dc in every stitch and after your last dc, you should have 15 total, not counting those skipped chains. ch2 and turn to start your second row.
- Row 2: This is where we are going to do all of our increases to create the ruffle effect. To do this, crochet THREE double crochet stitches into the top of your first dc from the previous row. This means that all three of those stitches go into one place. Into the next stitch, do this again, and repeat for every stitch in the row(if you miss one or two in the course of this row, it’s ok). If you are able to get all of your increases here, you should have 45 stitches total by the end of this second row. ch2 and turn.
- Row 3: If that seemed like a lot, don’t worry! The great thing is that you just did all of the heavy lifting
- Rows 4-6: repeat row 3. You can absolutely keep going and see what your ruffle looks like if you make it wider, but at this point you should have a pretty good idea of how things play out when you do all of those increases for your ruffle and then add some rows onto that to really let the ruffle develop. Your stitch count should still be at 45, or the same as what you had at the end of row 2.
Note: If you haven’t watched the video tutorial above yet, I highly recommend it. It doesn’t show exactly the steps outlined here but within that video I do create the exact same kind of ruffle (with bulky yarn) and also show other examples.
How to Add on a Crochet Ruffle That’s Not on an Edge.
From the above steps, it’s pretty easy to see how you could add a ruffle onto any edge of your work as a continuation of the rows or rounds you are already crocheting. It’s also very easy to add a ruffle onto your existing or finished crochet project on an edge by simply joining on your new yarn. But, what happens if you want to add a ruffle onto an existing piece or to your project somewhere other than on an edge? What then?
Well, one way to add a ruffle anywhere you want is simply to crochet the ruffle on its own and then stitch it onto your piece. This is a fine solution for probably a lot of situations, but the key for doing that would be to make sure that the foundation chain of your work is exactly as long as it needs to be. If you make your ruffle too long or two short, it may create issues.
Another method is very simple and solves that dilemma, but it does involve learning a new skill, called surface crochet. I did a detailed video on how to surface crochet slip stitches on a sweater, so I can add the ruffles to it!
Surface crochet involves using slip stitches (normally abbreviated ss or sl st), to create a line of stitches in your work that look exactly like chain stitches.
The big difference is that surface crochet can be done anywhere (it doesn’t even have to be a straight line), and that each slip stitch is worked from the front side of your work.
Surface crochet is often use to “embroider” Knitting or crochet projects, but it can also create a strong foundation for your ruffle if you want to add one someplace besides an edge.
To do this, simply surface crochet right where you want the ruffle to go, and then without cutting the yarn simply crochet as many chain stitches as you need and go right into the increase row of your ruffle.
After adding as many rows as you need to get the ruffle to the desired length/width, you can bind off and weave in the ends.
adding an afterthought ruffle with surface crochet
Crochet project ideas with ruffles
Now that you know how to create a basic ruffle, it’s good to also know that you can, theoretically, crochet a ruffle in pretty much any stitch or stitch pattern that you want.
Just creating basic, solid ruffles using double crochet or triple crochet opens up a lot of options, but you can also create ruffles with lace stitch patterns, color patterns, or heavily textured stitches as well. Adding a bobbled or scalloped trip to last row of your ruffle as a trim is another way to create even more detail and visual interest.
The possibilities for how you’ll add these to the crochet patterns you find or create really are limitless!
Once you know how to crochet ruffles, it becomes so easy to add them to your projects in a variety of ways. Here are some easy project ideas to get you started:
- Around the edge of a baby blanket: A ruffled edge can add a playful and whimsical touch to a baby blanket or to any small blanket or lovey
- As sleeves on a top: Ruffles can be used to create unique and eye-catching sleeves on a top. This is a great way to add a little bit of femininity to an otherwise basic design. and draw the eyes to a certain part of your creation.
- As a flower
- On the edge of a tablecloth or curtain panel
- around a skirt or dress
- crochet a long ruffle to use as gift ribbon
- Add “stripes” of ruffles along a blanket to make it extra textured.
If you’re itching to create something with ruffles, check back very soon for a free pattern that will let you put this to use in less than half an hour!
Final Thoughts
Crocheting ruffles can add a beautiful and delicate touch to any project. Now that you have learned how to crochet a ruffle, you can use this skill to add a special touch to your next project. Remember to choose the appropriate yarn and hook size for your project to achieve the desired effect. Feel free to experiment and try some fun ideas with this versatile technique.
Crocheting ruffles may take some practice, but with patience and determination, you can master this technique and add a beautiful finishing touch to your crochet projects. If you enjoyed learning this with me, feel free to get on the list to hear about new tutorials and patterns as they become available. As a free gift, I’ll also send you a bundle of 3 popular pattern pdfs.
Keep the crochet delightful,
Amelia
What’s Next?
- Share on Facebook or Instagram: I always love seeing fellow crocheters make my patterns! Tag me when you’ve completed it @ameliamakesblog
- Pin the post: Save this post on your Pinterest board, and get back to it later.
Join my Facebook Group
Share your ideas and pictures on my Facebook Group! This is a small private group of crochet enthusiasts that would love to hear from you!
How to Crochet a Ruffle: Step-by-Step Guide