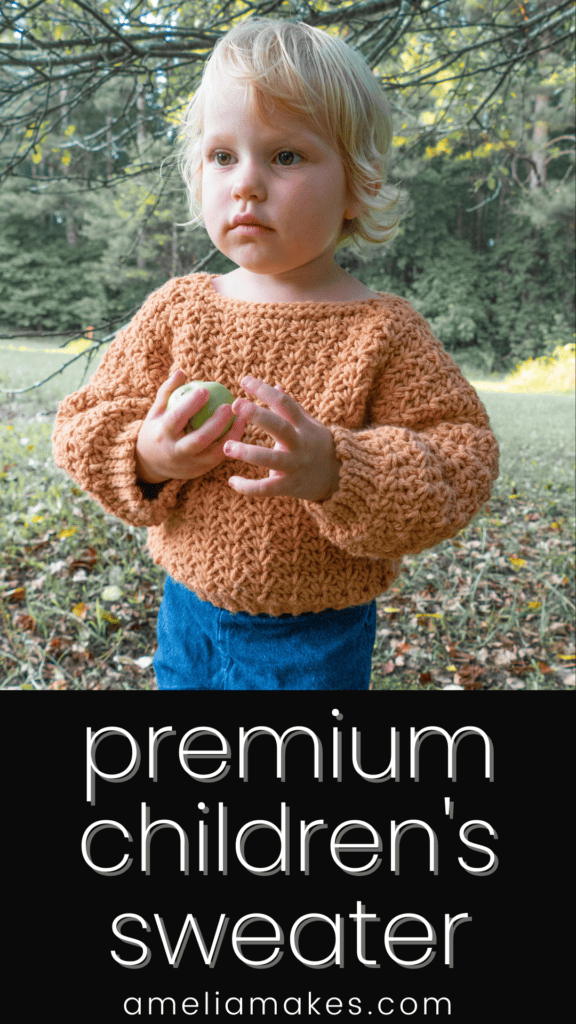
This pullover sweater is a beautiful addition to your child’s wardrobe. This pattern is good for sizes 2 to 10.
Crocheting is a great way to create unique and personalized clothing items, especially for kids. And from the perspective of a gift-giver, crochet sweater patterns are particularly meaningful because it’s a big way to help make your children’s wardrobe more stylish and cozy.
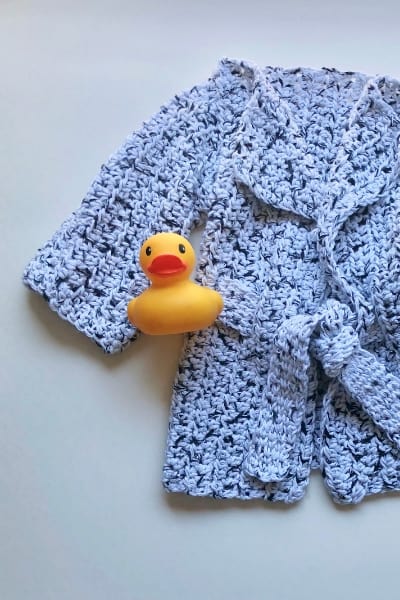
Today, I have the pleasure of bringing you this crochet jumper that uses the beautiful Spider Stitch, which gives it that unique texture, as an option for creating your own classic and warm pullover for the special little humans in your life.
This unisex design is perfect for both boys and girls and features a light textured stitch, boat neck, and sturdy ribbing at the cuffs and waist for a good fit.
Crocheting a sweater for anyone, even a toddler, can seem like a daunting task, but with this pattern I think you’ll find that you can work it up faster than you may think.
Ready for the challenge and reward of crocheting your own child’s sweater? Keep reading below for all of the information and to see if this pattern is right for you.
Important Note: The toddler size 2 is offered as a completely free pattern, but below you can see a detailed pattern outline and see how it all comes together. If you want all the sizes for this pattern, then you can purchase the PDF pattern below!
How To Crochet a Toddler Sweater For Beginners
If you’re a beginner wanting to crochet a simple kids’ jumper, then this is also a great pattern to try out. Even though it uses the spider stitch technique, which is a variation of the single crochet stitch, you can quickly get the hang out it if you’ve mastered the basic stitches.
It’s also a great garment to start off with because it’s made in one piece, which means minimal seaming is required, and you don’t have the hassle of weaving in ends.
A Note on Reading Crochet Patterns
Crochet patterns can seem overwhelming at first, but once you understand the basics, you’ll be able to create beautiful sweaters for kids.
Even if you’re newer to crochet, this could very well be the perfect pattern for a first sweater because of the simple design (no shaping other than with ribbing), all-in-one construction (with only seams at the sides and under the arms), and simply due to the fact that making a child’s sweater will be quicker and possibly more daunting than crocheting the adult sizes.
You can find the abbreviations for all the stitches needed to make this sweater down in the next section. However, if you’d like more background information on pattern reading before you start this cozy crochet sweater, be sure to check out this post.

Prefer the PDF Pattern in All Sizes?
Grab the ad-free, printable PDF pattern.
You can view it on your computer, phone or tablet or download and print it at home.
About the Kids’ Textured Turnover Sweater
The Kids’ Textured Turnover Sweater is actually made all in one piece, including the cuffs, neckline, sleeves, and the main front and back sections. The only things needed after you complete the one large sweater piece are seaming and adding the ribbing around the bottom.
This is a great option if you prefer to do less seaming, and the absence of a lot of seams may also help remove some bulk and make the sweater more comfortable and less of a sensory stimulator to little kids.
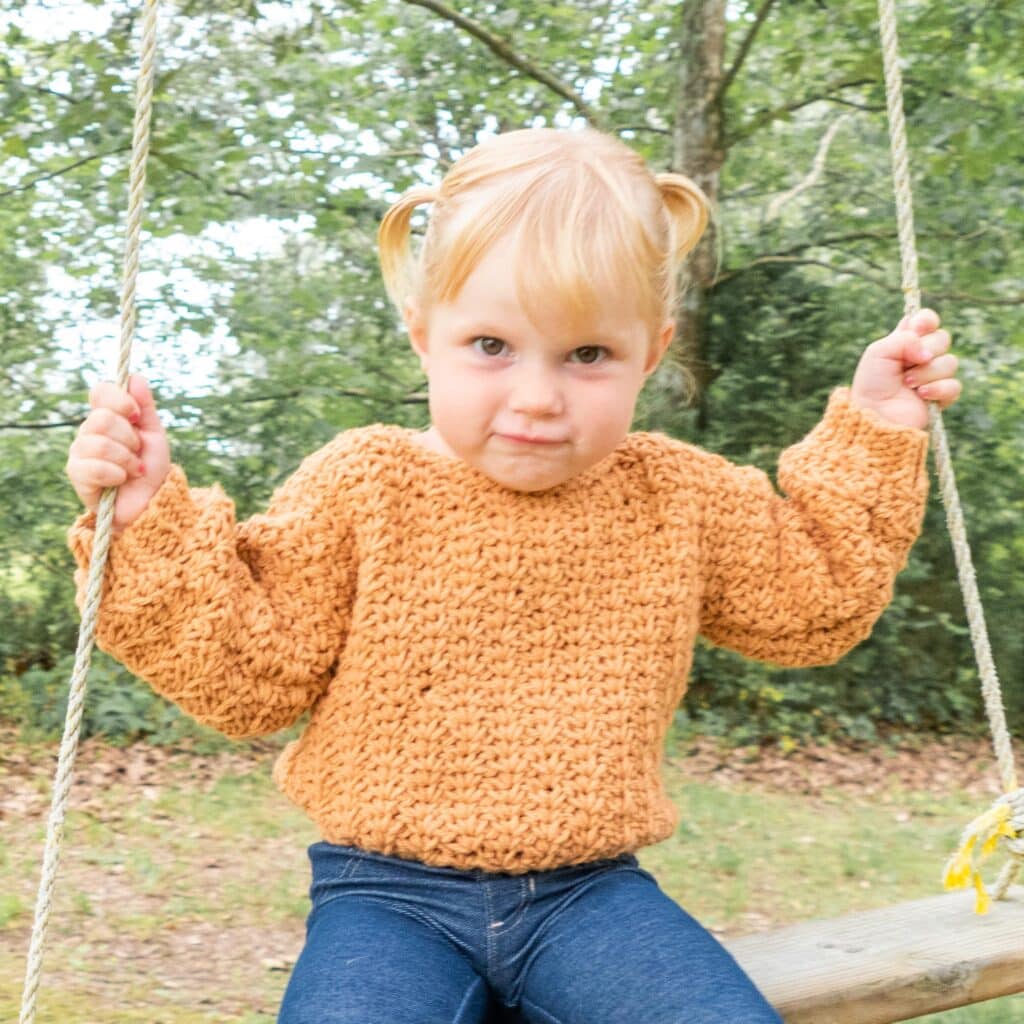
This blog post will cover how to create the Textured Turnover kid’s sweater in size 2 (the smallest size of this pattern, modeled by my lovely baby girl), but if you’d like to make one of the larger sizes be sure to check further down the page for how to get access to that.

Pattern Notes
- The pattern is written using US terms and is done in the spider stitch, with repeats of (sc, ch, sc) which are done in every other stitch. In subsequent rows, the repeats of the spider stitch are worked into chain-spaces from the previous row.
- The sweater includes 2 inches of positive ease, and turning chains do not count as stitches.
Materials Needed for Size 2 Kids Sweater

To make the Kids’ Textured Turnover Sweater you will need:
- 350 yards of heavy worsted weight yarn or aran weight yarn (Lion Brand’s Pound of Love yarn in Pumpkin Pie is shown)
- K/6.5mm hook
- Tapestry needle/yarn needle (optional, for weaving in ends)
- Scissors
Also, while it is not required or mentioned in the pattern, there may be spots in crocheting this pattern where you may want to place a stitch marker. I personally like the plastic locking kinds that come in all different colors.
These can help you keep track of things like going from one section of the pattern to the next, marking which side of the sweater you’d like to be the right side and the wrong side, and really anything else that you want.

Gauge and Sweater Sizing
Here is a guide to sizing this child’s sweater based on chest size (measurement in inches around the ribcage). Please note, this sweater is made with positive ease and a loose fit, so if you are right between sizes, sizing down may serve you better if you want the pullover sweater to fit just right, right now.
However, I would personally recommend sizing up because well…children grow!
- Size 2- 21in/53cm chest
Based on the size sweater you are making, here is the estimated yardage you will need:
- Size 2-350 yards

The Gauge for this sweater is 15sts x 12 rows of spider stitch per 4×4” square. This means that even though I recommend a size K/6.5 mm hook to go with the given yarn weight, the most important factor for getting your own perfect fit in this sweater is to be able to match the gauge that I’ve set. So with that said, if the whole concept of gauge is new to you or you want more practice with it just to be sure, this post will give you a fantastic foundation in that area.
Skill Level
The skill level for this project is advanced beginner to intermediate.
From the very first stitch, there are really very few skills that you need to know. However, foundation stitches are used when adding one of the sleeves of this sweater, so that is one skill that you may want to practice and slip stitch ribbing is done both in the construction of the sweater and added to the bottom after seaming. Both of these techniques may be best practiced beforehand if they are new to you.
If you’ve never made a sweater before, one of the biggest factors may simply be that there are a large number of stitches to get through, even when crocheting small sizes.
Depending on your level of experience and how busy your life might be at the moment, I know this can be one of the biggest dynamics to keep in mind. However, if that’s you just know that it will be so worth it to end up with a classic crochet pullover that you made yourself (whether it’s from this pattern or not)
One thing that is really, really nice about the spider stitch is that it makes it easy to keep track of your stitch count. Hopefully, just by taking a look at this free crochet pattern, you can see how easy it is to crochet each repeat row with spider stitch “clusters” being worked into the chain spaces of the last row. At the end of each row, the last stitch you will do before turning is one simple chain.

Abbreviations Used
Here are the stitches that you will use to make the Textured Turnover Sweater, along with their abbreviations:
Abbreviations Used:
- (Explanations are in parentheses, with repeats in asterisks)
- ch – chain (yarn over, pull loop through)
- ch-space – the space created from chain stithes in a previous row
- sc-single crochet(insert hook, yarn over, draw up a loop, yarn over, and draw through two loops)
- SS-slip stitch(insert hook, yarn over, draw up a loop through the work and through the loop on your hook). Sometimes this stitch is also abbreviated in crochet patterns as “sl st”
- ssBLO-slip stitch in the back loop only
- ST/STS – stitch/stitches
- Also used-foundation single crochet
Sweater Directions
Below, you can find step-by-step directions for crocheting the Textured Turnover Sweater in size 2 (which is the size you see on the little girl pictured).
You can access to all 5 child sizes of this sweater can be found inside of my Crochet Maker’s Vault (as well as access to ALL of my crochet patterns and designs). To learn more and join that, you can find more information here.
Sweater Front for Size 2 Kid
Ch30
Row 1: For the first row, sc,ch, and sc again in the second ch from the hook. *skip a ch and (sc,ch,sc) in the next stitch* Repeat for the remainder of the row. You should have a total of 45 stitches. Ch1 and turn.
For the next 13 Rows: (sc,ch,sc) in every ch-space across the row. You should have a total of 45 stitches. Ch1 and turn.
Sleeves for Size 2 Kid
Ch27
Row 15: skip a ch and ss5 (this is starting the first cuff of the sweater). *Skip a ch and (sc,ch,sc) in the next ch* repeat until you get back to the existing sweater panel (you should have 10 multiples of the (sc,ch, sc) pattern total.
Continue to (sc,ch,sc) in every ch-space now that you are back to the main panel, until you get to the end of the row. Do NOT turn.
From the end of row 15, work 21sts in foundation single crochet. Ch6
Note: this last section that you have done, which starts the second sleeve, might look a little longer than the first sleeve at this point. But, this should change once you do another row or two. Turn.
Row 16: skip a ch and ss5. *Skip a stitch and (sc,ch,sc)* 10 times. This should put you close enough to the original panel to continue the pattern across the whole row.
(sc,ch,sc) in every ch-space now that you are back to the main panel, until you get to the end of the ss. ss5BLO. In total, this row comes to 115 stitches. This stitch count will remain the same until the rows where the sleeves are stopped and only the body stitches remain again. Ch1 and turn.
For the next 8 rows: ss5BLO, (sc,ch,sc) in every ch-space {which should be 35 times total}, ss5BLO. Ch1 and turn.
Neck shaping

For the next 3 rows: ss5BLO, (sc,ch,sc) in the first 14 ch-spaces. ss21BLO, (sc,ch,sc) in the last 14ch-spaces. ss5BLO. Ch1 and turn.
Row 28: ss5BLO, (sc,ch,sc) in the first 14ch-spaces. Ch21 and skip the ss section. (sc,ch,sc) in the last 14ch-spaces. Ss5BLO. Ch1 and turn.
Back
Row 29: ss5BLO, (sc,ch,sc) in the first 14ch-spaces. ss21. (sc,ch,sc) in the last 14ch-spaces. Ss5BLO.Ch1 and turn.
Row 30: ss5BLO, (sc,ch,sc) in the first 14ch-spaces. *skip 2sts, then in the next st (sc,ch,sc).* repeat 6x for a total of 21sts across the back of the neckline.(sc,ch,sc) in the last 14ch-spaces. Ss5BLO. Ch1 and turn.
For the next 12: ss5BLO, (sc,ch,sc) in every ch-space {35 times total}, ss5BLO. Ch1 and turn.
Row 43: ss5BLO (sc,ch,sc) in the first 25ch-spaces. You should have 80 stitches in this row. Ch1 and turn.
Row 44: (sc,ch,sc) in the first 15 ch-spaces. You should have a total of 45 stitches. Ch1 and turn.
For the last 12 Rows: (sc,ch,sc) in every ch-space across the row. You should have a total of 45 stitches. Ch1 and turn.
In total, your sweater should have a total of 56 rows.
Seaming
Fold the sweater in half so the neckline is at the top. Line up the front and back edges of the sweater, and the bottoms of the sleeves. Seam with ss from the bottom of the sweater, up the side, and down the bottom of the sleeve. Repeat on the other side:
Note: If the ss are turning out too tight for these seams, try adding a ch1 in-between each ss
Bottom Ribbing
At one side of the sweater bottom, add your yarn and ch 6.
Row 1: skip a ch and ss5. Ss into the next (sc,ch,sc) section along the bottom edge of the sweater. Turn.
Row 2: skip the last ss you did and ssBLO in the remaining 5 sts. Ch1 and turn.
Row 3: ssBLO in the 5 cuff sts. ss into the next (sc,ch,sc) section. Turn.
Repeat rows 2-3 all the way around the sweater The exact number of rows may vary. Ideally, finish on a row 2 so that the seam can go from the end of the ribbing inward.
To seam the ribbing, ssBLO of your last row and BLO of the first row together. Ss to the sweater end so there’s no hole, and bind off.
Weave in your ends and enjoy your finished project!
Video Tutorial for the Textured Pullover Sweater
Customizing Fit and Style
Crocheting a sweater for a child can be a fun and rewarding experience, but it’s important to make sure the finished product fits properly. Luckily, there are several ways to customize the fit and style of this sweater if you feel confident doing that. If you do choose to alter this design, I highly recommend having the actual child on hand who is to wear it OR some very accurate measurements!
Adjusting Length
One way to customize the fit of a crochet sweater is to adjust the length. This can be done by adding or removing rows at the beginning and end of the sweater. Just make sure to adjust by the same number of rows on the same side.
Alternatively, you can also change the width of the sweater ribbing that is added along the bottom(althought I don’t recommend making that too narrow).
Altering Width
Another way to customize the fit of a crochet sweater is to alter the width. This can be done by adjusting by increments of 3 stitches to go along with the spider stitch repeat. While simple in theory, please know that this will throw off most of the numbers in the pattern, so you may only want to attempt that adjustment if you are an advanced crocheter.

Caring for Crochet Sweaters
Crochet sweaters are delicate garments that require proper care to maintain their shape and quality. Here are some tips to help you keep your kid’s crochet sweaters looking great for years to come.
Washing Tips
When washing crochet sweaters, it is important to use a gentle detergent and cold water. Harsh detergents and hot water can damage the fibers and cause the sweater to shrink or lose its shape. It is also important to avoid wringing or twisting the sweater, as this can cause it to stretch or become misshapen.
To wash a crochet sweater, fill a sink or basin with cold water and add a small amount of gentle detergent. Gently agitate the sweater in the water, being careful not to rub or scrub it. Rinse the sweater thoroughly with cold water and gently squeeze out any excess water. Do not twist or wring the sweater.
Storage Advice
Proper storage is also important for maintaining the quality of crochet sweaters. When storing a crochet sweater, it is important to avoid hanging it, as this can cause it to stretch or lose its shape. Instead, fold the sweater neatly and store it in a drawer or on a shelf.
To prevent moths from damaging the sweater, it is also a good idea to store it with cedar blocks or lavender sachets if using wool yarn. These natural repellents will help keep moths away without using harsh chemicals.
By following these simple tips, you can help ensure that your kid’s crochet sweaters stay looking great for years to come.
Final Thoughts
I really hope that you enjoy making your own verison of this easy kid’s sweater, and I would love to hear your thoughts on it via the contact form. Before you go, be sure to grab my free bundle of free pdf patterns as a way of saying thanks for joining our list of thousands of fellow crocheters. Together, we can create beautiful things, bless those around us, and take delight in being creative.
Keep crochet delightful,
Amelia
What’s Next?
- Share on Facebook or Instagram: I always love seeing fellow crocheters make my patterns! Tag me when you’ve completed it @ameliamakesblog
- Pin the post: Save this post on your Pinterest board, and get back to it later.
Join my Facebook Group
Share your ideas and pictures on my Facebook Group! This is a small private group of crochet enthusiasts that would love to hear from you!
Kids Crochet Sweater Pattern