
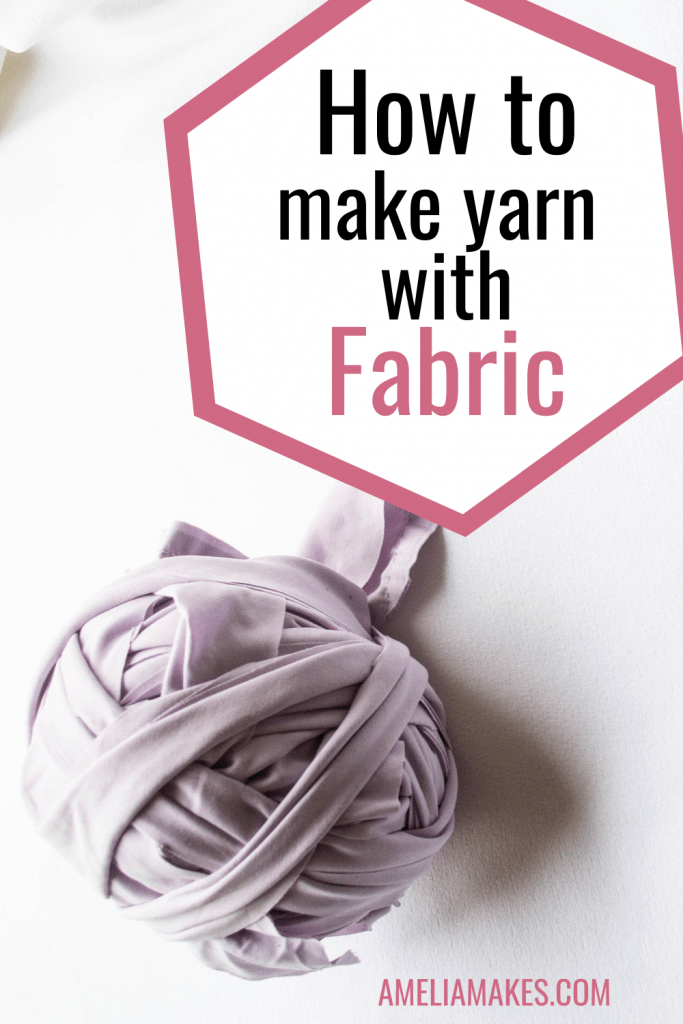
Creating fabric yarn with either knit or woven fabric is an easy process that only takes a couple of steps.
Rag rugs, baskets, and bags are some of the things that work up really well with strips of fabric instead of normal yarn. Crocheting with fabric strips is a good way to make thick and absorbent projects that keep their shape and stay nice and durable. Plus, making your own fabric yarn is a good way to cut down on waste, re-use items, and create your own craft material frugally or free.
In this post, I’ll be going over how to make your own fabric yarn from start to finish. I’ll be covering both woven fabric(like quilting cotton and old bed sheets) and knit fabric(also called jersey fabric or t shirt fabric-pretty much anything that stretches a lot).
Love having a starting point for your creativity? Grab my master list of ideas:
Video Tutorial for making your own fabric yarn
You can keep reading to learn about making fabric yarn, but I recommend you watch this video to see the different ways you can cut your fabric. Despite some tech issues that ended up making this video a bit choppy in places, I think you will find it helpful to actually see me demonstrate some techniques that can save you time and/or give you a better final product to work with. Enjoy!
Cutting Fabric for Fabric Yarn
Cutting your fabric strips is not an overly technical process. Usually, the goal is to create fabric strips that are pretty uniform in width, with edges that aren’t too jagged. If you are making a really rustic project such as a rag rug, that may be all of the information you need. However, if you’re open to spending just a little bit more time on your technique, your fabric strips can end up being easier to work with and create more consistent stitches as well.
Knit Fabric
If you are working with knit fabric, It’s also a good idea to make sure your fabric is washed before cutting. This doesn’t mean that you have to wash it right before, but just that it should have been washed at some point, and is still clean.
But more importantly, I find that the part of cutting knit fabric is to lay it very nice and flat( do as well as you can if you are using existing items like t-shirts) and do your best not to pull on the fabric as you cut. Because of the stretch, this fabric is just prone to bunching up sometimes, which can leave you with jagged cuts. Using nice sharp scissors for any type of fabric also goes a long way towards getting good results.
(For a tutorial that’s specifically for cutting yarn out of old t-shirts, you can check out this tutorial from Molly Makes.)
With those things in mind, you can cut your fabric straight across in whatever width you want. There is also the option to try cutting an item in one continuous strip. This can be done by starting at the bottom of a t-shirt-for example, and going around and around. While this method has the benefit of fewer joins in your yarn. However, I personally find it more difficult to cut evenly and end up with fabric yarn that has a consistent width. For this reason, I prefer to cut straight across the fabric, whether working with knit fabric or woven fabric.
Woven Fabric
Fabric that is woven with perpendicular threads is not as stretchy as knit or jersey fabric. It makes wonderful fabric yarn for certain projects, but tends to fray as the woven bits of thread come out of the main piece. So, even though you can also cut woven fabric straight across on the “grain” (in the same direction as some of the threads) or going around in a continuous piece(depending on what you are cutting from) I’m also going to show you one additional way.
Cutting on the bias is another way to prepare fabric that comes in handy here. The bias simply means that instead of cutting in the same direction as the fabric threads, we cut diagonally to them(you can see me demonstrate this in the video). There are two immediate ways that this makes a difference:
First, there is significantly less fraying. Cutting diagonally means that only ends of the threads are right there at the edge, and nothing is just waiting to come out. In fact, you could really say there is zero fraying, at least not right away. Secondly, fabric cut on the bias does have some stretch, even if it doesn’t have any when cut normally. Because of this bit of stretch, I think bias-cut fabric yarn is just a little easier to work with than fabric that is cut on the grain.
Attaching Fabric Pieces
After cutting out your fabric, there are a few ways to attach the strips so that you can roll everything up into a ball(or many) and have a nice batch of fabric yarn. If you have a sewing machine handy, sewing the ends together is a quick way to get secure joins without any bulk. Or, if you don’t mind knots and want to end up with something more rough-looking, you can simply tie the ends. Finally, if you have loops of fabric or are willing to cut some slits into the ends of your strips, you can attach the pieces by looping one end of a strip through another and then back through itself(if that seems complicated, please watch my video above to see me do this-it is really quite simple!)
Final Thoughts
If you’ve wanted to try crocheting with fabric but haven’t quite known how to get started, I hope this has made the process clear and given you a few simple techniques to use. If you would like a few other ideas for alternative materials that you can knit or crochet with, you can check out this post.
Before you go, be sure to pin this post for later, and if you’d like updates on new projects and tutorials from Amelia Makes, go ahead and sign up for my weekly emails. As a bonus, I’ll send you my list of 101 crochet ideas.
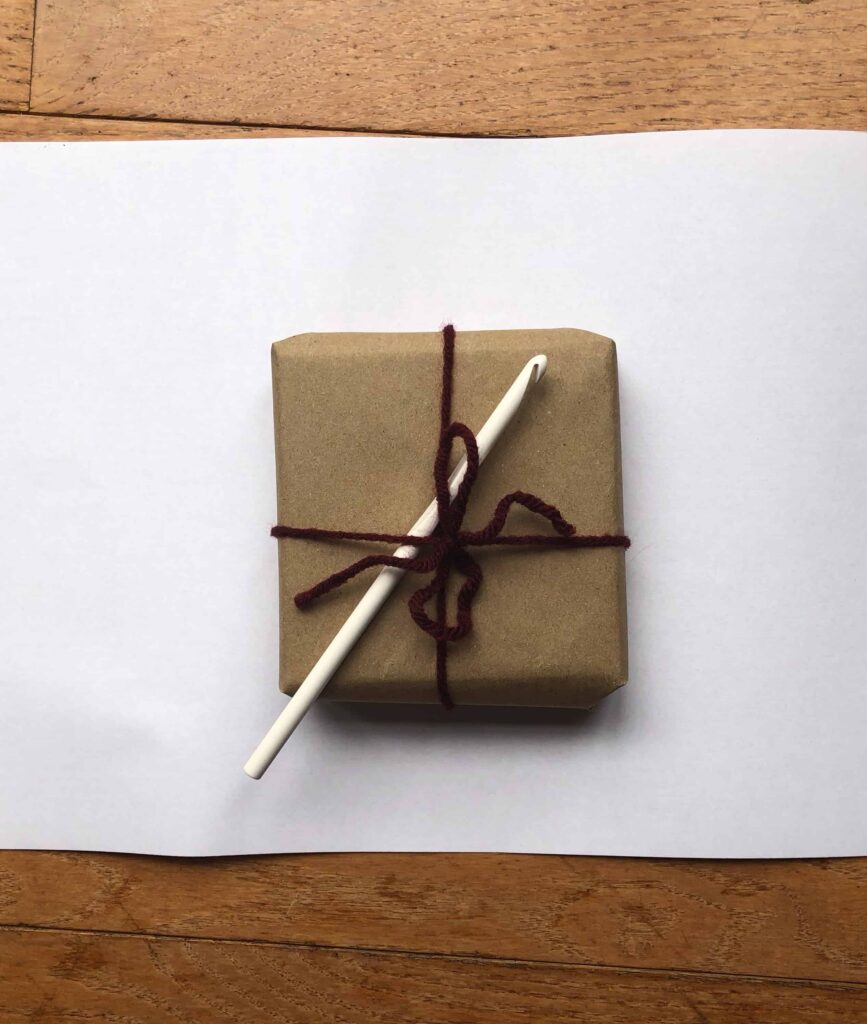
Have fun creating your own projects with DIY fabric yarn, and keep the crafting delightful!
Amelia
Knowing how to make your own fabric yarn allows you to make sturdy knit or crochet projects while possibly re-purposing some materials.

Pingback: How to Keep Crocheting When You are Low on Yarn ( 3 ways) ~ Amelia Makes