
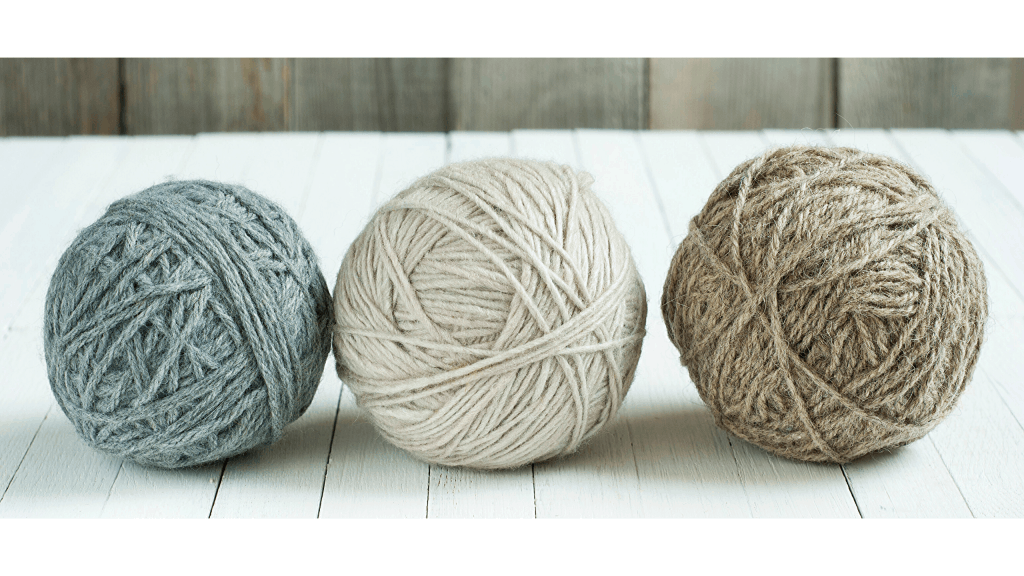
Acrylic and wool yarn are both popular fiber choices that, at times, may start off feeling rough and scratchy. I’m going to show you three methods for softening up your rough yarn, as well as how to finish getting it ready for knitting or crocheting afterwards.
Acrylic yarn is a popular choice for many knitters and crocheters due to its affordable price, wide range of colors, and durability. However, the most economical options have also gotten a reputation for sometimes being stiff, scratchy and itchy.
This makes the final project less comfortable to wear (at least at first).
Fortunately, there are several methods you can use to “pre-soften” your acrylic yarn so that it’s easier on your hands and more enjoyable to work with right from the beginning.
All the methods that I’m about to show you includes washing the acrylic yarn, but we’ll be soaking it in different products.
You can also scroll to the bottom to view the video demonstration I did.
Does Acrylic Yarn Soften After Washing?
The short answer is absolutely! Below, you’ll see three quick and easy methods to soften the yarn, and one of which is lightly washing it in gentle detergent.
So if you’re looking to wash your clothes as well as soften the yarn, then I would recommend trying this method. I explain the process in more detail below!
Overview of the Three Methods to Soften Both Acrylic and Wool Yarn
One important note: For each of the three methods I tried, I let them soak for 30 minutes each.

Soaking Yarn in Fabric Softener or Gentle Detergent
One way to soften acrylic yarn is to wash it in warm water with a gentle detergent. This helps loosen up the fibers and remove any excess dye or chemicals that may be causing the stiffness.
Another method simply involves adding a small amount of fabric softener to some water and allowing the yarn to soak for various amounts of time. The thing to keep in mind for either method is that there are some extra considerations to soaking or washing your yarn before working with it. You certainly wouldn’t want it to tangle!
Rinsing your yarn thoroughly after pre-softening it and drying it gently will go a long way towards protecting its integrity. Regardless of what you try, it’s important to note that anything you use on your yarn could potentially leave a residue on it.
Using White Vinegar to Soften Yarn
This other method of softening yarn is soaking it in white vinegar for 30 minutes. I’ll be going over the details of it below.
Using Hair Conditioner to Soften Yarn
The last method of softening yarn is using hair conditioner. You’ll need to add a few tablespoons of conditioner in warm water and let the yarn soak in it.
With that in mind, it’s probably wise to test a small amount of yarn first before choosing a method for treating all of the yarn for any given project.
Below, I go into more detail about these different methods of softening acrylic yarn, and my experiences with each one. Hopefully, I can help you find the method that’s best for you!
NOTE: even though this post is primarily about softening acrylic yarn, the methods shared below can also work with rough wool yarn or wool blends. Hence, I do go back and forth and mention both kinds of yarn.
Understanding Acrylic Yarn
What is Acrylic Yarn?
Unlike wool or cotton, acrylic yarn is a man-made, or synthetic fiber. To get more scientific, it’s made from acrylonitrile, which is actually a type of plastic. It was first developed in the 1940s as a wool substitute and has since become one of the most popular types of yarn due to its affordability and versatility.
Today, we use acrylic yarn in huge quantities for our knitting and crochet projects, and it doesn’t seem like that will change any time soon although many people do debate it based on how it may be affecting the environment.
If you’re interested in going deeper on either of those ideas, you can certainly take a look at these sources for a short history and process of making acrylic yarn, and one perspective on acrylic yarn vs. natural fibers.
Properties of Acrylic Yarn
There are several properties of acrylic yarn that make it an easy for us knitters and crocheters, not to mention larger scale fabric and textile uses:
- Softness: While here we’re covering times when acrylic yarn is NOT as soft as we want, that’s often not the case. Acrylic yarn can often be attractively soft right off of the shelf.
- Durability: Acrylic yarn is highly durable and resistant to breakage. With more premium anti-pilling options, it can also better resist wear and tear.
- Colorfastness: Acrylic yarn is highly resistant to fading, which means that it will retain its color even after multiple washes. In fact, it’s usually best to wash any project by itself the first time, to avoid
- Lightweight: Many types of medium weight, commonly sold Acrylic yarns are lightweight and lofty, which makes them easier to wear AND to work with.
- Water resistance: Acrylic yarn is naturally water-resistant and easy to dry.
Overall, acrylic yarn is a versatile and affordable option, which makes it an obvious choice in many situations. But what happens when your initial materials leave some of these qualities to be desired? Now we get into how to actually soften stiff acrylic yarn yourself when it’s scratchy or hard enough to bother you.
Reasons to Pre-Soften Your Acrylic
This leads us in to several reasons why you might want to pre-soften your acrylic yarn before using it in a project. Here are a few things that pre-softening or pre-washing certain yarns can improve:
1. Texture
Acrylic yarn can be stiff and scratchy, which can be uncomfortable to wear right away. Pre-softening your acrylic yarn can improve its texture, making it softer and nicer to the touch. This is especially important for items like hats, scarves, and blankets that come into direct contact with the skin.
To be more specific, softening the yarn before making into your finished items can make it more appealing to the end user if you are gifting or selling an item to anyone who may not realize that the item will soften significantly with it’s first few washes.
2. Workability
On the other hand, really stiff acrylic yarn can be difficult to YOU to work with as the knitter or crocheter from the very beginning. This is especially if you are using a small hook or needle. Pre-softening your yarn can things easier on yourself, reducing hand fatigue and making it easier to achieve even stitches.
In that sense, pre-softening can be the difference between working smarter and working harder.
3. Better Drape
Acrylic yarn can be stiff and have poor drape, which can make finished items look stiff and unflattering. Instead, pre-softening your yarn can improve its drape, giving finished items a more fluid and flattering look right away.
Convinced yet? Let’s take a look at how you can get those benefits by softening your stiff or acrylic yarn yourself.
Softening Techniques
When working with acrylic yarn, the main decision you need to make is what to use. Three popular choices for softening acrylic yarn are fabric softener, white vinegar, and hair conditioner.
Using Fabric Softener to Soften Acrylic Yarn
One of the easiest ways to soften acrylic yarn is to use fabric softener. To do this, simply add a small amount of fabric softener to a mild weather bath and soak your yarn. Be sure to check the instructions on the fabric softener bottle to ensure that you use the correct amount.
Using Vinegar to Soften Acrylic Yarn
Another technique for softening acrylic yarn is to use vinegar. To do this, fill a sink or basin with warm water and add a cup of white vinegar. Place your acrylic yarn in the water and let it soak for about 30 minutes. After soaking, rinse the yarn thoroughly with cool water and gently squeeze out any excess water.
Using Hair Conditioner to Soften Acrylic Yarn
Hair conditioner can also be used to soften acrylic yarn. Simply mix a few tablespoons of hair conditioner with a few cups of warm water in a container and-you guessed it-let that yarn soak. 30 minutes is still a good “standard” amount of time for soaking, before your, then rinse it thoroughly with cool water and gently squeeze out any excess water.
When using any of these techniques, be sure to handle your acrylic yarn gently to avoid stretching or damaging it. You do NOT want to wring it out. Instead, squeeze excess water out of the yarn and lay it flat to dry. Simply laying it out on a towel works fine, however
With a little care, your acrylic or scratchy yarn can be more soft and easy for you to work with.
Yarn Softening Experiment- Which Method Works Best?
Even though I’ve been crocheting for over 20 years at the time of writing, I’d never had much need to try softening yarn for myself. But in order to figure out which of the 3 methods above works the best, I set up an experiment to test it out for myself.
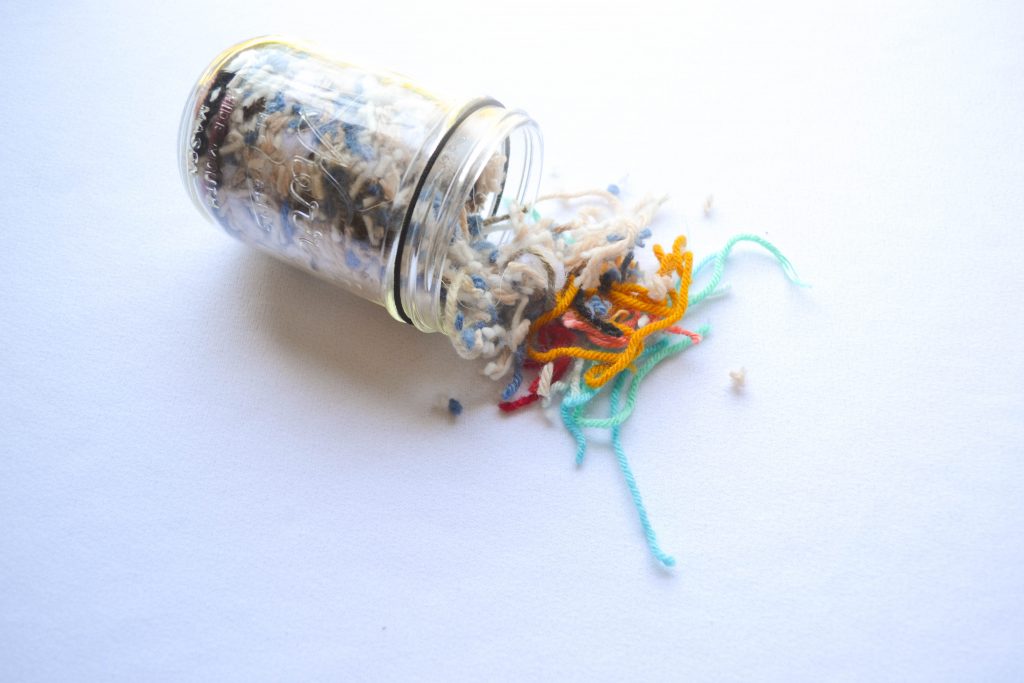
To do this, I made small swatches of my roughest acrylic yarn and set one aside as a control. This one stayed untreated.
Then, I set up bowls with equal amounts of water. Into one bowl went 1 Tablespoon of fabric softener, and the same amount of hair conditioner and white vinegar went into the other two bowls respectively.
Finally, I let them all soak for 30 minutes, and felt how much softer the swatches felt wet as well as dry.
And what’s even better is that I ended up testing some rough WOOL yarn at the same time to see how that was affected.
Below, you can see how it all went with this video (skip ahead to around 15:50 if you’re short on time).
Yarn Softening Experiment – Video Tutorial
My conclusion?
While any one of these methods CAN get great results for your coarse and itchy yarn, my personal favorite turned out to be the white vinegar.
Drying and Storing Acrylic Yarn
Drying your yarn after softening
After washing your acrylic yarn, it is important to dry it properly to avoid any damage or stretching. Here are a few tips to dry acrylic yarn:
- Gently squeeze out any excess water from the yarn. Do not twist or wring it as this can cause damage. If you’re trying these methods with wool yarn, twisting or wringing the yarn will cause it to felt (a term for when the fibers stick to each other).
- Lay the yarn flat on a clean towel. Make sure it is spread out evenly and not bunched up.
- Roll the towel and yarn together to remove any remaining water. Do not squeeze or wring it.
- Unroll the towel and lay the yarn flat to air dry. Avoid hanging it as this can cause stretching.
Storing Acrylic Yarn
Proper storage of acrylic yarn can help maintain its quality and prevent any damage or discoloration. Here are a few tips to store acrylic yarn:
- Keep the yarn in a cool, dry place away from direct sunlight and moisture.
- Store the yarn in airtight containers or plastic bags to prevent dust and insects from getting in.
- Avoid storing the yarn in cramped spaces or under heavy objects as this can cause stretching or deformation.
- If possible, store the yarn in a way that allows you to see the color and texture of each skein, making it easier to find what you need for your next project.
By following these simple tips, you can ensure that your acrylic yarn stays in good condition and lasts for a long time.
Final Thoughts
Softening rough yarn is not a difficult task, but it can be the difference between an enjoyable and not-so enjoyable experience. With the techniques, you can get better results with even the most economical yarn or give life to really old yarn that has gotten “crunchy”
One important thing to keep in mind is that not all acrylic yarns are created equal. Some may be naturally softer than others, while some may require more effort to soften. It is always a good idea to test a small amount of yardage before attempting to soften the yarn for your entire project.
If you enjoyed this post and would like ongoing info about new patterns, videos, and helpful posts like this one, be sure to get on the list for Amelia Makes before you go!
As a thank you for getting connected, I’ll send you three popular PDF patterns:
Keep the crochet delightful,
Amelia
What’s Next?
- Share on Facebook or Instagram: I always love seeing fellow crocheters make my patterns! Tag me when you’ve completed it @ameliamakesblog
- Pin the post: Save this post on your Pinterest board, and get back to it later.
Join my Facebook Group
Share your ideas and pictures on my Facebook Group! This is a small private group of crochet enthusiasts that would love to hear from you!

Pingback: Starting an Embroidery Hobby - Nourish Your Glow