The spider stitch is created with only two simple stitches and gives a beautiful texture to any project you add it to.
Today, we’ll be talking about a really useful, sturdy stitch that just might become one of your new favorites!

Not only is it easy to do, but the simple repeat that’s involved makes this a textured stitch that is easy to remember AND easily applicable to lots of simple project ideas, with or without the help of crochet patterns.
Below, you can follow along with a photo tutorial of the spider stitch, watch the video tutorial, and also browse my notes on crocheting with it.
(Note: This post contains affiliate links, meaning that if you make a purchase it may benefit me with a small commission at no extra cost to you. You can read all of my affiliate disclosures and other disclaimers on the disclaimers page. )
Crochet Projects that Use the Spider Stitch

Luxurious Twisted Earwarmer (baby to adults):

Overall, the crochet spider stitch is a great stitch to add to your repertoire. Below are a few of my other favorite crochet stitches.
Related Posts:
- The spider stitch is created with only two simple stitches and gives a beautiful texture to any project you add it to.
- Crochet Projects that Use the Spider Stitch
- About the Crochet Spider Stitch
- Spider Stitch Video Tutorial
- Abbreviation Used:
- Crocheting the Spider Stitch Step-by-step Photo Tutorial
- Final Thoughts
- What’s Next?
- Join my Facebook Group
About the Crochet Spider Stitch
The crochet spider stitch is a textured stitch that creates a subtle pattern that to some may look a bit knit-like. This stitch is perfect for adding a touch of texture or for creating allover texture, since each repeat is very small.
The spider stitch is created by working a series of chains and single crochet stitches, and as such it’s a good fit for crocheters of pretty much any skill level.
From absolute beginner to advanced beginner and beyond, this really is the perfect stitch to have in your back pocket. And, since sets of repeats for this stitch are worked into the middle of repeats in the previous rows, a really easy way to think of this stitch is as a version of single crochet v-stitch.
Spider Stitch Video Tutorial
For those who prefer the video demonstration, here is a version of the crochet spider stitch tutorial straight from my YouTube channel:
The Gauge and Hook Size for the Spider Stitch
To actually start learning the spider stitch, crochet with your yarn of choice and whatever crochet hook size is recommended for that yarn.
In the tutorial below, I demonstrated the spider stitch with:
- Worsted acrylic weight yarn.
- A larger hook size: K (6.5mm hook)
Please note that this is what I used for the tutorial, but any medium-weight yarn like light worsted, aran, or chunky yarn will still be a great choice for following along.
Note: Just like with any stitch you will get a “squishier” effect by using a slightly larger hook, and if you continue to go up in hook size the effect will be lacier and lacier looking stitches as your gauge changes in that direction.
For a thorough explanation of gauge in general, see this post.
Abbreviation Used:
- ch: chain
- sc: single crochet
- **: repeat
Crocheting the Spider Stitch Step-by-step Photo Tutorial
So without further ado, below are the written instructions for crocheting the spider stitch pattern.
For this tutorial, I am using us terms exclusively.
Directions
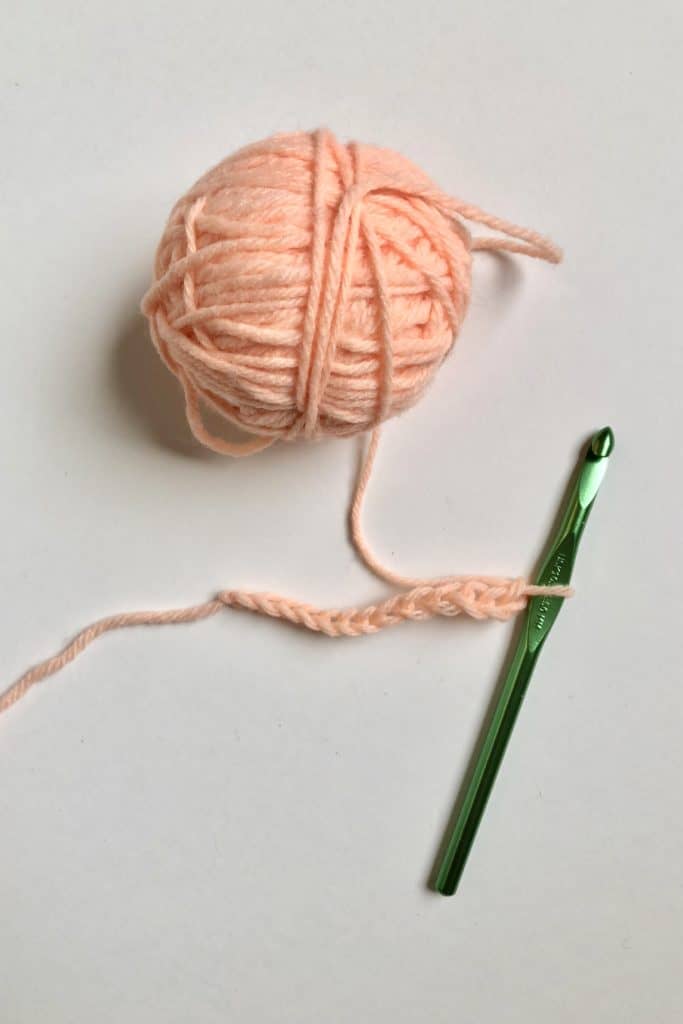
First, we need to make our foundation chain/foundation row.
Begin by chaining an odd number of stitches.
For practice, 15 chain stitches is a good place to start.

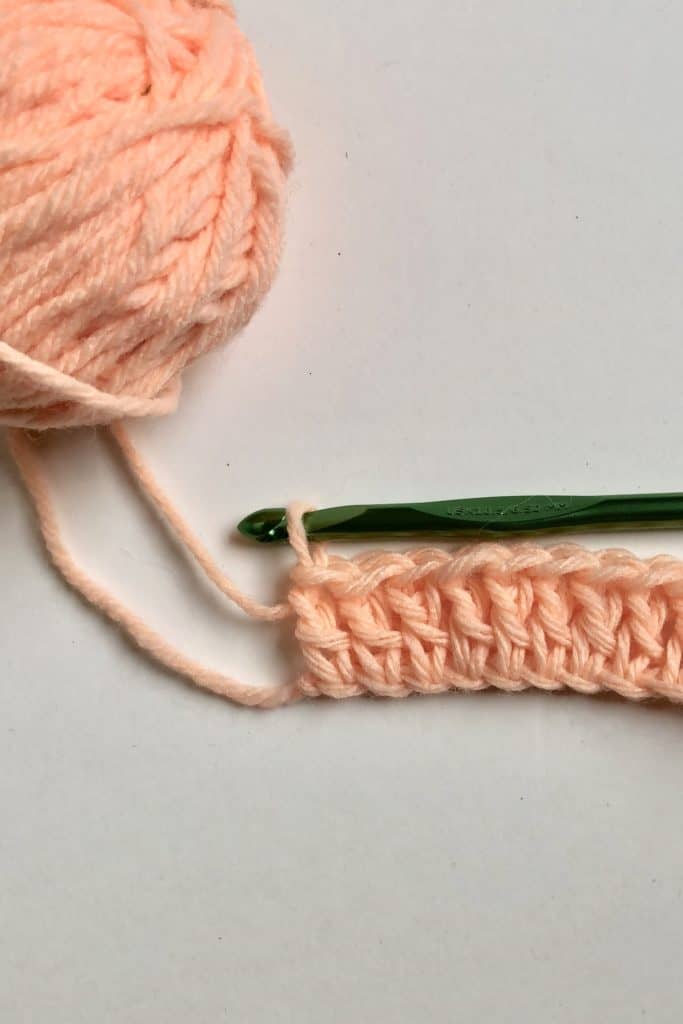
Row 1: skip the first chain and insert your hook into the second stitch.
Into that chain (second chain from the hook) work a sc, ch, and a second sc. All of that goes into one stitch/chain.

*Skip a ch and (sc,ch,sc)*.
Keep doing that repeat until you only have two chains left at the end of the row.
Skip the second to last chain and in the very last chain, put a double crochet. chain 1 and turn.

Row 2: In every chain space of the previous row, repeat that pattern of (sc, ch, sc).
You don’t need to work any more double crochets or other extra stitches at the end of the row-just get to the end and then ch1 and turn.

Repeat row 2 until the work reaches your desired size/length.
After your last row, bind off and weave in any ends.

The completed pattern!
Pretty easy, right? After a whole row or a couple of rows, I’m sure you can begin to see why the spider crochet stitch is such a favorite of mine-ease of crocheting plus beautiful texture.
Related Posts:

Final Thoughts
I hope you’ve enjoyed following along with me to learn a new stitch, and that now you have at least a little bit of confidence to incorporate it into your projects and designs. Please feel free to browse around for more
Happy Crocheting!
Amelia
What’s Next?
- Share on Facebook or Instagram: I always love seeing fellow crocheters make my patterns! Tag me when you’ve completed it @ameliamakesblog
- Pin the post: Save this post on your Pinterest board, and get back to it later.
Join my Facebook Group
Share your ideas and pictures on my Facebook Group! This is a small private group of crochet enthusiasts that would love to hear from you!
Don’t forget to pin this for later!