
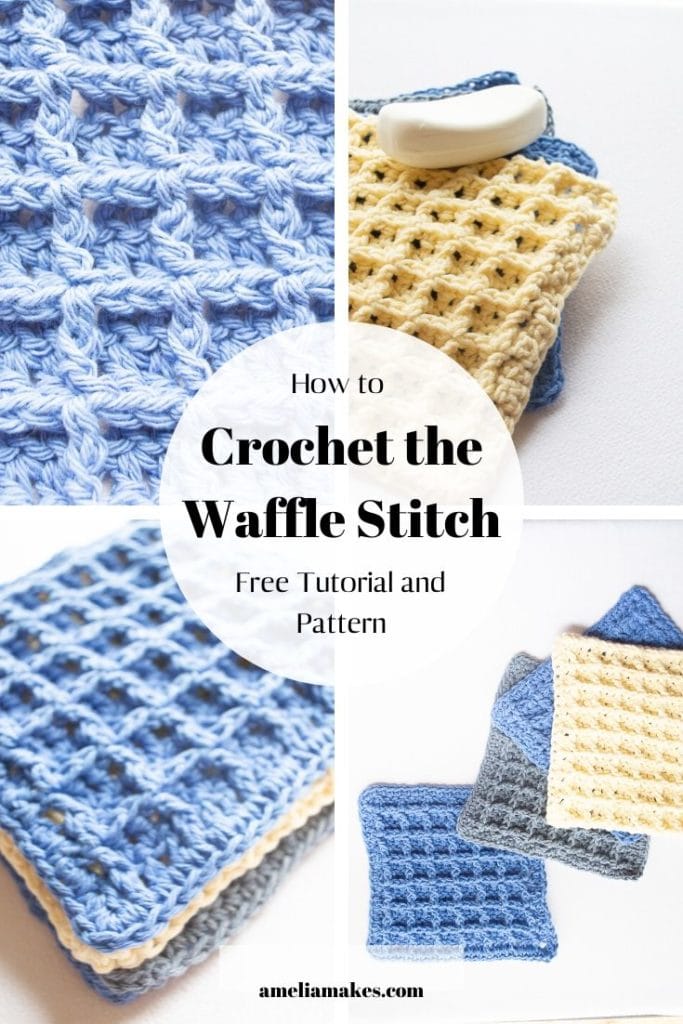
The Waffle Stitch is a popular textured stitch in the crochet world for good reason! The thermal structure of this stitch uses a combination of normal crochet stitches and post stitches, and is easy to learn.
If you crochet, I think it’s safe to say that you love texture. Texture seems to be something that we crocheters (and other fiber artists, too) really appreciate and notice even if we haven’t been doing this for that long.
Today, I’m excited to show you a step-by-step photo and video guide for crocheting the waffle stitch because it has a truly standout texture-literally and figuratively!
What is the Waffle Stitch?
Crocheting the waffle stitch is a great way to add thickness and texture to any project you’re working on. It uses a combination of normal crochet stitches (double crochet) and post stitches.
It is not complicated at all to learn. Once you get the hang of it you may even find it addictive. And while this stitch does use up a lot of yarn (due to the very three-dimensional pattern) I think you’ll find it’s well worth the extra yardage.
Below, you’ll find everything you need to know for how the waffle stitch works on it’s own and how it repeats. Then, there’s a pattern for using the waffle stitch to work up a richly textured washcloth.
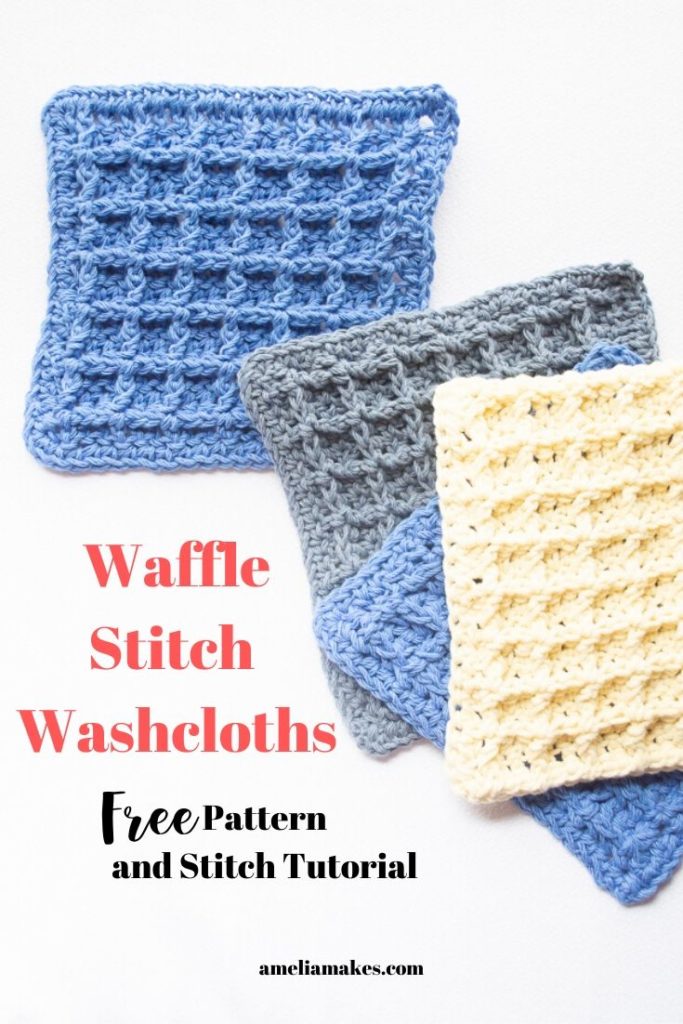
Making a washcloth is a great way to practice the waffle stitch without taking too long. It’s an absolutely perfect use of this stitch.
Materials Needed
Obviously, to start practicing this new stitch you can start with pretty much any amount of yarn.
- I am using between 30-40 yards of cotton yarn in an aran or heavy worsted weight.
- “H” size hook with this yarn.
- sharp scissors handy for snipping your yarn.
- A tapestry needle as well for weaving in your ends.
Having all those things together at once makes it so much easier to just crochet and not break off to look for things!
Abbreviations
Here are the abbreviations you’ll see in the directions for the waffle stitch, as well as in my pattern for a waffle stitch washcloth:
- Ch-chain stitch
- Dc- Double Crochet
- FPdc-Front Post Double Crochet
- BPdc-Back post Double Crochet
- Sc- Single Crochet
- Repeats of the pattern are shown between a pair of asterisks( *repeat*)
I have also tried doing the waffle stitch using half double crochet (hdc) instead of double crochet. Just in case you’re interested to know, it works fine to do that. But, it actually doesn’t work as well as double crochet and the result doesn’t look quite as nice.
Waffle Stitch General Pattern Directions
Before we go on to the washcloth pattern demonstration, which is practically all waffle stitch, I want to give you the simplest possible crochet directions for this stitch.
You may want to try practicing the waffle stitch in a different size. But really, I know that sometimes it really helps to see the difference between what a pattern says to do to create a project, and what a stitch actually requires anytime its used.
So with that in mind, here is how to crochet the waffle stitch as simply as I can put it:
Directions
Chain a multiple of 3, plus 1.
Row 1: Skip one ch and dc 1 in every other stitch. You should end up with a multiple of 3 stitches.
Chain 1 and turn here and at the end of every other row.
Row 2: *dc, FPdc, dc* and repeat this across your row
Row 3: *BPdc, dc, BPdc* and repeat across your row. (Using a normal dc in the first and last stitch is very common and can make the edges easier to work. )
Repeat rows 2-3 as desired
Crocheting the Waffle Stitch from here is just a matter of repeating rows 2-3 until you have your desired size. The most important thing to pay attention to with this stitch is making sure that your dcs from row 3 are lining up really well with the FPdc stitches from row 2 (and the same with every repeat of these rows).
You get a really clear pattern forming in Waffle Stitch after these stitches are lined up well for a few repeats.
Now, these directions will vary from other sources depending on how many turning chains different people think work best for this stitch.
How to Crochet a Waffle Stitch Washcloth or Dishcloth
Materials Needed
Now that you’ve had a chance to see what goes in to the Waffle Stitch generally, here is a specific size/pattern that you can use to make a small washcloth or dishcloth.
- I am using aran or heavy worsted cotton (although cotton is not required to at least practice this stitch)
- Size “H” hook.
Note: You can also make a larger washcloth size by starting with 25, 28, or even more chains. Just note that you will use more yarn and need to crochet more repeats of the pattern in each row!
Abbreviation Used
- Ch-chain stitch
- Dc- Double Crochet
- FPdc-Front Post Double Crochet
- Sc- Single Crochet
- Repeats of the pattern are shown between a pair of asterisks (*repeat*)
Waffle Stitch Washcloth Pattern Directions
Main Piece:
Ch 22
Row 1: Skip one ch and dc once in every other ch. You should have 21 stitches and continue with this number for every row.
Row 2: **dc, FPdc, dc* and repeat 6x (7x total for the whole row).
Row 3: *FPdc, dc, FPdc* and repeat 6x (7x total for the whole row).
(Using a normal dc in the first and last stitch is very common and can make the edges easier to work. )
Repeat rows 2-3 until you have a nice square shape (usually around 14-16 rows total).
Adding a Border
After you have finished your last row in the waffle stitch and are satisfied with the shape, you can start a border of sc (which is totally optional, by the way but I like the elegant outline it gives the washcloth), by simply chaining one stitch from whatever corner of your work you are at.
From here, go ahead and put sc stitches around all four edges of your washcloth. Try to space them evenly, but more importantly just put them in the best places for your work to lay flat and keep it’s shape. If you have never put a border on this way before, it may take a little practice to get the “raw” edges of your crochet the way you want them. It’s worth it though!
I only put one round of sc border on each of my washcloths. This is enough to give them a nice clean finish, but you are welcome to do as many as you want.
Adding a wider border is also a great way to crochet a larger finished washcloth.
Step-by-Step Photo Tutorial
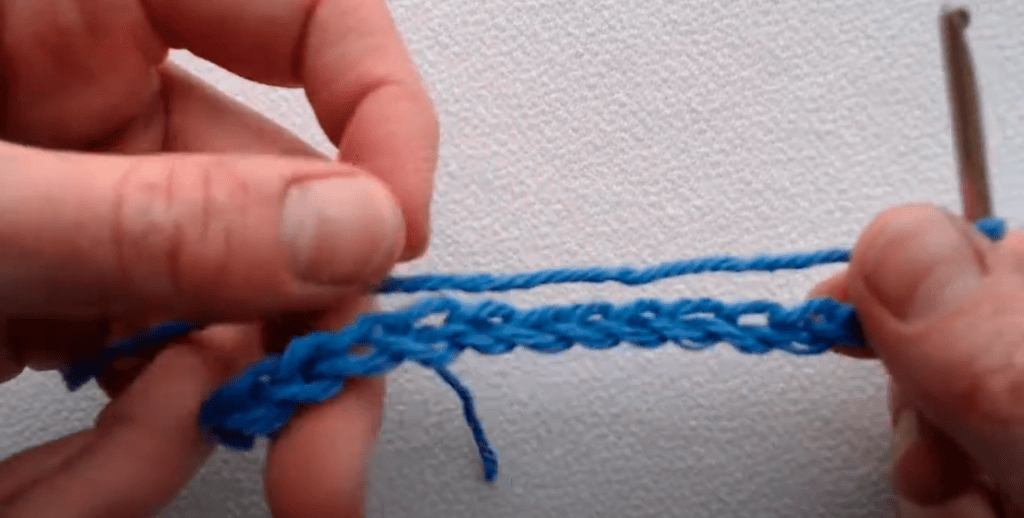
Step 1: Ch 22

Step 2: Skip one ch

Step 3: Add 21 dc stitches

The completed 21 dc stitches. This is a good number because it’s wide enough for a washcloth and its a multiple of 3. The washcloth needs a number that is divisible by 3.

Step 4: Ch 1 and turn

Step 5: **dc, FPdc, dc* and repeat 6x (Row 2)

Step 6: *FPdc, dc, FPdc* and repeat 6x (row 3)

Step 7: Repeat Rows 2 & 3 over and over

Step 8: Completed 16 rows.

Step 9: Adding one round of sc border

Crochet waffle stitch washcloth completed!
Video Demonstration
In the video, you can follow along with me as I use the Waffle Stitch to Crochet one of my washcloths. Even if you aren’t practicing this stitch by crocheting the washcloth, it will still be helpful to watch and see this stitch come together.
Other ways and places to crochet the Waffle stitch
Everything covered so far in these directions has to do with crocheting the Waffle Stitch in rows. This is probably the most common way that the Waffle Stitch is used, and I hope my tutorial so far has been really clear in helping you see how to crochet this stitch.
However, there are also other ways to use this stitch. In fact, there are three other ways to crochet this stitch that I want to include here really quick, because each one has to do with using this beautifully textured stitch in different ways.
All of these Waffle Stitch “Variations” are ways to crochet it in the round:
Waffle Stitch in the round
Even though we crochet in rows to make the washcloth above, I know that the Waffle Stitch can also be worked in rounds. I am currently working on a project that will show this with Waffle Stitches that don’t have any shaping, so hopefully it will be an easy “next step” in working with this stitch.
If you want to see this project up on the blog sooner, feel free to send me a message and I’ll move it closer to the top of my list! In the meantime though, here are two other applications for the Waffle Stitch that utilize increases:
Waffle Stitch Square
Although this amazing square is, well, a square, it is technically done in rounds. If you want to see how the waffle stitch can be worked with increases or just like the look of the pattern radiating from the center, than this Squared Waffle Pattern would be a great next thing to try. You could even use it with my pattern to make coordinating washcloths!
Waffle Stitch Border
This is something that I haven’t tried yet, but that I just want to mention as an option. Since it’s possible to work the Waffle Stitch in rounds with corner increases (like the square above), it is also possible to crochet a waffle stitch border.
The key would be to simply have the right number of stitches on each side of your work(like with a blanket, for example). To work a border, it would probably be most helpful to work a “setup round” of just dc stitches just like you’re starting a new piece. If I get around to doing this one I will be sure to show you!
Final Thoughts
Thanks so much for trying this stitch with me. I hope it serves you well in whatever project you are trying to infuse with some amazing texture!
Don’t forget, you can download a few of my most popular patterns if you haven’t already. As a subscriber you’ll also get access to my weekly emails with tips, encouragement, and new news and announcements.
keep the crafting delightful!
Amelia
What’s Next?
- Share on Facebook or Instagram: I always love seeing fellow crocheters make my patterns! Tag me when you’ve completed it @ameliamakesblog
- Pin the post: Save this post on your Pinterest board, and get back to it later.
- Follow my YouTube Channel to get the latest up to date crochet tutorials and patterns.
Join my Facebook Group
Share your ideas and pictures on my Facebook Group! This is a small private group of crochet enthusiasts that would love to hear from you!
Crocheting the Waffle Stitch is a great way to add a rich texture to all kinds of projects.
Love the Wash Cloth pattern. I have a question……..Do you ch 1 and turn at the end of each row? 🙋🏻♀️🤗
Thank you so much! Yes, ch1 and turn at the beginning of each row. This is called the turning chain.