The crab stitch might have an unusual name, but it’s one of the most useful finishing techniques you’ll learn in crochet. This simple border—single crochet, but worked backwards!—creates a beautiful rope-like edge that adds polish and structure to virtually any project.
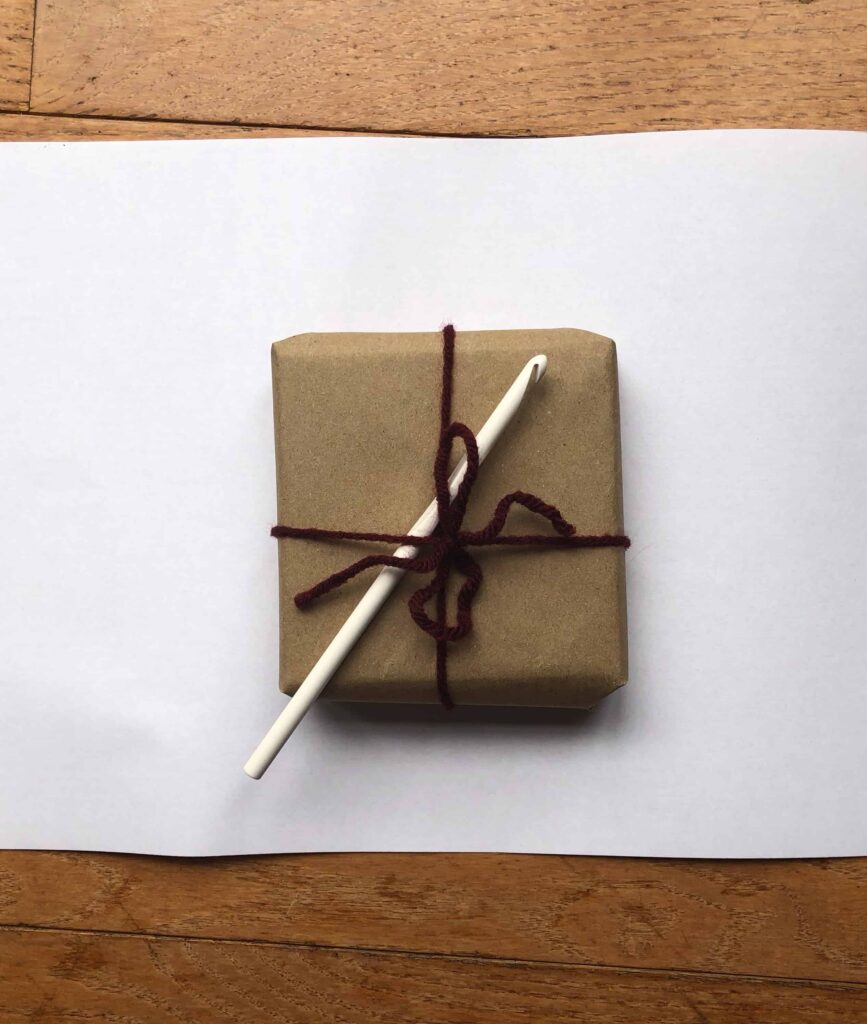
I’m demonstrating this technique on my Merry Berry Trivet, a festive pot holder made with the even berry stitch in Christmas colors. But the beauty of the crab stitch is its versatility—once you learn it, you’ll find yourself adding it to blankets, dishcloths, scarves, and so much more!
Jump to:
What is the Crab Stitch?
The crab stitch gets its quirky name from the way you work it: backwards! Instead of moving left to right (for right-handed crocheters), you work right to left, like a crab moving sideways. This backward motion creates a twisted, raised edge that’s both decorative and functional.
Don’t let “working backwards” intimidate you. It’s really just a single crochet stitch worked in the opposite direction. Your hands might feel a bit awkward at first, but the technique clicks quickly!
Why Use a Crab Stitch Border?
This edging serves multiple purposes:
Visual Polish: The textured, rope-like edge gives projects a professional, finished appearance.
Structural Stability: It reinforces edges, preventing curling and adding durability—especially important for items like trivets and pot holders.
Versatility: Works on practically any stitch pattern and project type.
Simplicity: Just one row creates impressive results.
Crab Stitch Border Tutorial
What You’ll Need:
- Your completed crochet project
- Yarn (can match your project or use a contrasting color)
- Crochet hook in appropriate size
- Yarn needle for weaving ends
Step-by-Step Instructions:
Step 1: Fasten On Join your yarn to any stitch along the edge of your work using a slip knot or by simply pulling up a loop. I typically start in the center of the final row of my project so I have a clear stitch to work into.
Step 2: Work Your First Crab Stitch Instead of working into the next stitch (moving forward), insert your hook into the stitch behind where you fastened on—you’re working backwards.
Pull up a loop, yarn over, and pull through both loops on your hook to complete a single crochet. Congratulations, you just made your first crab stitch!
Step 3: Continue Working Backwards Keep moving backwards around your project. Insert your hook into the previous stitch (which is actually behind your working yarn), pull up a loop, yarn over, and pull through two loops.
The motion feels unusual at first—your hook and yarn cross in ways that seem counterintuitive. That’s completely normal! This twisted motion is exactly what creates the beautiful twisted textured edge.
Step 4: Navigating Corners When you reach a corner stitch, work 3 crab stitches into that same stitch. This creates enough fabric to turn the corner neatly without puckering or pulling.
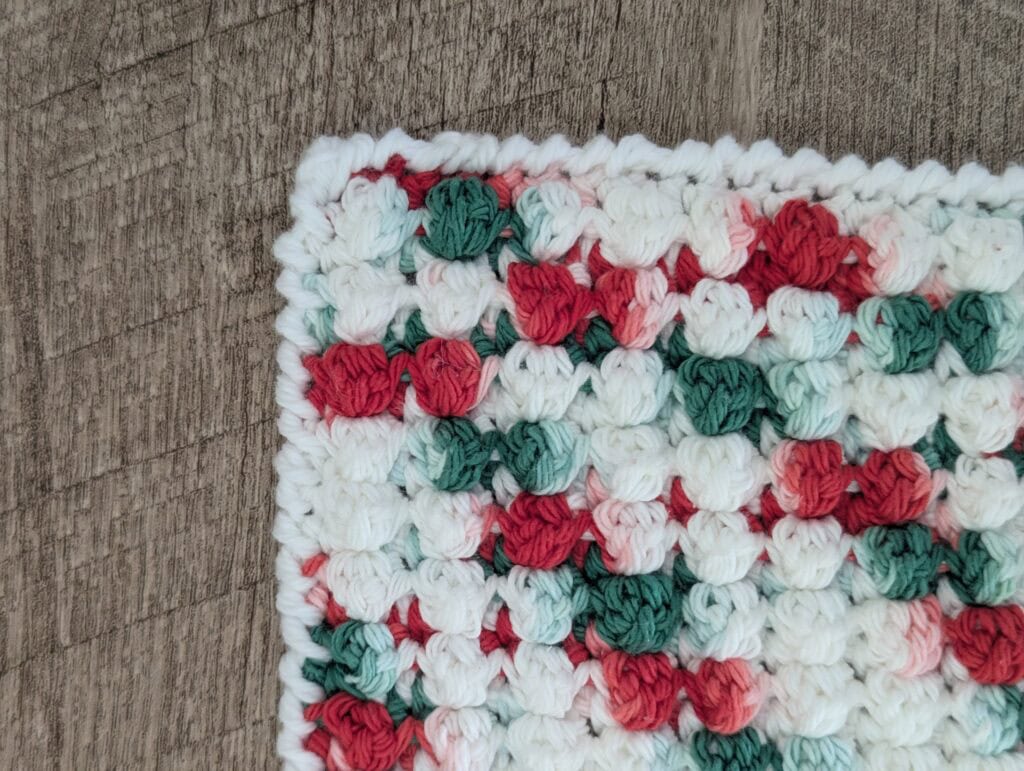
Step 5: Working Along Raw Edges If you’re adding a border to a project where the edges don’t have clear, defined stitches (like along the sides of single crochet rows), space your crab stitches evenly. For the Merry Berry Trivet pattern, I work one crab stitch for each berry and one crab stitch between each berry stitch to maintain even spacing. This will vary depending on your stitch pattern and might take some trial and error.
If your edge is ruffling a bit, space your crab stitches out more. If your edge is puckering after you’ve worked some stitches, that’s a sign you need to add crab stitches more frequently to that edge.
Step 6: Closing the Border Continue working all the way around your project, remembering to work 3 crab stitches in each corner. When you arrive back where you started, remove your hook from the working loop and insert it into your first crab stitch from front to back. Grab that working loop and pull it through to create a slip stitch.
Fasten off and weave in your ends. Your border will have a beautifully seamless finish!
Video Tutorial
Tips for Perfect Crab Stitch
Maintain Even Tension: Working backwards can make your tension inconsistent at first. Try to keep your stitches uniform in size.
Don’t Overthink It: Your hands will naturally find the motion. Trust the process and keep practicing.
Mind Your Stitch Count: On straight edges, aim for consistent spacing to prevent rippling or puckering.
Try Contrasting Colors: A border in a different color can really make your project pop and highlight the edging.
Practice on Swatches: If this is your first time, practice on a small square before tackling a large project. This will also help you figure out the perfect stitch count ratio of border for your project.
Common Questions About Crab Stitch
Is crab stitch the same as reverse single crochet? Yes! These terms are interchangeable. Both refer to working single crochet stitches backwards.
Why does my crab stitch look messy? This is usually a tension issue that improves with practice. Make sure you’re inserting your hook fully into each stitch and keeping consistent yarn tension.
Can I use crab stitch on curved edges? Absolutely! You may need to add extra stitches along curves (similar to how you add stitches in corners) to keep the edge from pulling.
Do I have to work the crab stitch backwards? The backwards motion is what creates the distinctive twisted rope look. If you work it in the normal direction, you’ll just have regular single crochet!
Can I use crab stitch on garments? Yes! It’s lovely on cardigans, shawls, and cowls. Just be mindful that it creates a firm edge, so it works best where you want structure rather than drape.
Project Ideas for Crab Stitch Borders
The crab stitch works beautifully on:
Kitchen Items: Trivets, pot holders, and dishcloths benefit from the extra durability
Baby Blankets: Creates a sturdy, attractive edge that holds up to washing
Dishcloths and Washcloths: The raised edge adds structure and prevents curling
Coasters: Reinforces edges on smaller items that see frequent use
Finishing Touches Matter
There’s something deeply satisfying about adding that final border to a project. The crab stitch transforms something handmade into something truly finished—polished and professional. It’s the difference between “I made this” and “Look what I created!”
For the Merry Berry Trivet, this border not only looks festive but adds important heat protection around the edges. For other projects, it might be purely decorative. Either way, this simple technique elevates your work.
I’d love to see what projects you add a crab stitch border to! Whether you’re finishing a trivet, edging a baby blanket, or adding polish to a dishcloth, this versatile technique will serve you well.
Happy crafting!