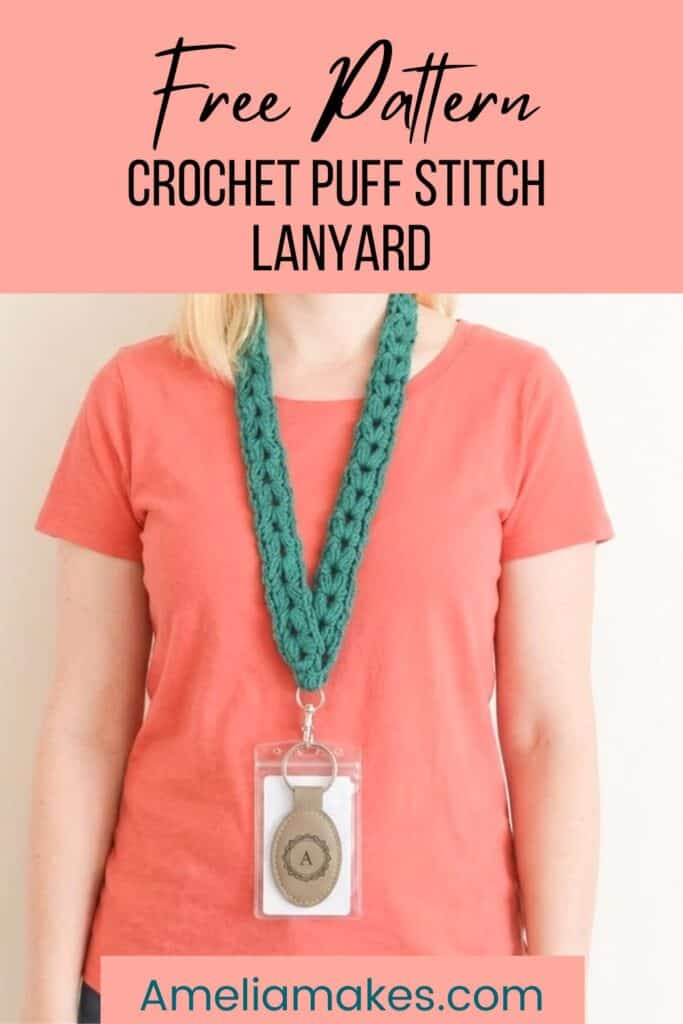
You know that feeling when you’re rushing out the door and your keys or gym card are just… somewhere? Maybe at the bottom of your bag, maybe on the kitchen counter, maybe in the void. A lanyard sounds like a simple fix, but the store-bought options always feel a little flimsy or a little boring. This puff stitch crochet lanyard is neither of those things.

It’s sturdy, it’s textured, it’s genuinely pretty, and it works up faster than you’d expect. College students, gym-goers, office folks, anyone who needs their keycard or keys accessible and secure will find this one genuinely useful. And because you made it yourself, it’ll be the nicest lanyard in the room.
About the Puff Stitch Crochet Lanyard
This pattern marries the puff stitch and the V stitch to create a cord that is fun to crochet, works up quick and gives loads of texture. We’ll also get practice adding metal hardware to your crochet which I love to do. It provides such a professional looking finished project!
Gauge
Gauge is not essential for this patter because I will tell you exactly how long to make your puff stitch cord. Keep in mind, though, that lighter yarn will create a lanyard that is more narrow. That also means that thicker yarn will create a wider lanyard. I used worsted weight yarn and a 5mm hook to create a 1″ wide lanyard, for reference.
Sizing
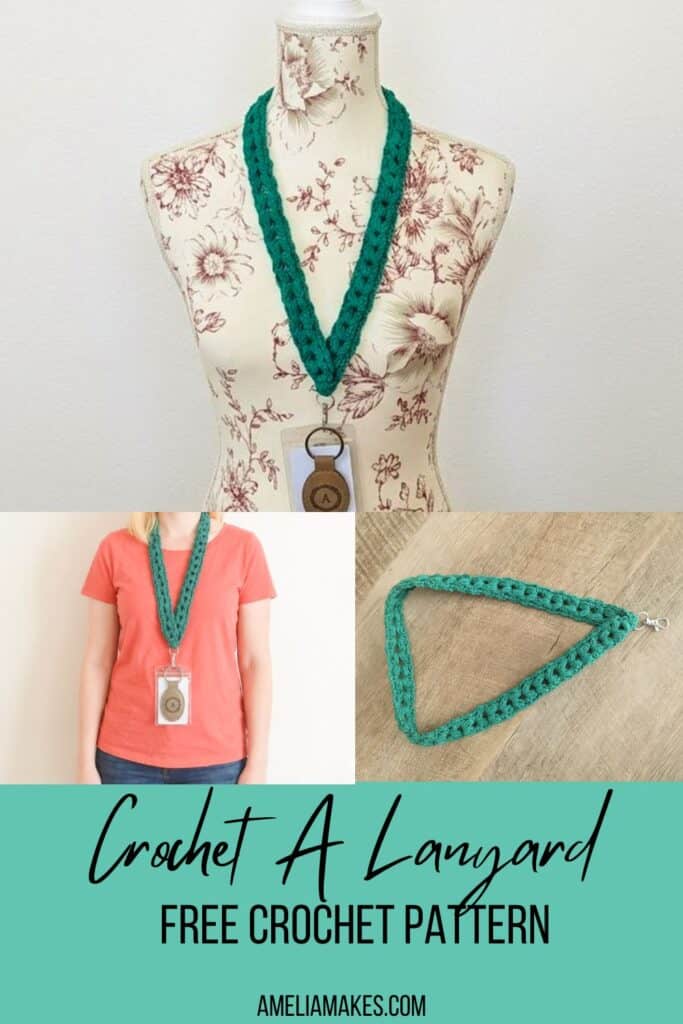
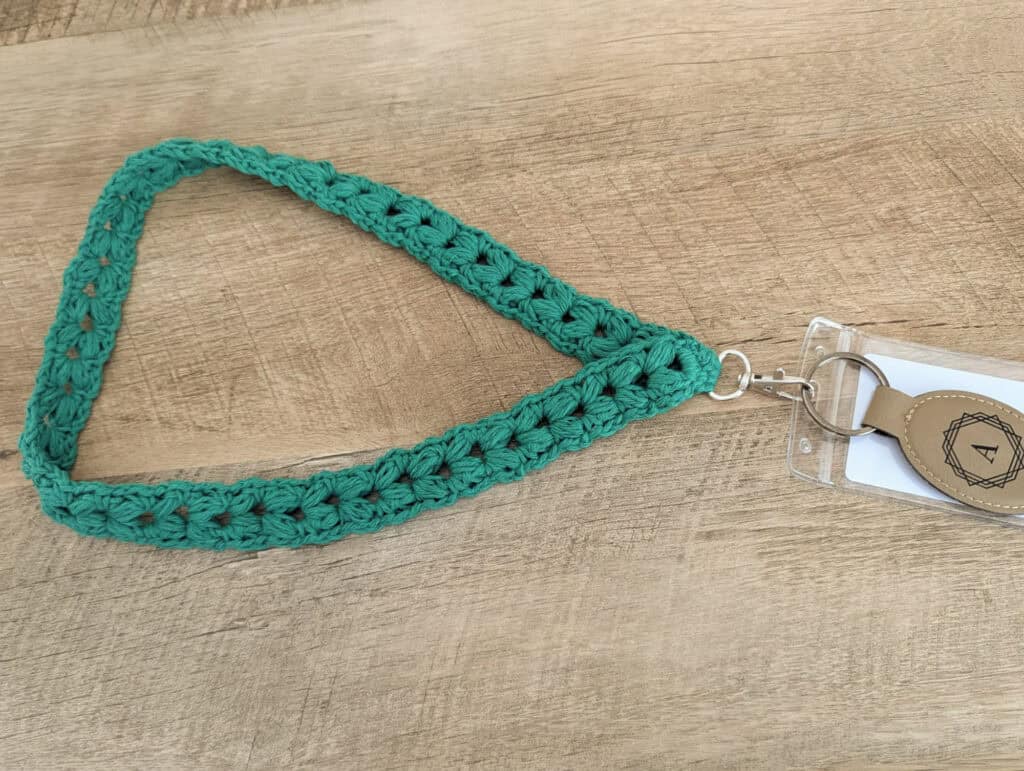
The finished lanyard measures approximately 16″ in length (not including the hardware), which is a comfortable standard lanyard length. Feel free to add or subtract rows to customize the length to your preference. The width of the lanyard, as I mentioned earlier, is determined by your yarn thickness. Worsted weight yarn will yield about a 1″ thick lanyard.
Skill Level
This pattern is written for confident beginners and up. Some prior crochet experience is helpful, particularly familiarity with tension control, since the puff stitch involves a few extra yarn loops that need to stay even. That said, the puff stitch itself is very learnable, and the repetitive nature of the pattern makes it easier as you go.
Materials
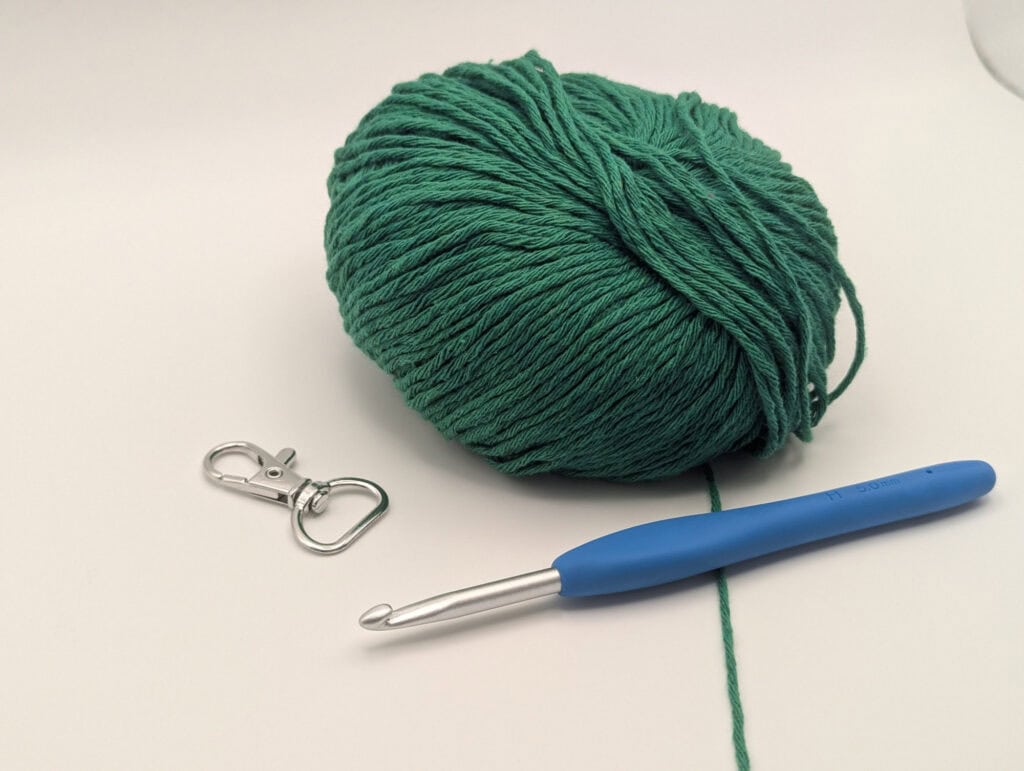
- Approximately 50 yards of worsted weight cotton yarn
- 5mm crochet hook
- One claw hook (also called a swivel claw hook or lobster clasp hardware, available at craft stores or online)
- Tapestry needle for a tiny bit of seaming at the end
A Few Notes Before You Begin
The claw hook hardware is what makes this lanyard so practical. Unlike a fixed ring, a claw hook lets you clip and unclip your keys or card instantly, which means you’re not fumbling or wrestling with it when your hands are full.
Worsted weight cotton is ideal for this project because it has just enough structure to hold the puff stitches beautifully without being stiff or scratchy against your neck. It’s also washable, and durable which is a bonus for something you’ll use every day.
One thing to keep in mind as you work: puff stitches can be a little tighter or looser depending on how you tension your yarn. If your puffs are feeling very stiff or very loose, adjust your hook size up or down by half a millimeter and see how that feels.
Abbreviations
- Ch: chain stitch(yarn over, draw a loop through)
- Sp: space
- Sc: single crochet
- Yo: yarn over hook
- Ps: puff stitch ((yarn over, insert)x3, 7 loops on hook, yo, pull through 7)
- Prev: previous
- Sl st: slip stitch
- St: stitch
Downloadable PDF
Want your own, ad free copy of this pattern that’s easy to read, print and take on-the-go? It’s available as a downloadable PDF for purchase Here!
Pattern Directions
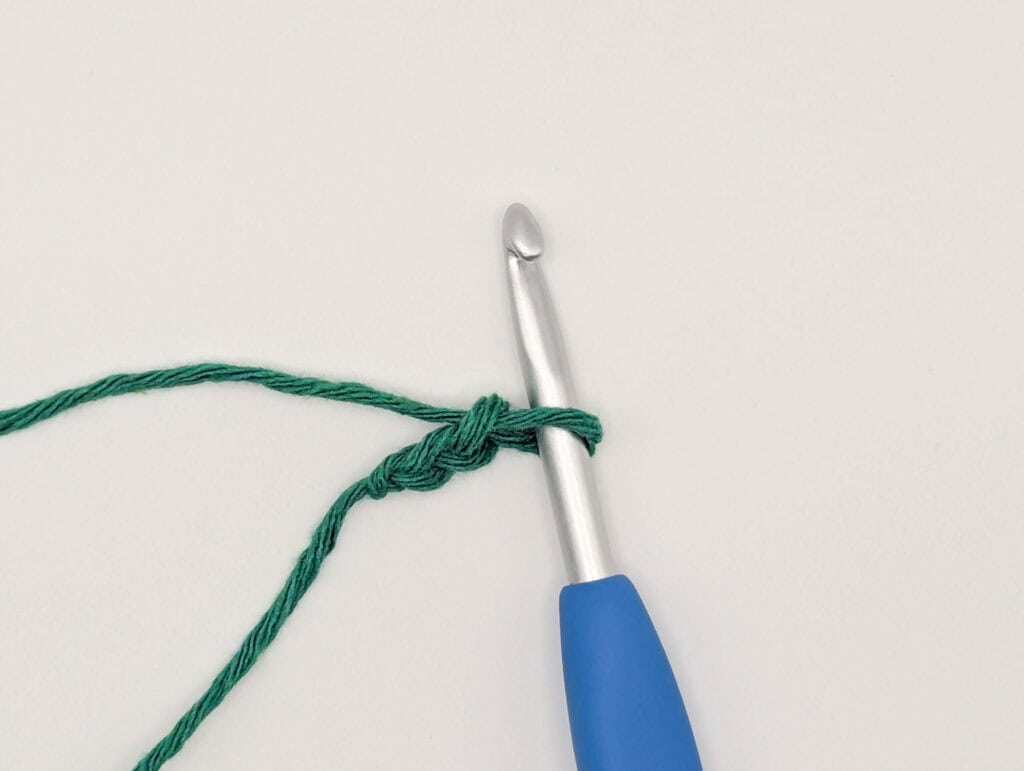
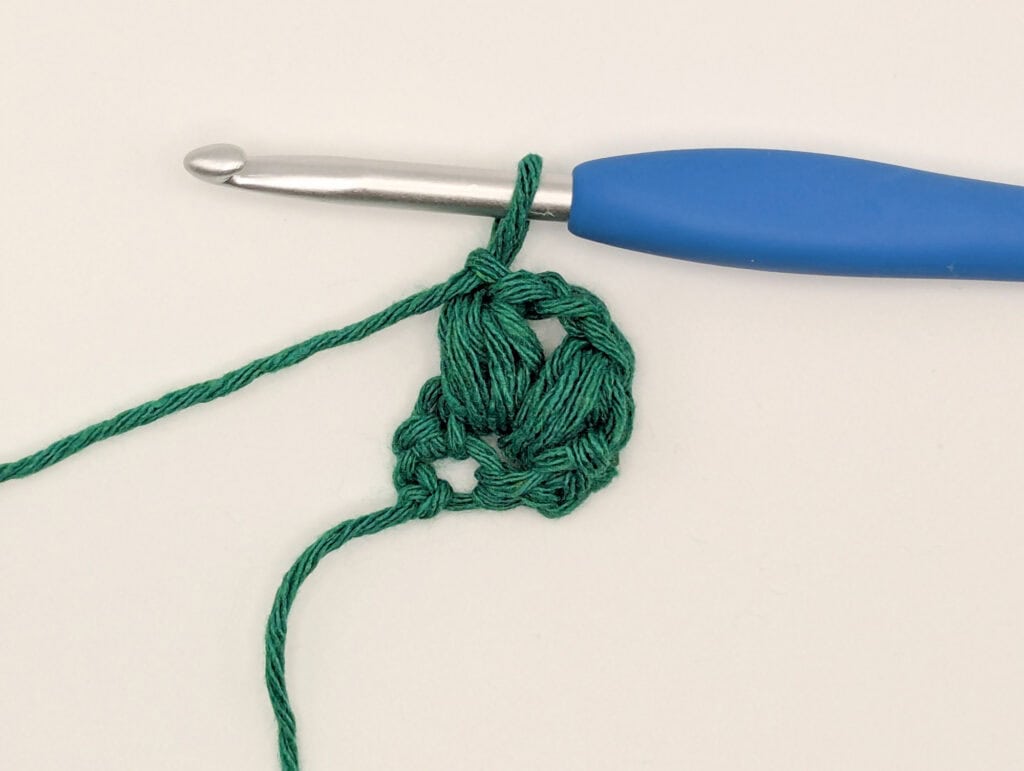
Set Up Row: Ch2. Skip the first ch, work 1sc, ch2, 1sc all into the next ch.
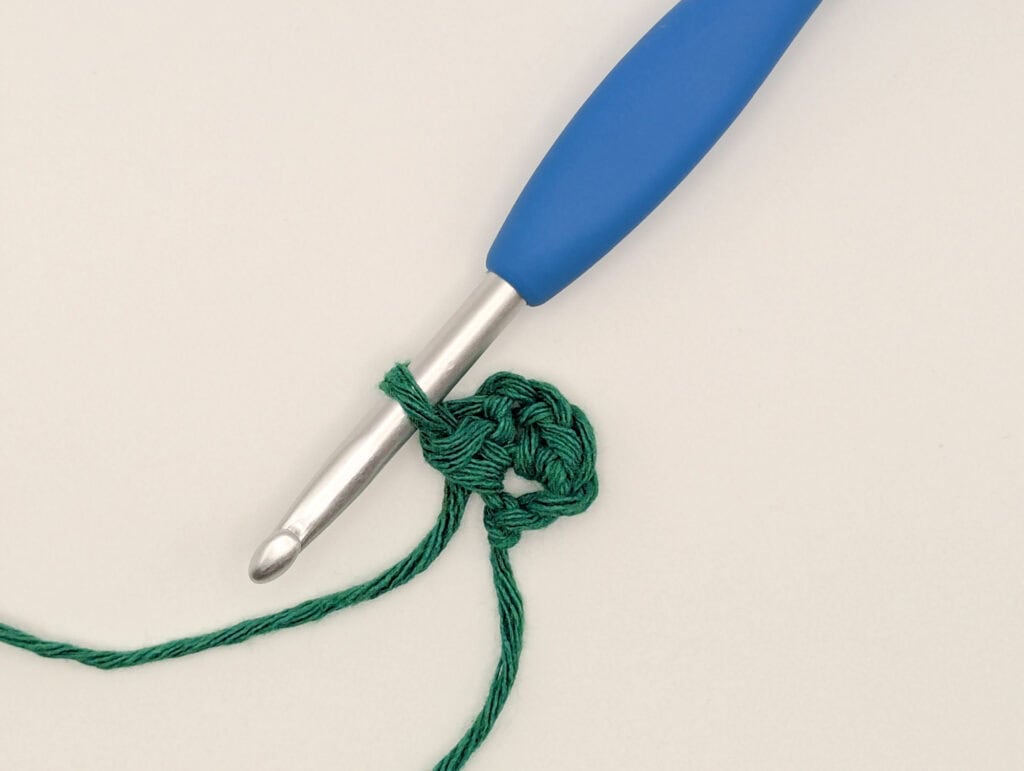
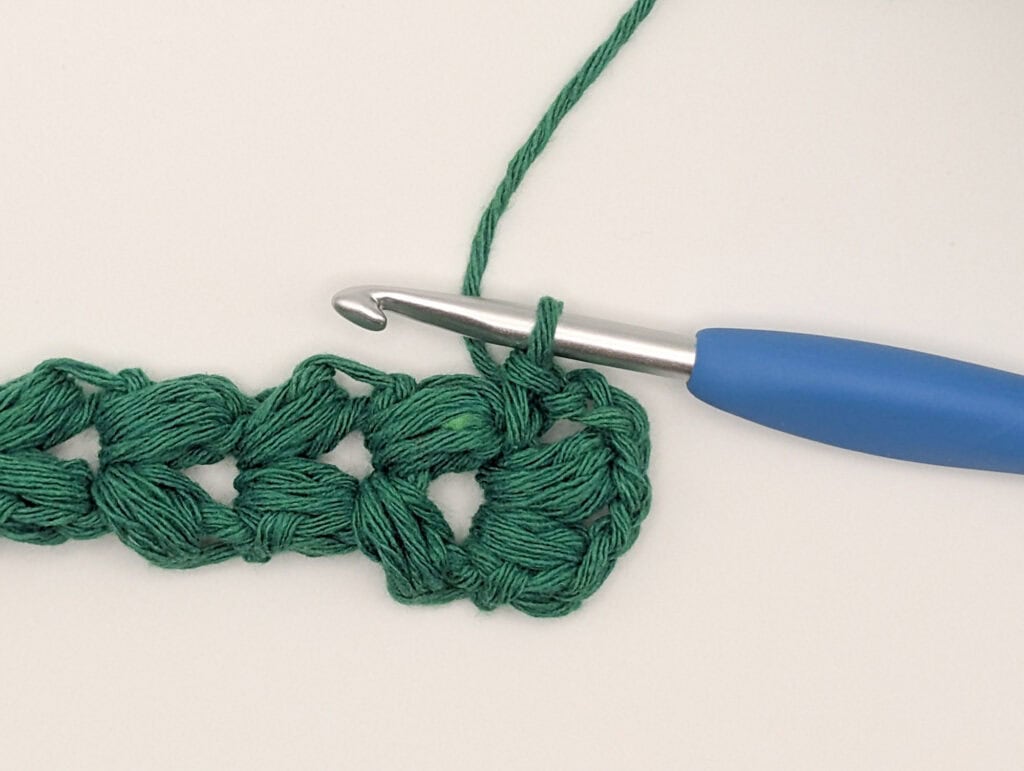
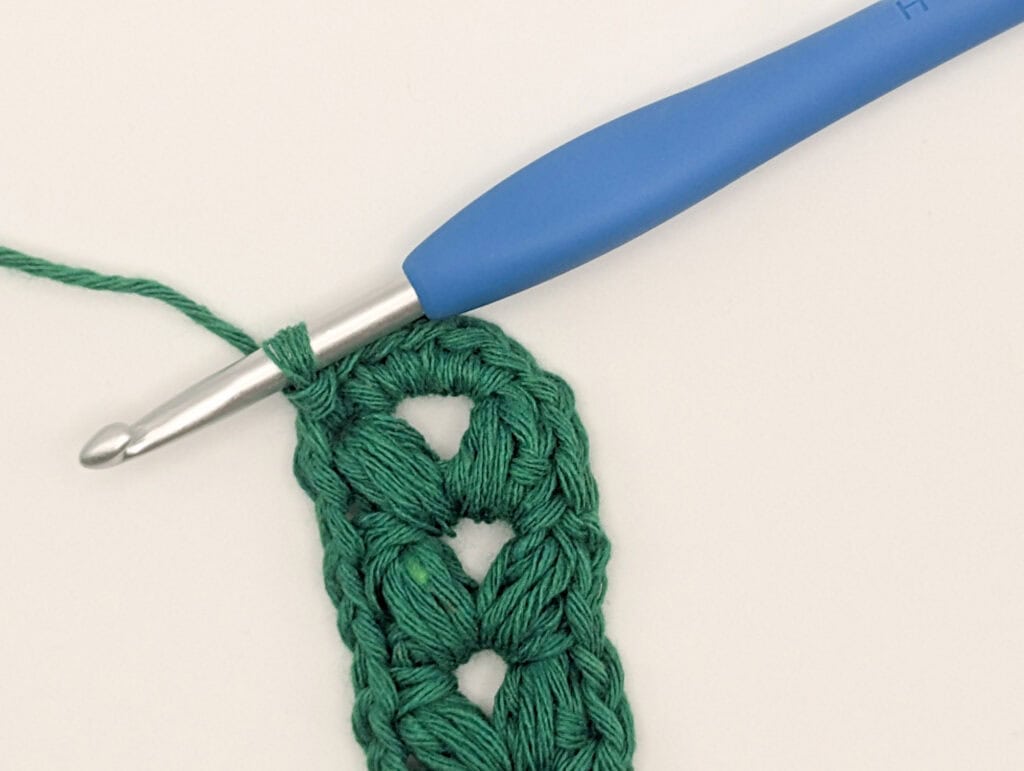
Row 2: Ch1, turn your work and sl st into the ch2 sp from the prev row. Pull the loop on your hook up long. (Yo, insert into the ch2 sp) x3 to get 7 loops on your hook (puff stitch). Yo and pull through 7. Ch2 (the first of those two chains will close your puff stitch). Repeat one ps into the ch2 sp from prev row and ch1.
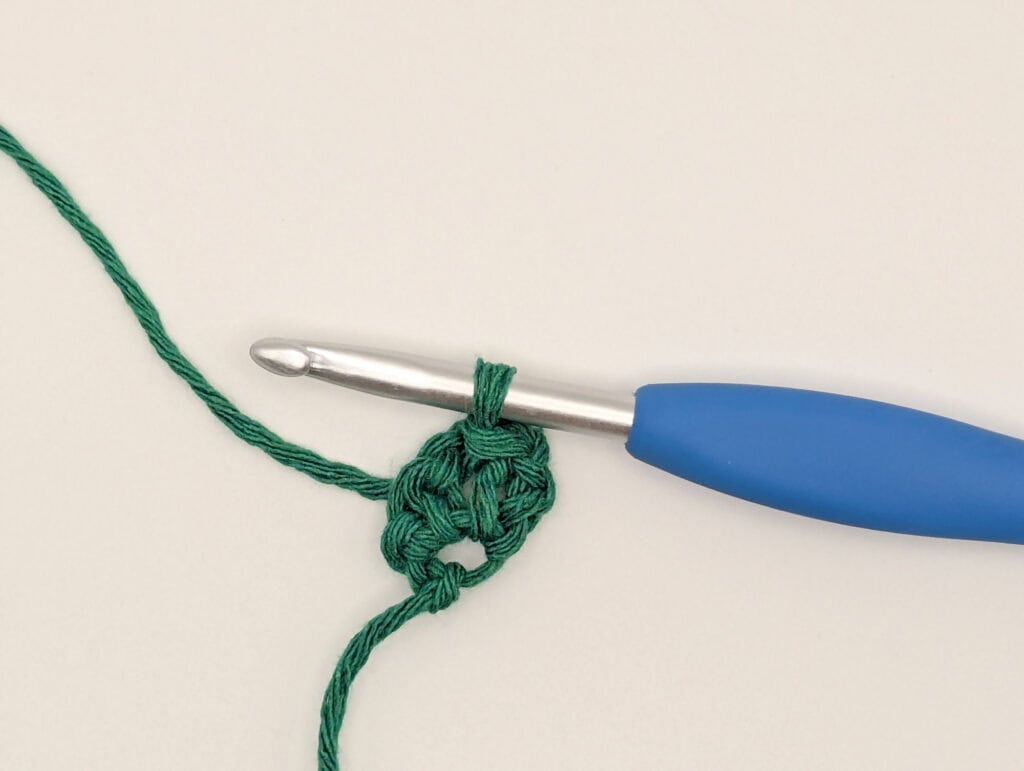
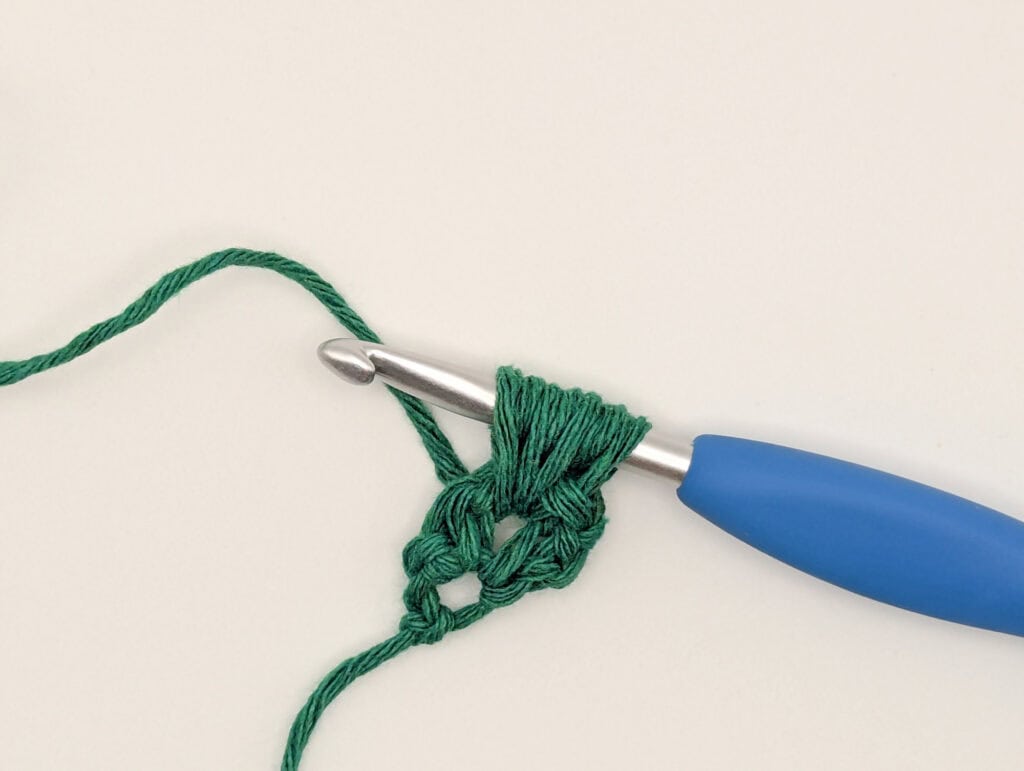
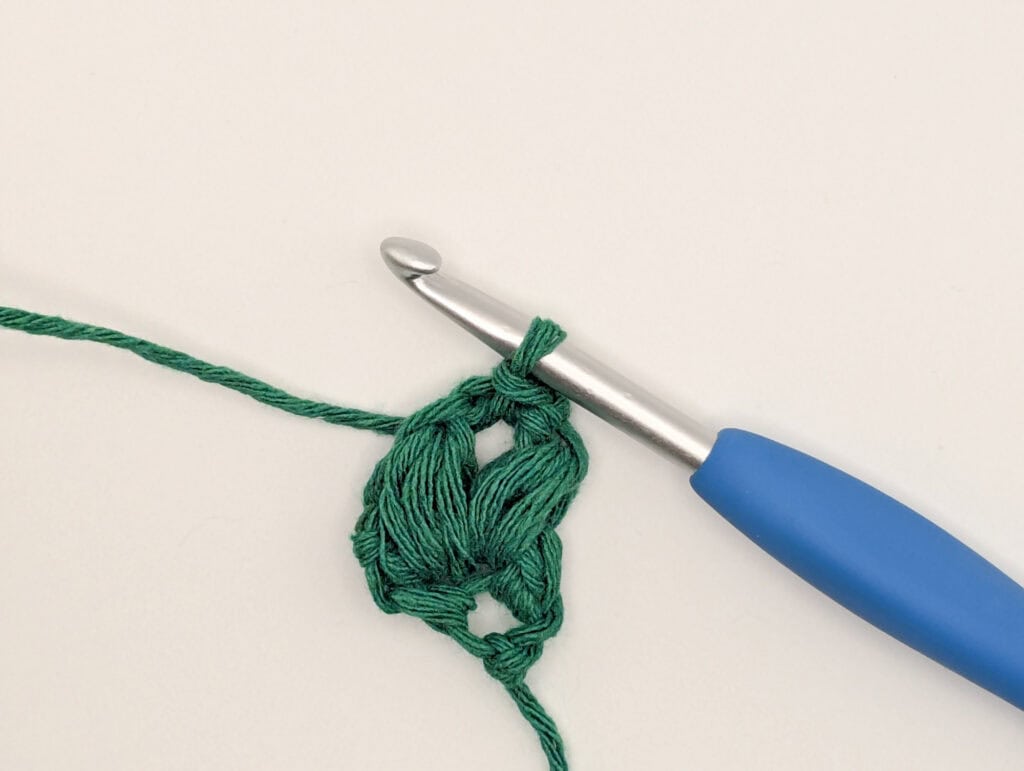
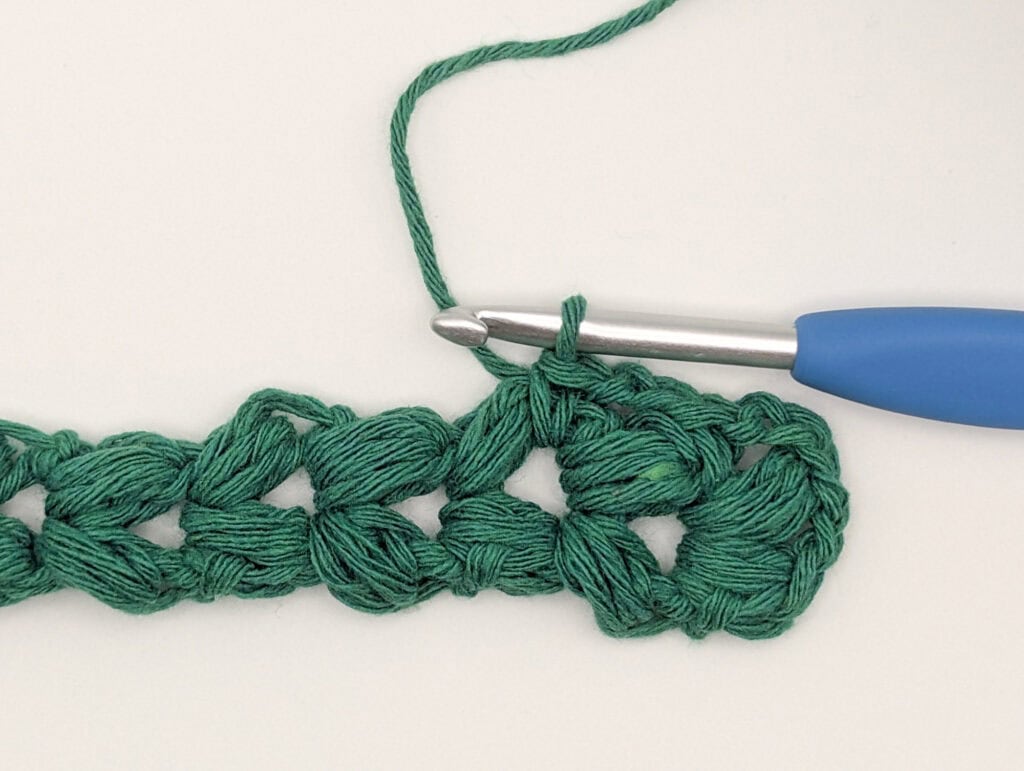
Row 3: Turn your work, sl st into the ch2 sp from the prev row. Ps, ch2, ps, ch1 all into the ch2 sp.

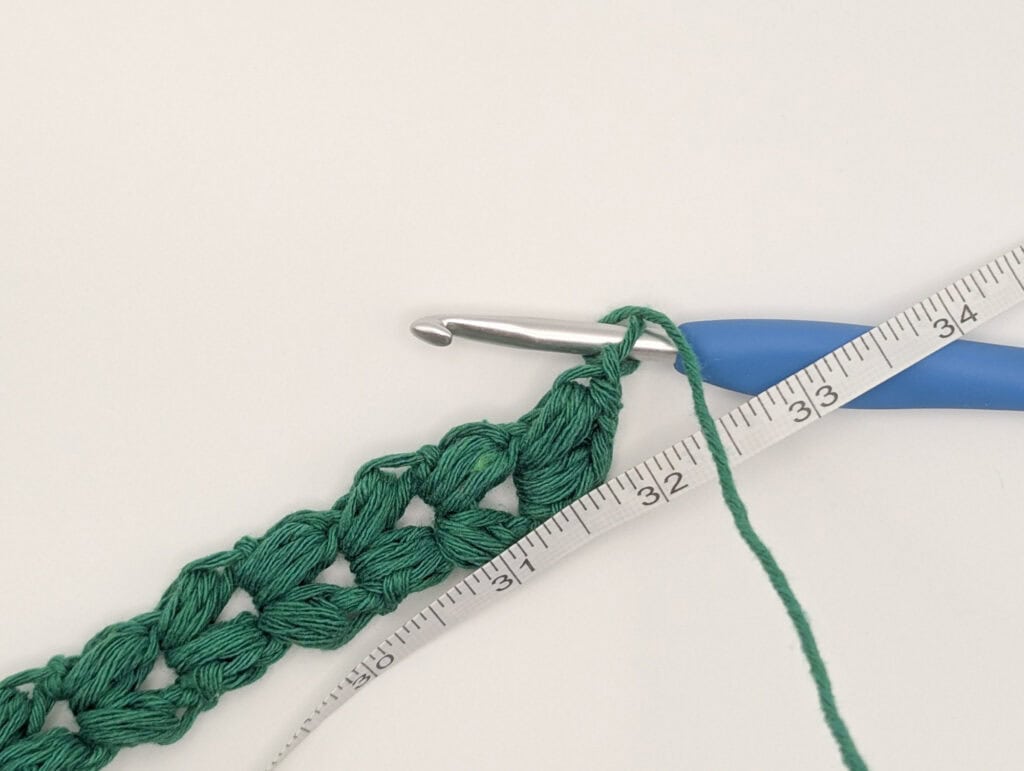
Repeat Row 3 until your cord measures:
- 26″ for a child’s size
- 32″ for a standard adult size
- 38″ for a large adult size
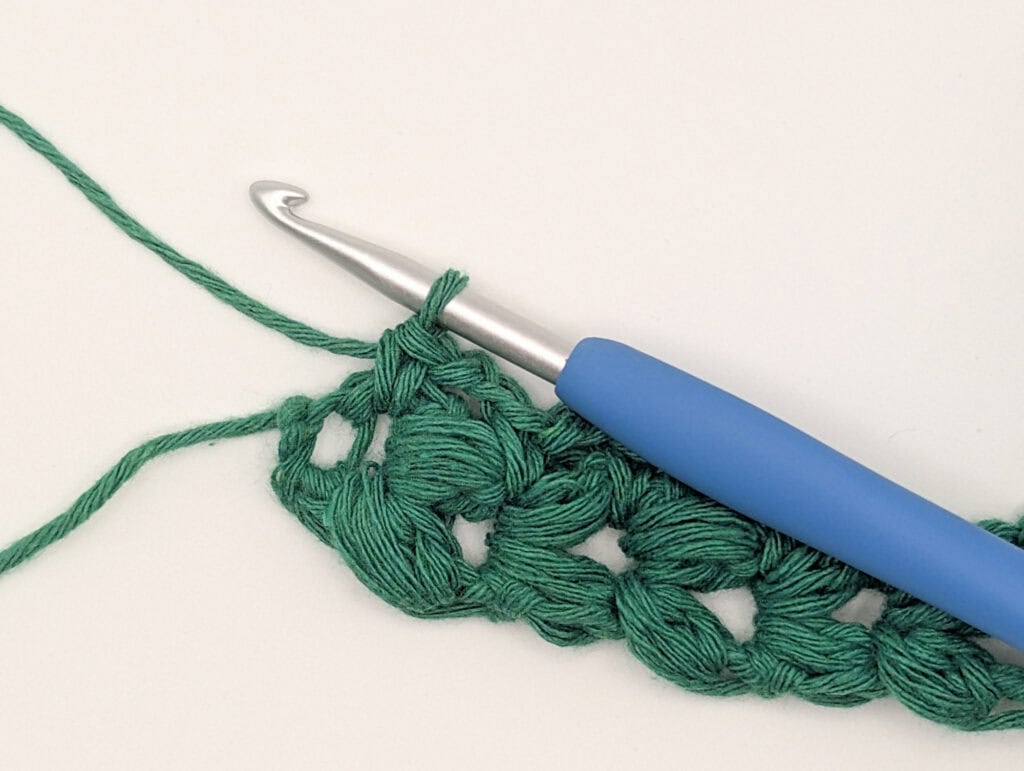
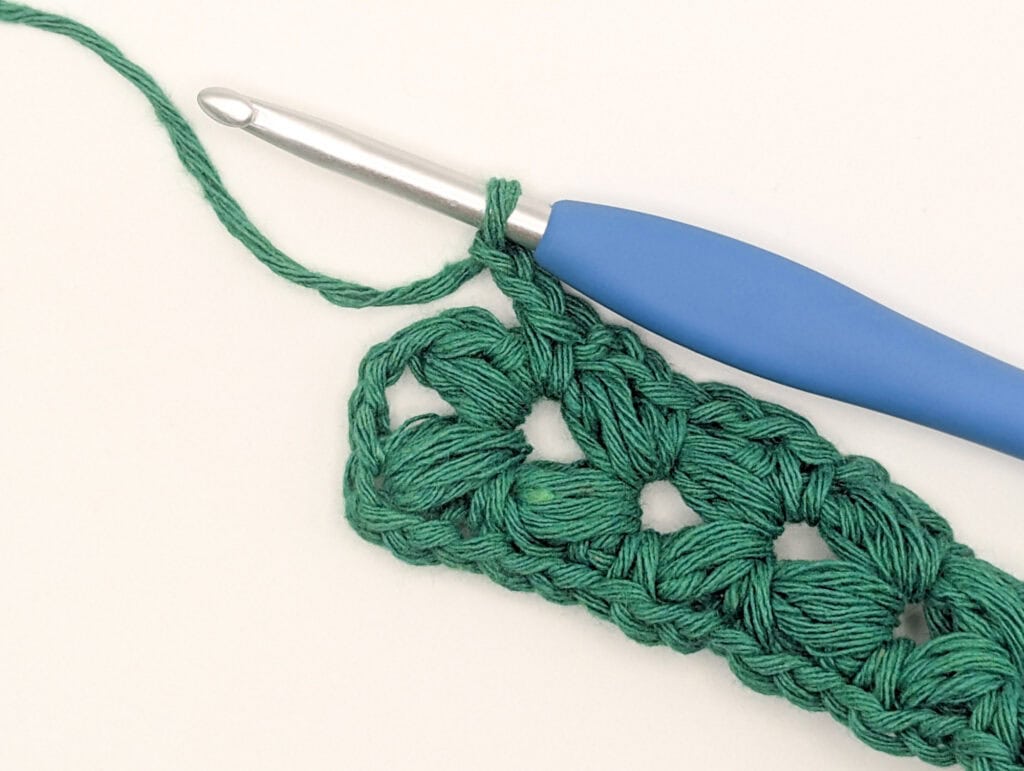
Border
Ch2, working along the side of your puffs, make 1sc in the ch2 space between puffs.
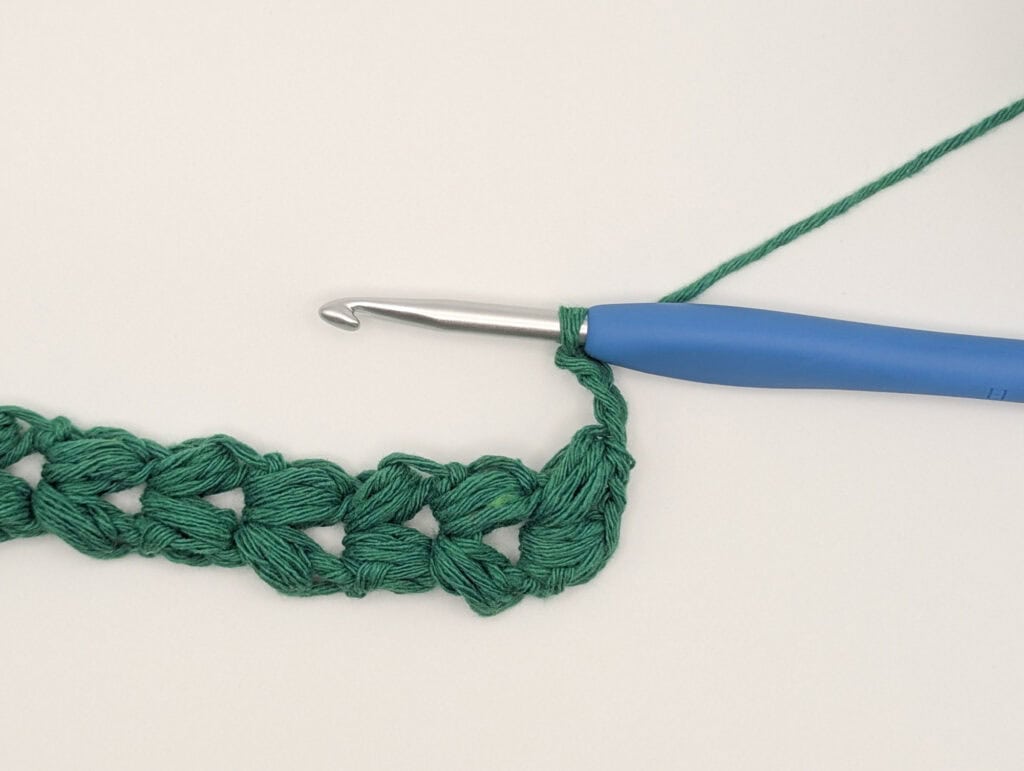
Continue ch2, 1sc to the start of your cord. Continue ch2, 1sc along the other side of the cord. When you reach your last ch2 sp, work 5sc into the ch2 sp. Sl st to the top of the last puff st. Fasten off with a long tail for seaming.
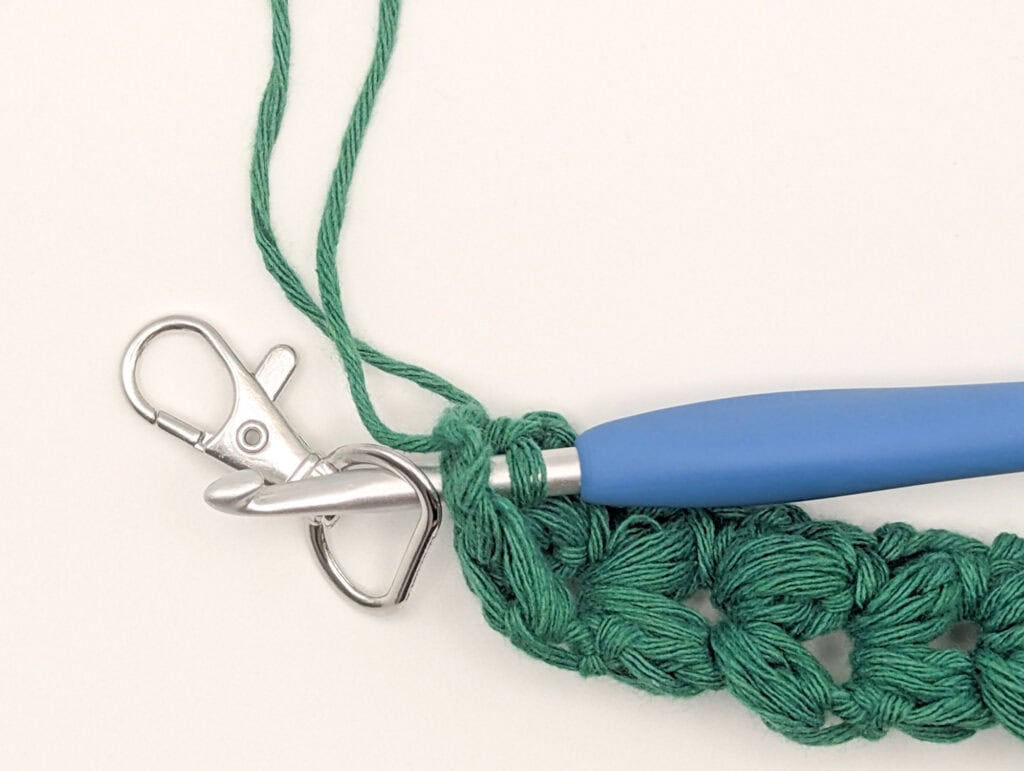
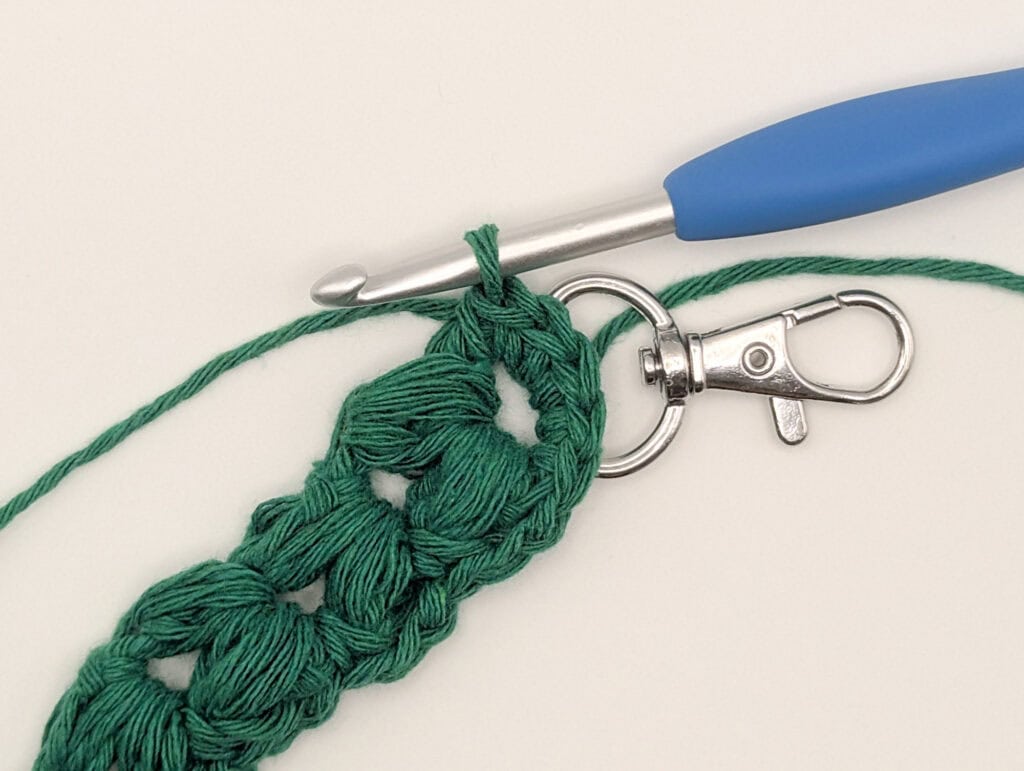
Adding the Clip
After working the last sc in the very first ch2 sp of your project, add the claw clip and work 3sc into the clip and the ch2 sp at the same time. Then work 1 more sc in the ch2 space (not the clip).
Continue, ch2, 1sc along side of the cord.
When you reach your last ch2 sp, work 5sc into the ch2 sp. Sl st to the top of the last puff st. Fasten off with a long tail for seaming.
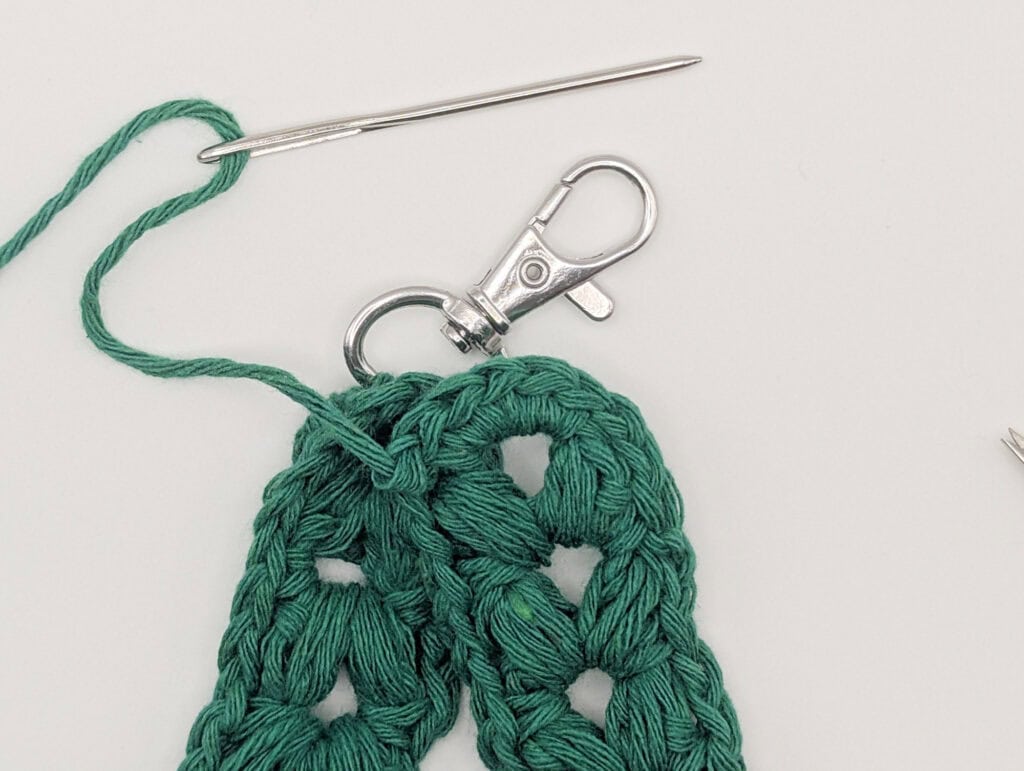
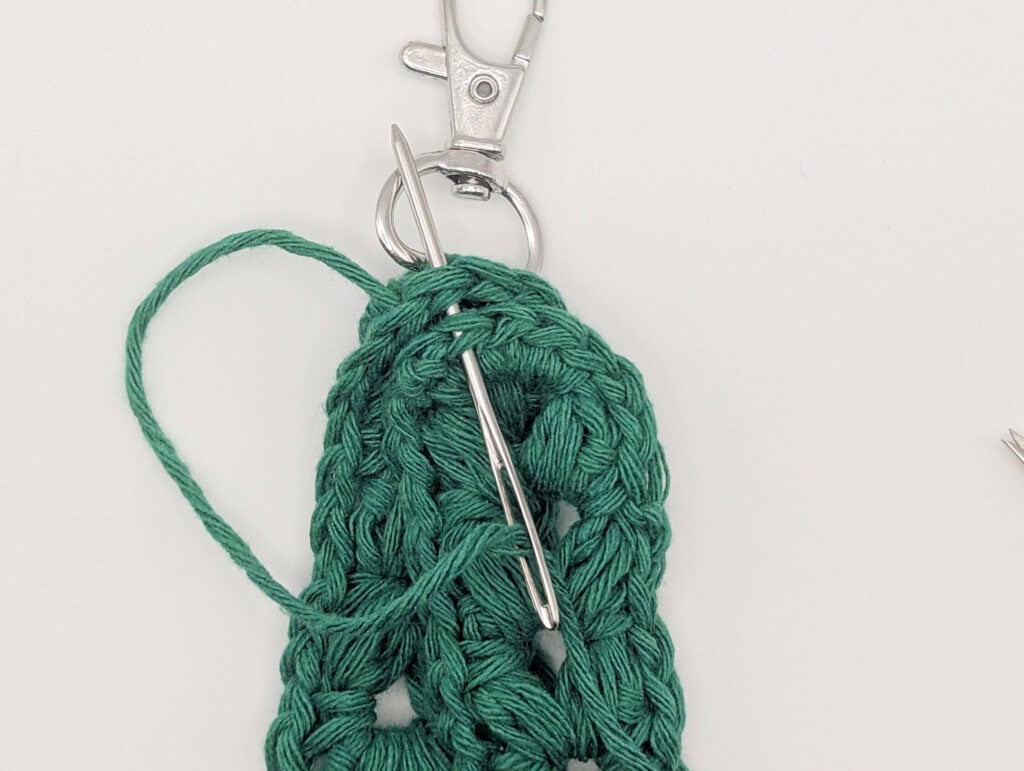
Seaming
Overlap the two ends of your lanyard with right sides facing up. Thread a tapestry needle with your tail and whip stitch (around and around) the last 5sc of either end together.
Additional Ideas
Once you’ve made one of these, it’s hard to stop. A few fun variations to consider:
You can also make a shorter version as a wrist strap or key fob, using the same stitch pattern with fewer rows.
We add a chain border around the edge of our strap. This gives it a finished look but those chain spaces are also opportunities to work more stitches! Consider going around again and working single crochets or picots for an elegant, vintage look.
Final Thoughts
Thanks so much for spending some time at Amelia Makes today! I hope this puff stitch lanyard becomes one of those small, everyday things that makes your routine feel just a little more put-together, whether you’re heading to the gym, campus, or just out the door.
If you make one, I’d genuinely love to see it. Tag me on social media or use #AmeliaMakes to share your finished lanyard. And if you’re not already signed up for updates, be sure to join the list so you’ll catch new patterns as they arrive.
Keep the Crafting Delightful!