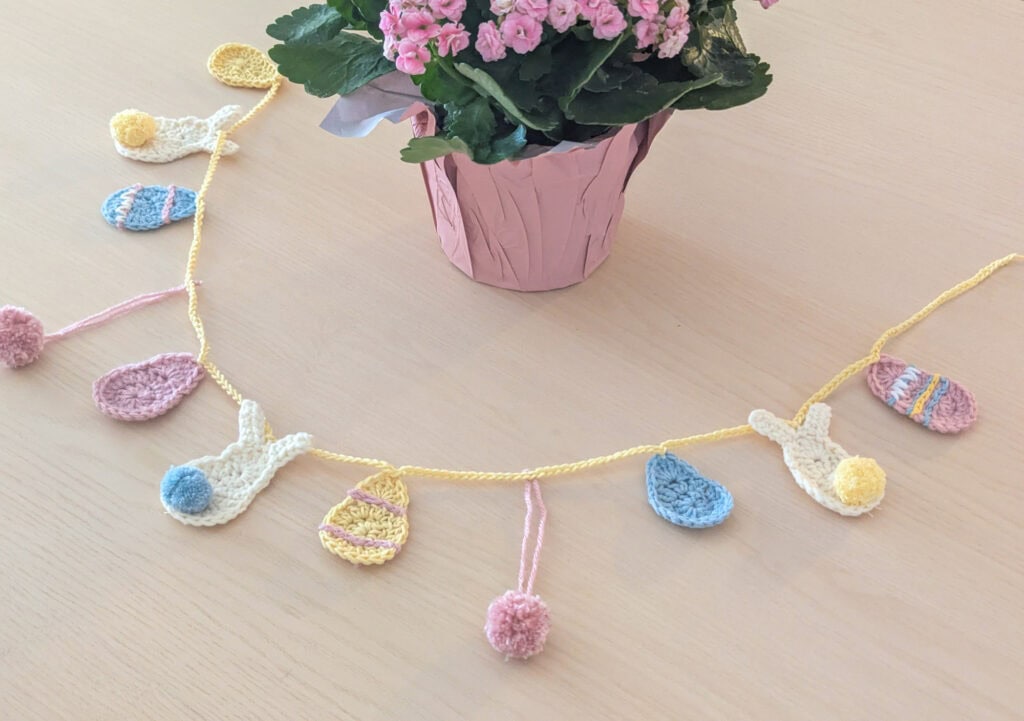
There is something so cheerful about a handmade Easter garland strung across a mantel or doorway, and this one might just be my favourite seasonal project yet. It features the sweetest little egg and bunny motifs, optional pom poms for extra fluffy detail, and a crocheted chain that holds it all together.
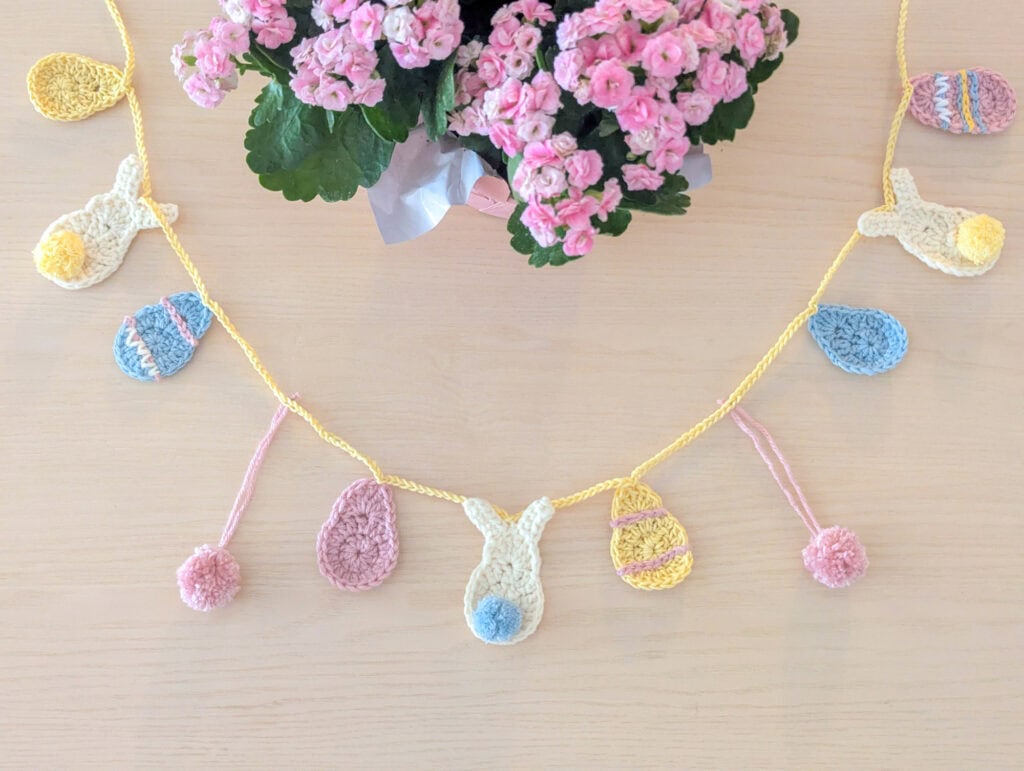
The whole thing comes together more quickly than you might expect, and the result is genuinely adorable.
Whether you’re relatively new to crochet or have been crocheting for years, this project is a lovely one to settle into. The motifs are small and satisfying to make, and because the garland is made up of individual pieces, you can pick it up and put it down whenever you like.
It’s also a wonderful stash-buster if you have a collection of pastel scraps waiting for the right project!
Materials
- Small amounts of yarn in your chosen colors (DK or worsted weight work beautifully here, pastel shades are especially sweet for Easter). I used worsted weight yarn with a mix of acrylic and cotton.
- Crochet hook to match your yarn weight. I used a 5mm H hook.
- Tapestry needle for weaving in ends and adding decorations to the eggs
- Scissors
- Optional: a fork for making pom poms
Abbreviations
- ch , chain
- sl st , slip stitch
- dc , double crochet
- tr , treble crochet
- sc , single crochet
- hdc , half double crochet
- st , stitch
Egg and Bunny Body Motif
These two motifs share the same base, which I love. You start with the egg shape, and then with just a few extra steps, you’ve got yourself a bunny. Let’s begin!
Round 1
To begin the egg shape, chain 4, then slip stitch into the first chain to form a ring.
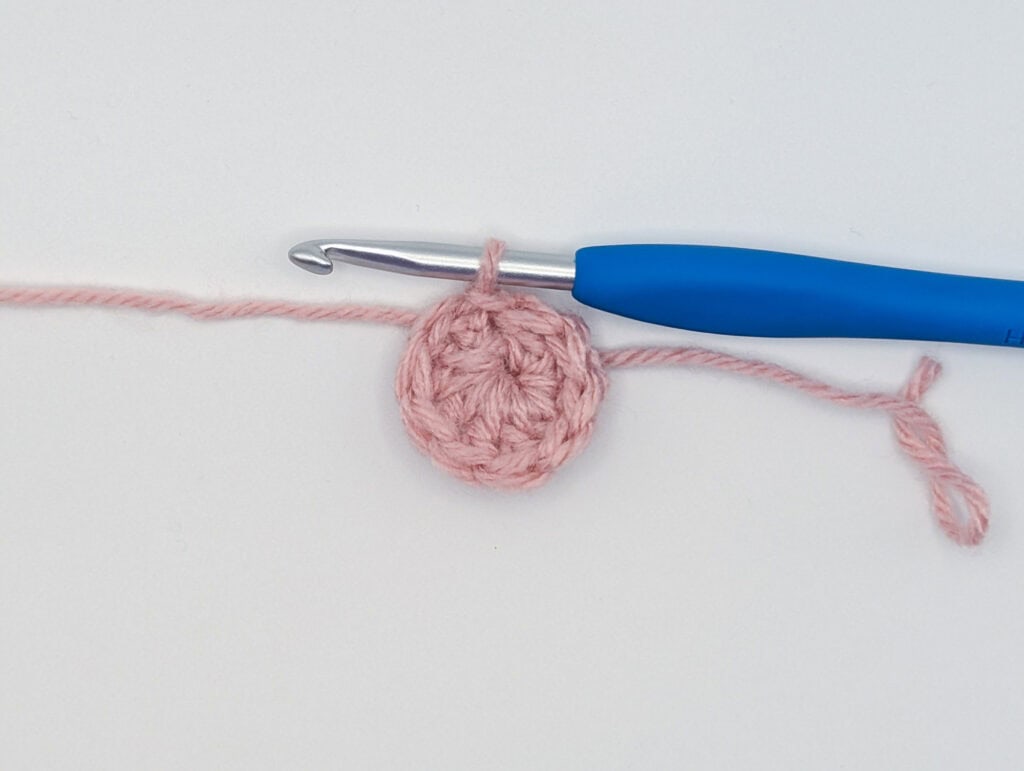
Chain 3 (this counts as your first dc), then work 9 more dc into the ring, giving you 10 dc total.
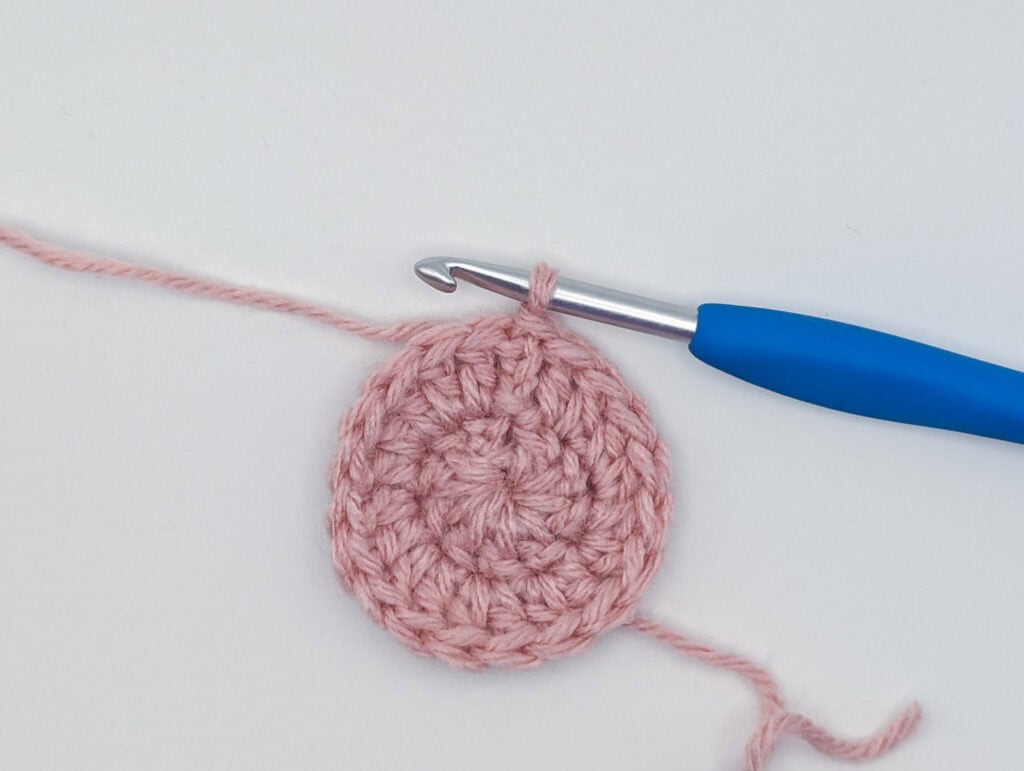
Round 2
Chain 3 (counts as 1 dc), then make one more dc into the same stitch. Work 2 dc into each stitch around. You’ll have 20 dc at the end of this round.
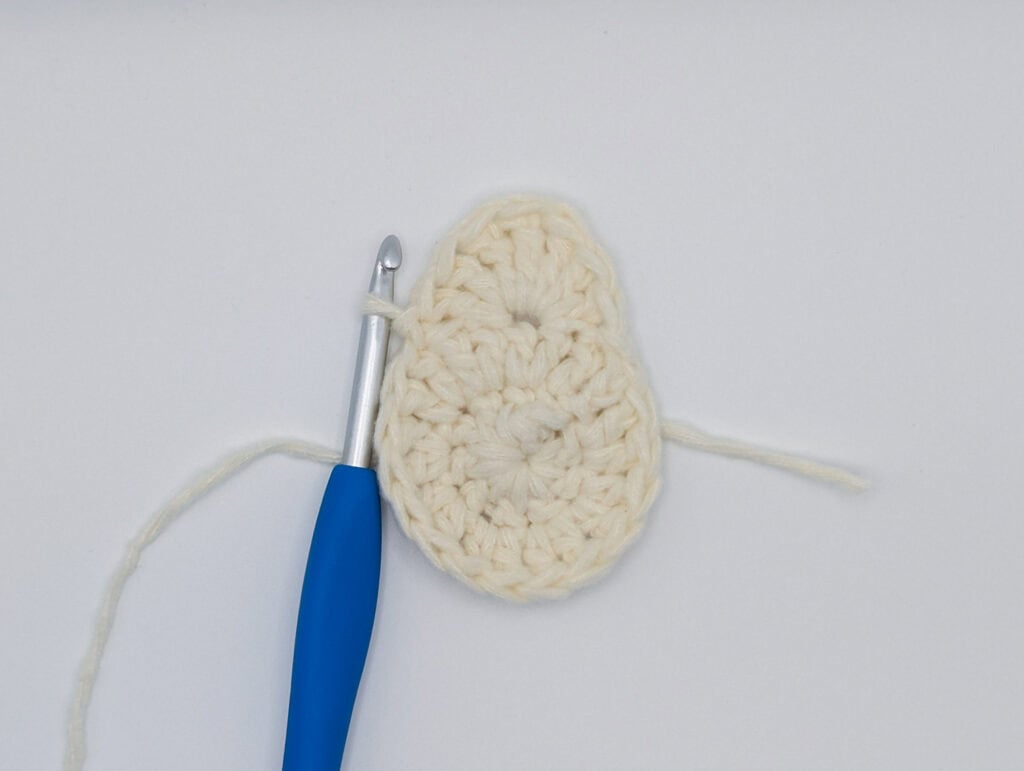
Row 3 (Egg Top / Bunny Head)
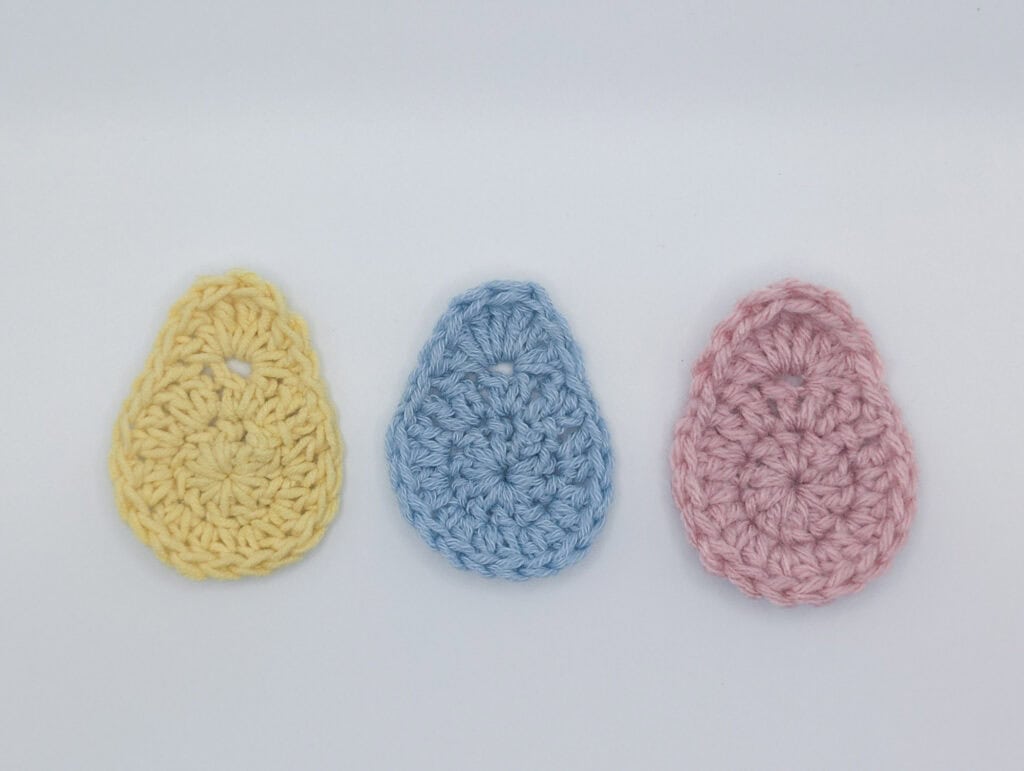
Slip stitch into the next stitch. Skip one stitch, then into the next stitch work 2 dc, 3 tr, and 2 dc, all into that same stitch. Skip the next stitch, then slip stitch into the next stitch.
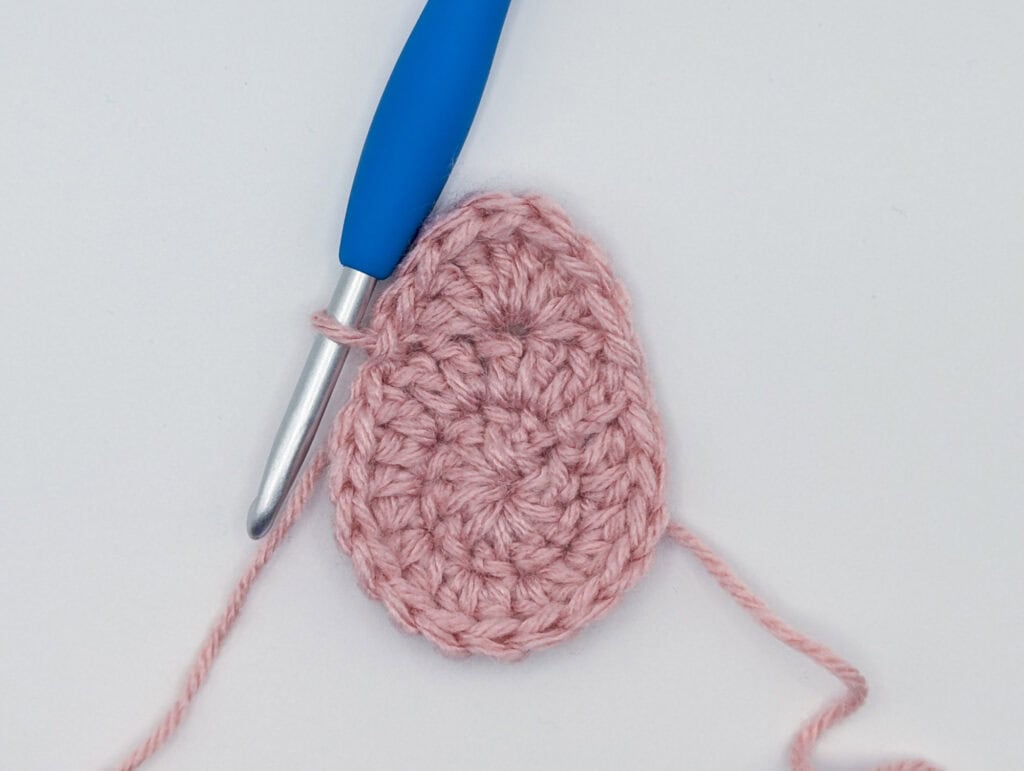
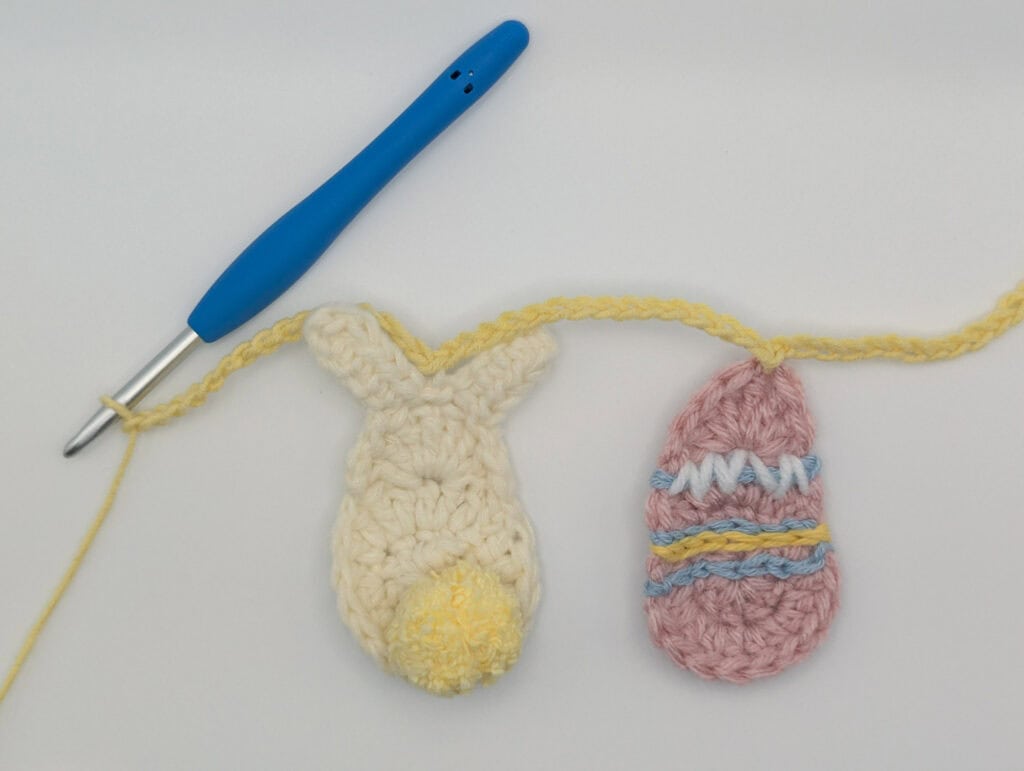
And just like that, you have your first Easter egg! They’re so satisfying to finish. And just like real Easter eggs, you can decorate them to your heart’s content.
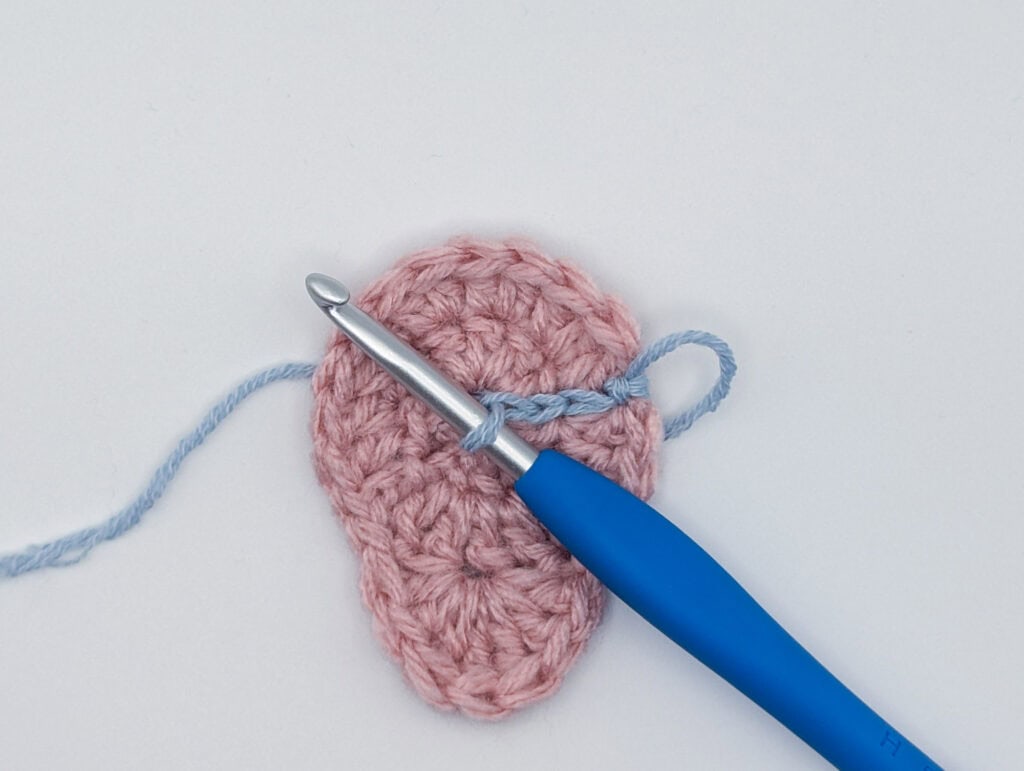
Decorating the Eggs
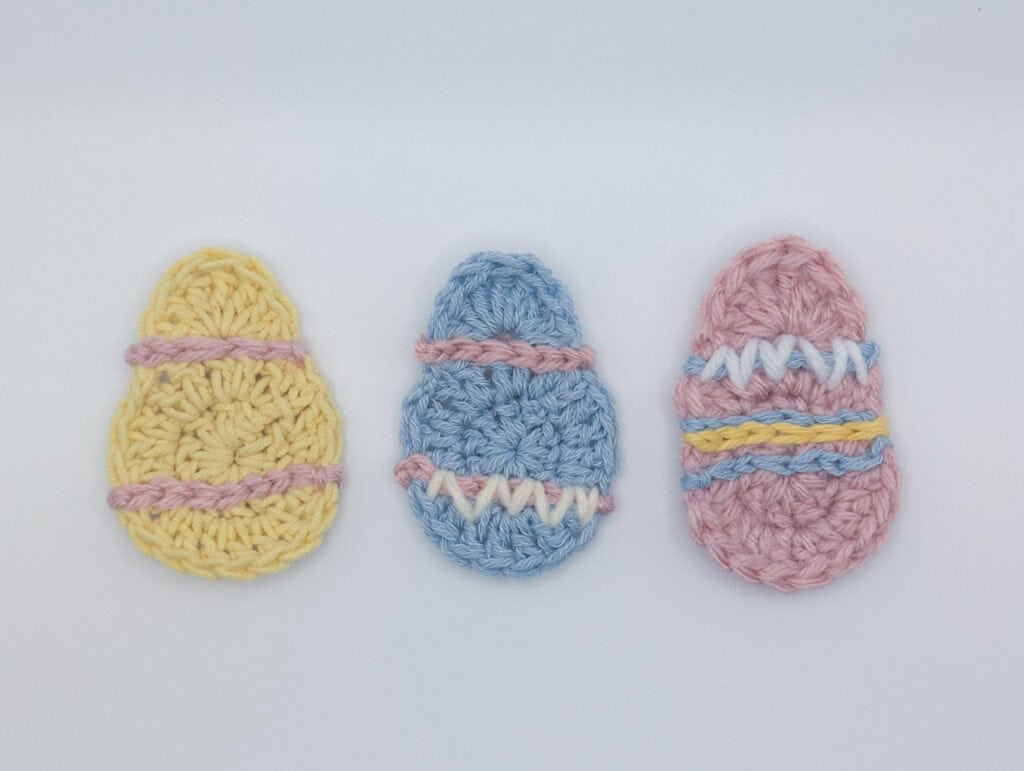
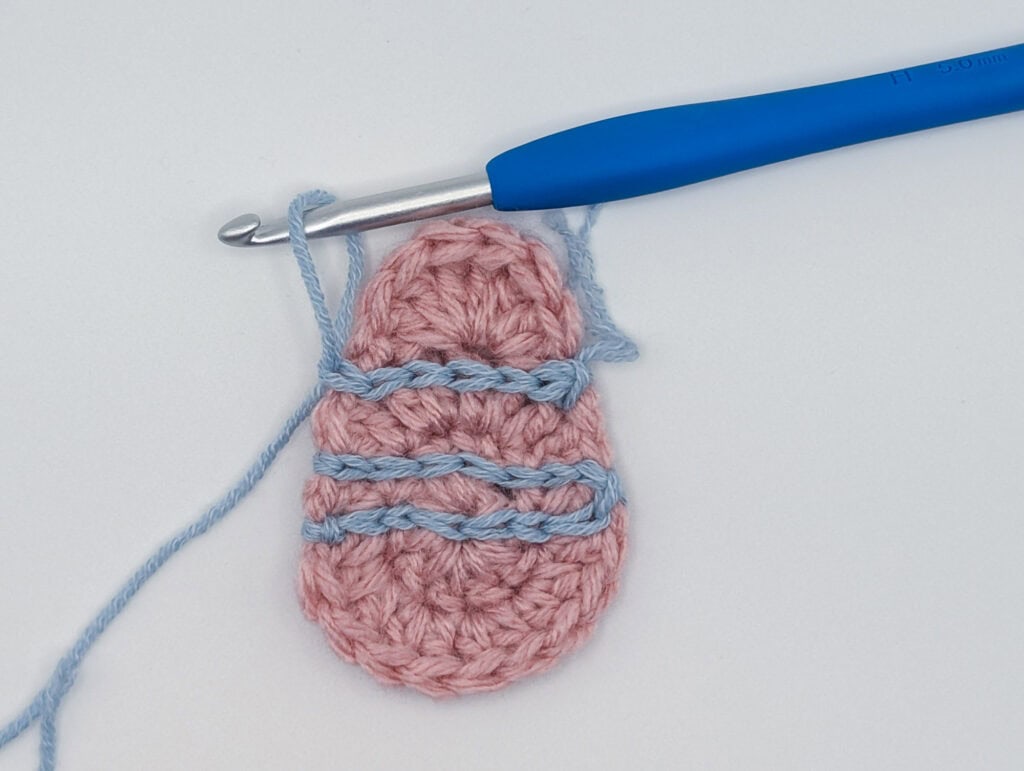
I added a little extra personality to some of my eggs using surface crochet. To do this, fasten on a new color and work slip stitches across your egg while holding the yarn at the back of your work. Simple stripes in different colors look lovely, or you can layer them up.
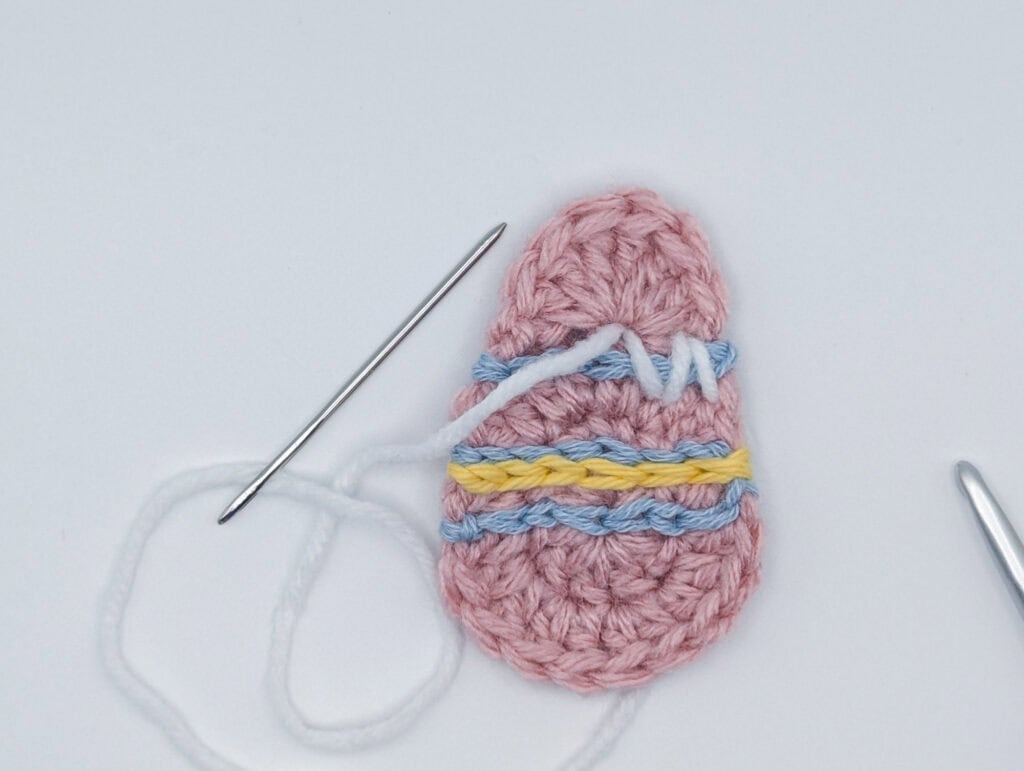
For an even more festive touch, try threading a tapestry needle with another color and working small zigzags over your surface crochet lines. The effect is so pretty and really gives each egg its own character.
That said, if all of this feels a bit fiddly, or if the thought of extra ends to weave in makes you want to skip it entirely, please do! A collection of plain eggs in soft pastel shades is absolutely beautiful on its own, and will still make for a gorgeous garland.
Bunny Ears
Good news: if you’ve already made an egg, you’re practically halfway to a bunny! Pick up right where you left off after completing the bunny head shape, and let’s add those ears.
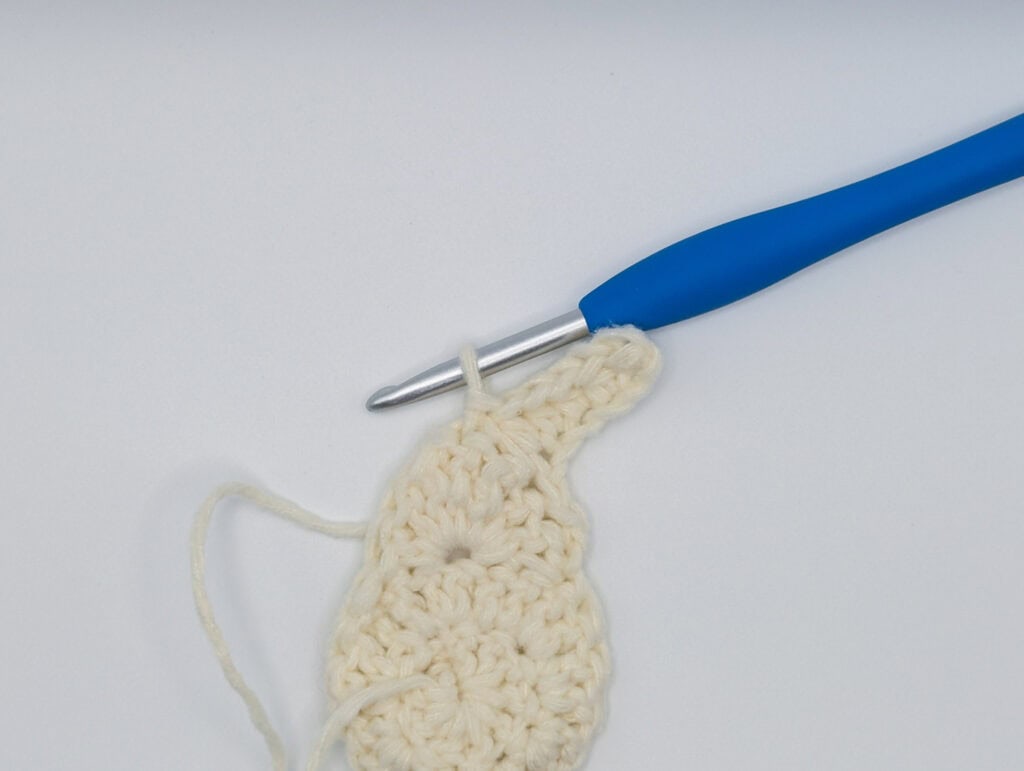
After completing the bunny head, chain 1, turn your work, and slip stitch into the next stitch on the head.
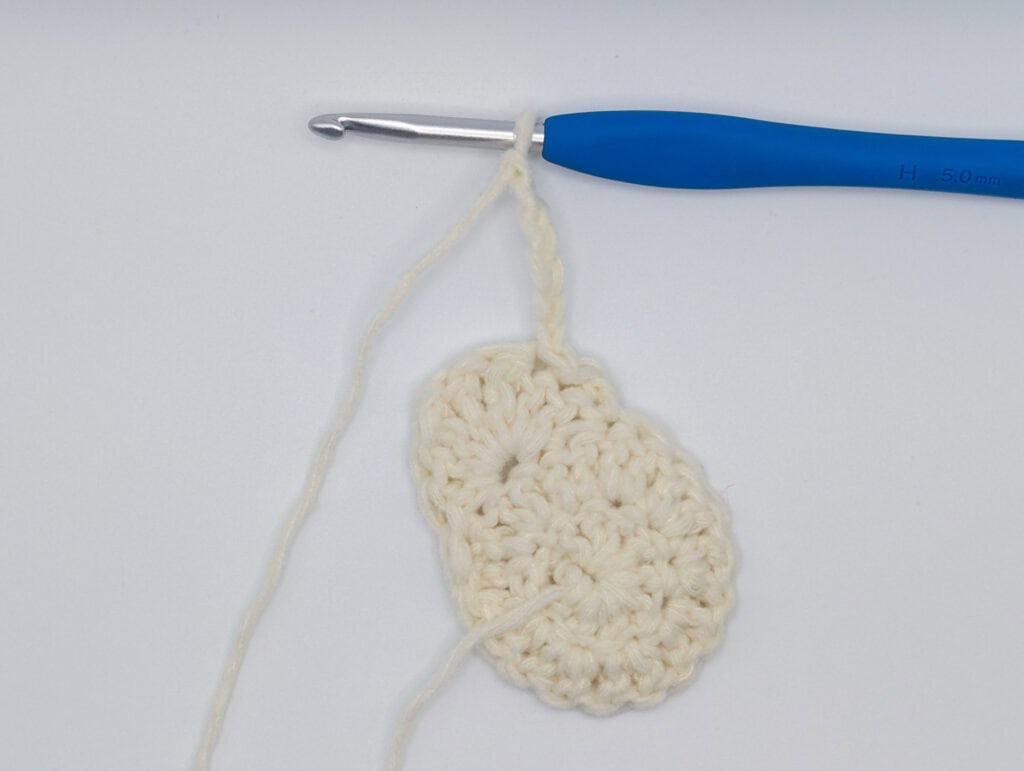
Chain 6. Skip the first chain, then work 1 sc into the next chain. Work 1 hdc into each of the remaining 4 chains.
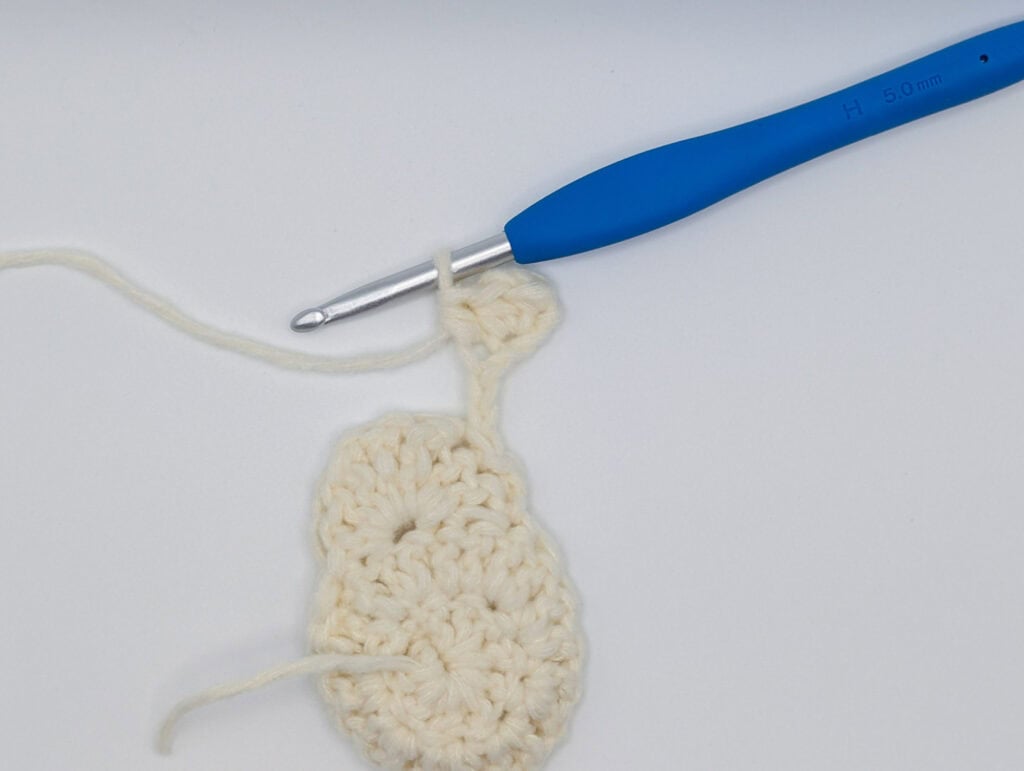
Skip one stitch back on the bunny head, then slip stitch into the next stitch.
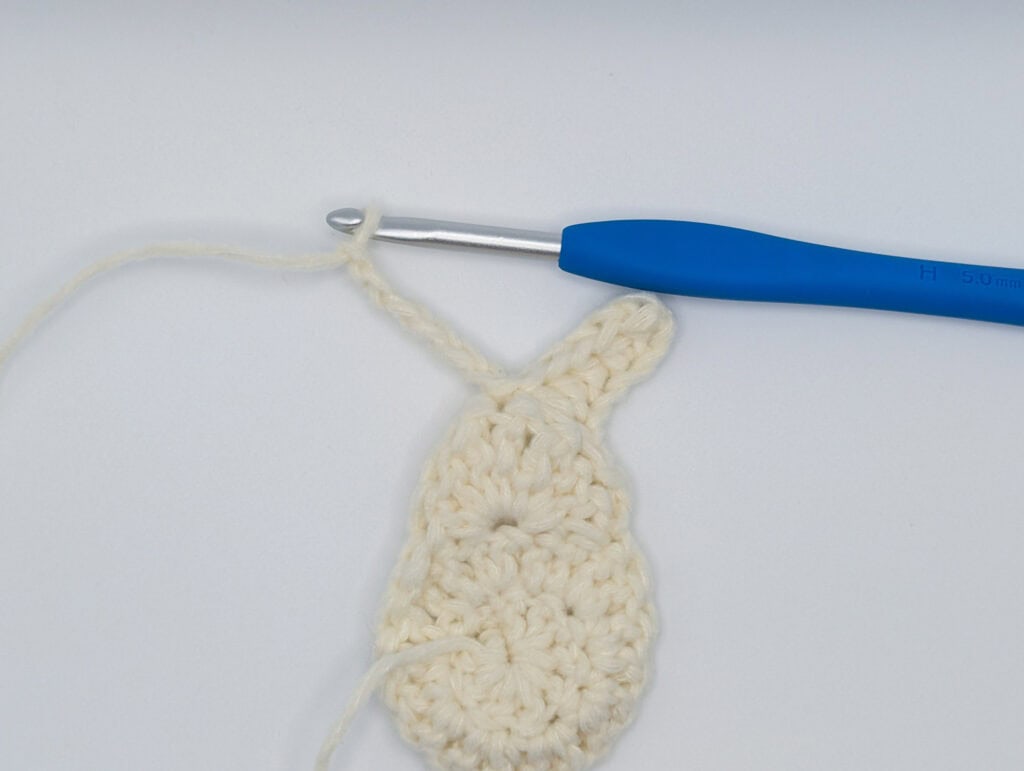
Repeat for the second ear: chain 6, work 1 sc into the second chain, then 1 hdc in each of the next 4 chains. Skip 1 stitch and slip stitch into the next stitch to finish.
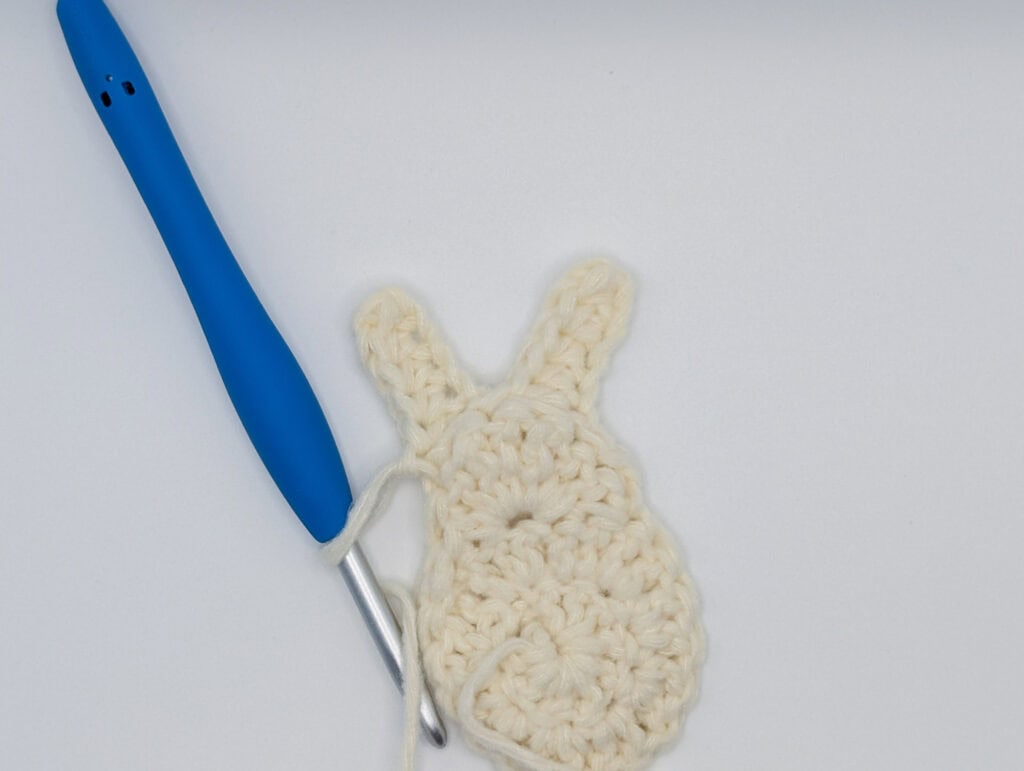
Fasten off and weave in all ends. Your bunny is complete, and honestly, I dare you not to smile at him.
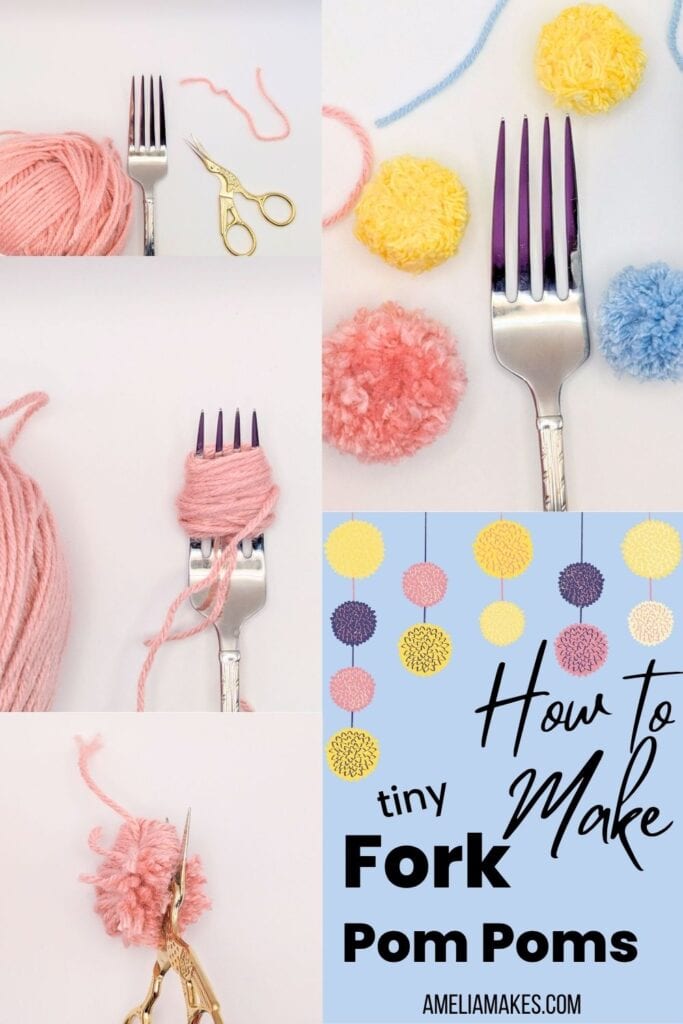
Optional Pom Poms
You could absolutely stop here and have a wonderful garland with just the eggs and bunnies. But if you’d like to add a little extra charm, pom poms are the way to go!
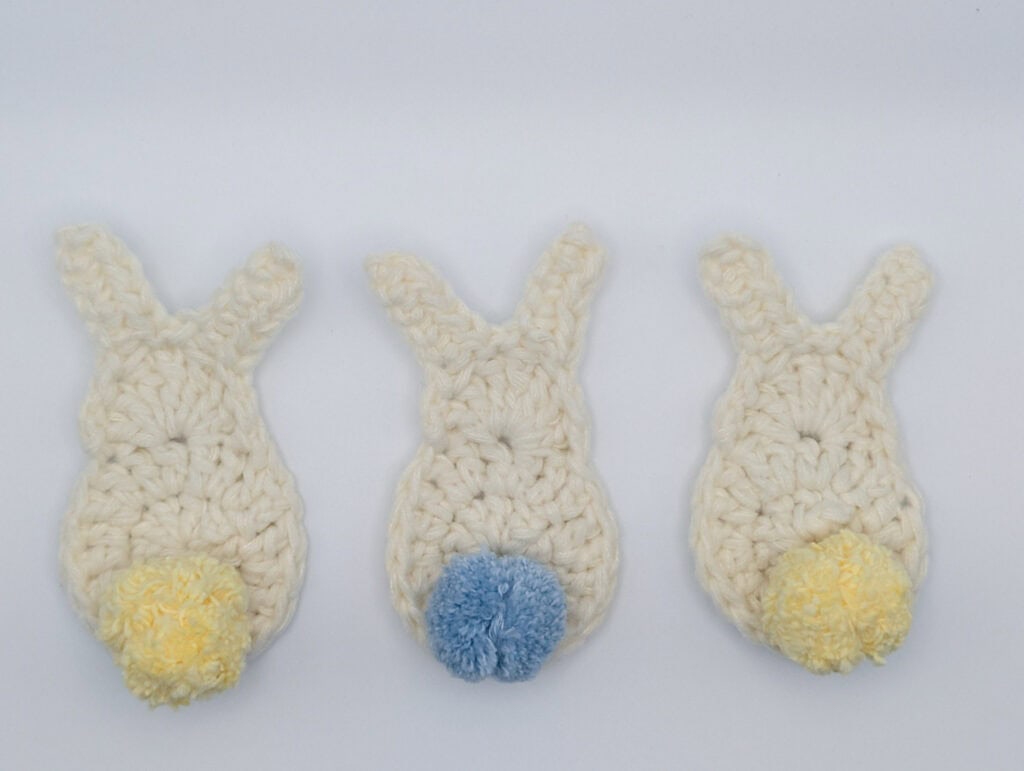
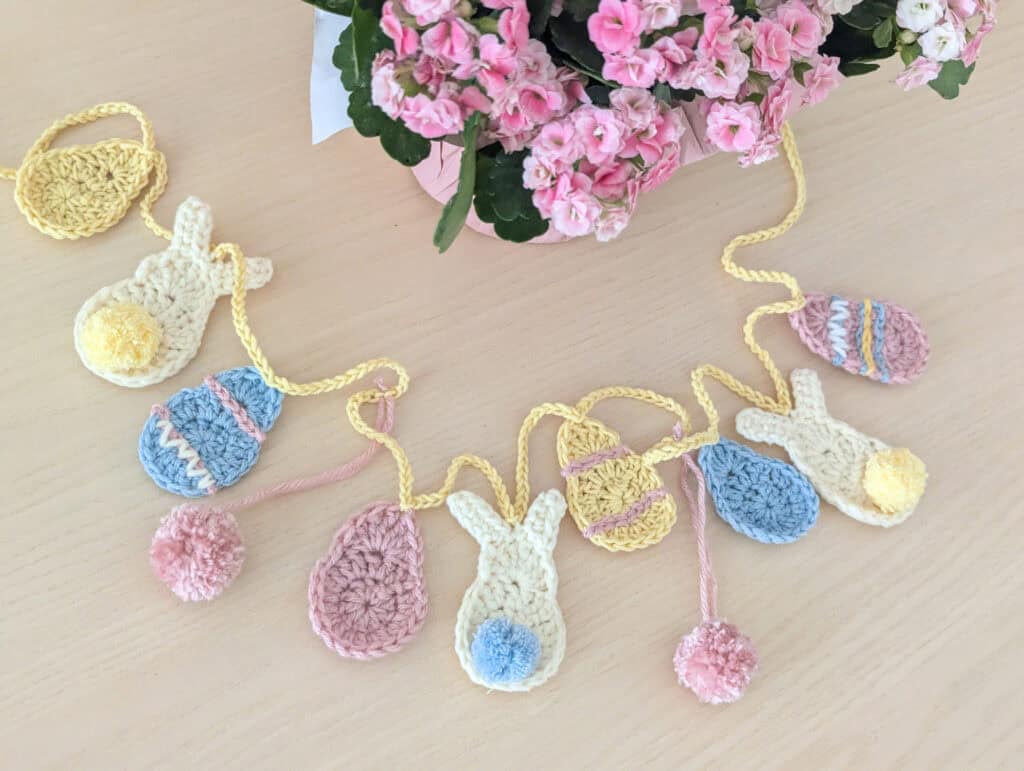
I used pom poms in two ways: I attached them to the bunnies to give them the fluffiest little tails, and I also added a few directly onto the garland string itself for extra texture and fun.
If you’ve never made a pom pom before, I have a guide on my website that walks you through making them using nothing more than a household fork. It’s much easier than it sounds!
Creating the Garland String and Adding Your Motifs
One of the lovely things about crochet is that we get to make our very own garland string. No hunting for ribbon or twine, just a simple chain in your chosen color.
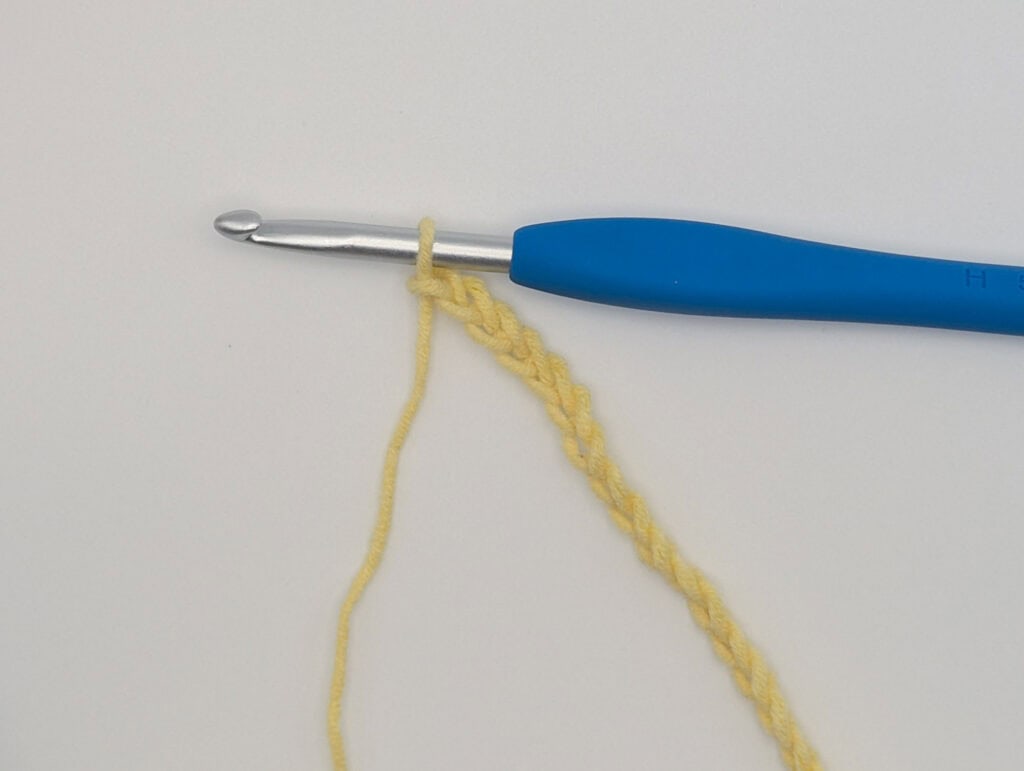
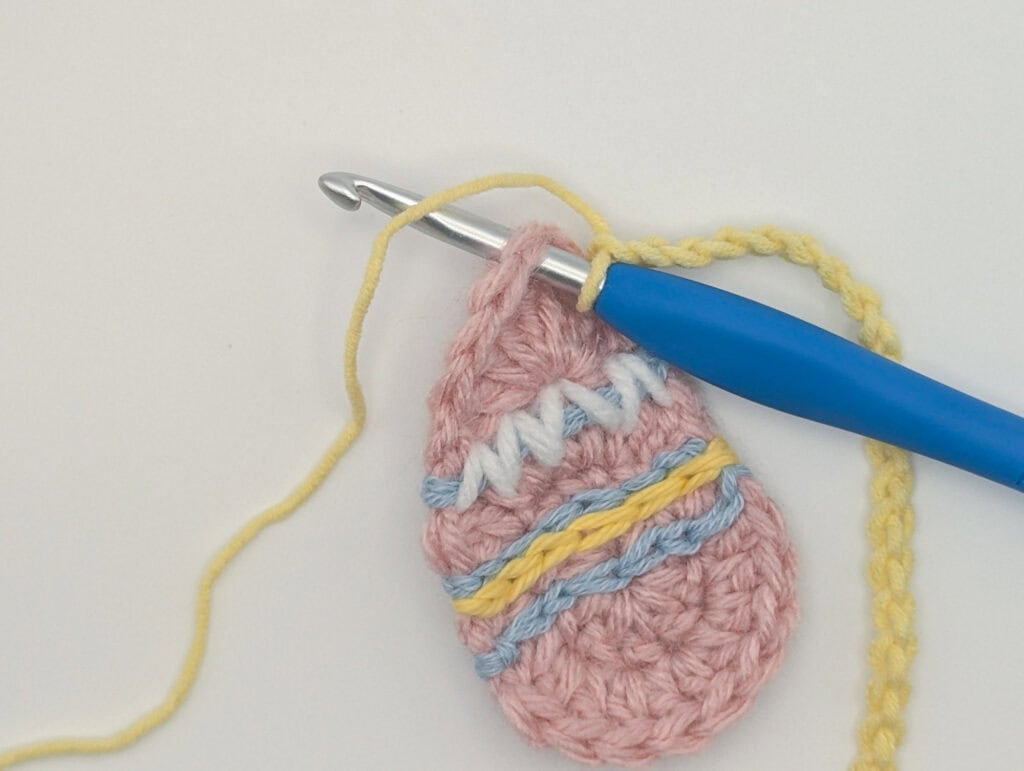
As you chain along, you can add each motif by working a slip stitch into the top of whichever piece you’d like to attach. It really is that straightforward.
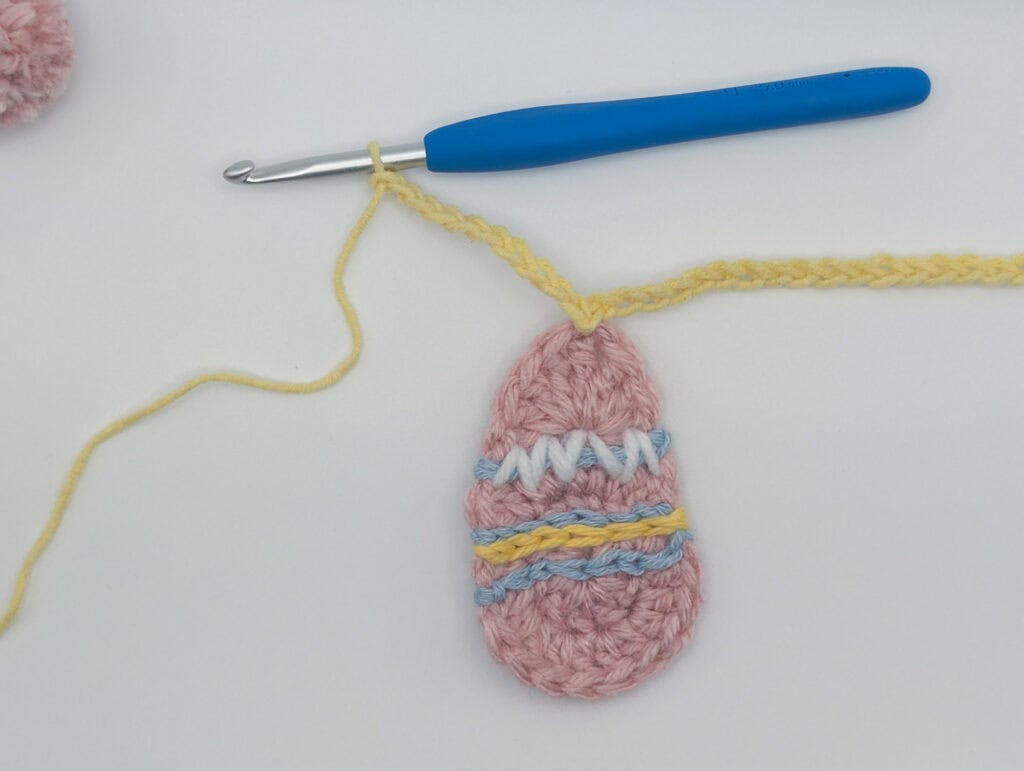
As for spacing, that’s entirely your call. For my garland, I worked 15 chains between each motif and added 30 chains at either end so there’s plenty of length for hanging. Feel free to adjust this to suit your space.
The order of your motifs is another place to let your creativity shine. I didn’t follow a strict sequence, but I loosely alternated eggs and bunnies and tucked in some extra pom poms here and there to mix things up. There’s no wrong way to arrange them!
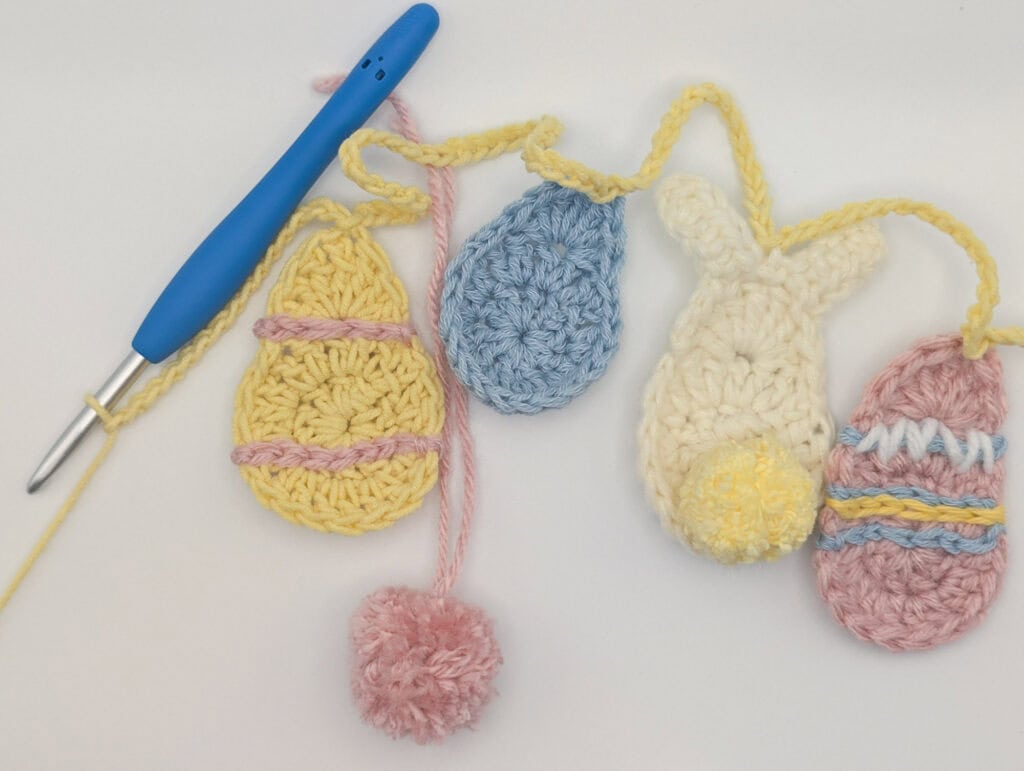
And there you have it, your very own handmade Easter garland. I hope you have so much fun making this one. It’s such a lovely project to work through in the days leading up to Easter, and it will look absolutely beautiful wherever you choose to hang it.
Happy Easter to you and yours from us here at Amelia Makes! 🐣