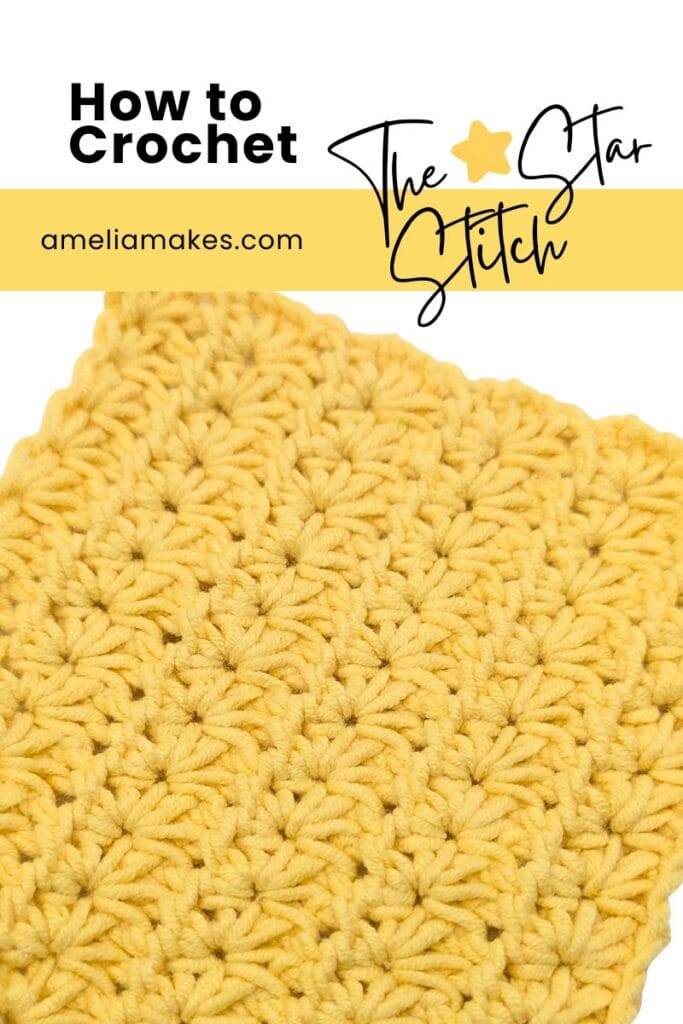
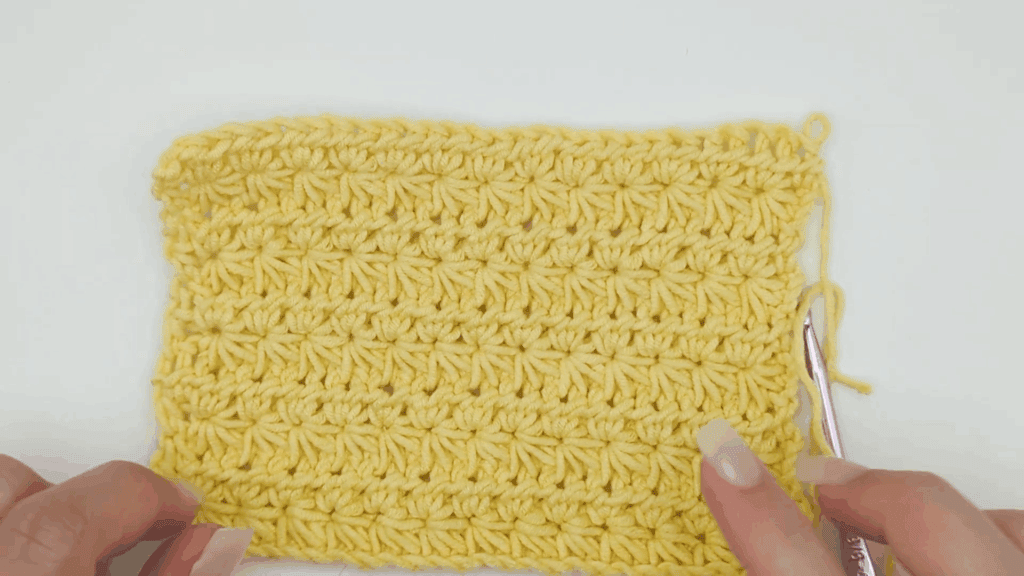
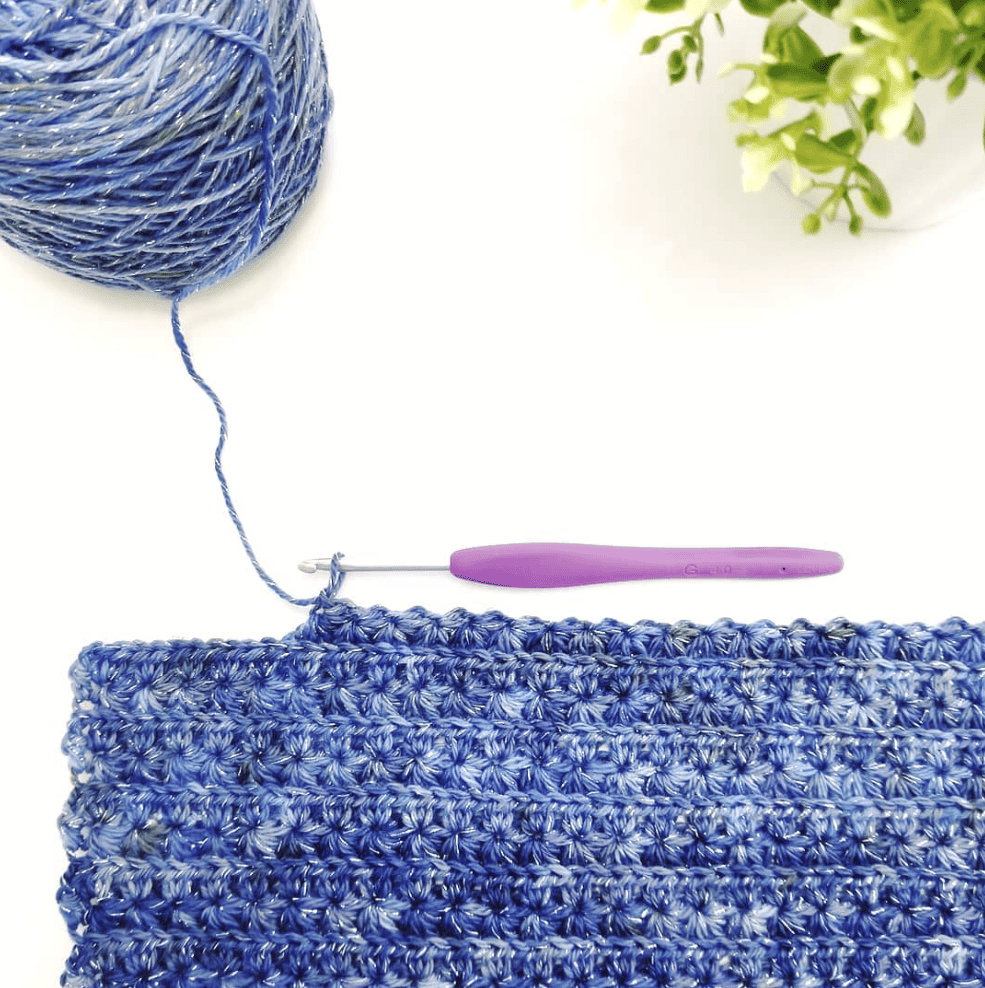
Have you ever come across the star stitch in someone’s gorgeous finished project and thought, “Well, that looks way too complicated for me”? I know I did, for the longest time. Those neat little clusters look so intricate that it’s easy to assume there’s some secret handshake involved that nobody told you about.
Here’s the thing though, and I say this with so much love: most of us talk ourselves out of the star stitch before we ever pick up our hook. We see the texture, decide it’s “advanced,” and quietly scroll past. Meanwhile that ball of yarn we bought specifically to “try something new” keeps gathering dust in the basket of good intentions.
So I gathered eight of my favorite star stitch projects to show you just how versatile this one stitch can be. We’ve got cozy wearables, snuggly home decor, a clever little organizer, and a stocking that just might become a family heirloom. Every single one comes with a free pattern and, if you scroll all the way to the bottom of this post, you’ll find my super beginner friendly star stitch tutorial to get you ready!
1. Star Stitch Crochet Beanie

First up is this beautiful textured beanie from Leonela Cevallos over at the blog Dublin Bay Crochet. It’s worked flat as one simple rectangle and then seamed up the back, which means there’s almost no fuss, just a little relaxing back-and-forth until you’ve got yourself a hat. The star stitch gives it that lovely knit-like finish that always makes people ask if you bought it.
What I really love is that Leonela wrote it in five sizes, from baby all the way up to adult, so you can outfit your entire family from one pattern. It’s genuinely beginner-friendly, there’s a video tutorial to follow along with, and it works up quickly enough to make a stack of them for gifts or a craft fair. If you’ve been nervous about the star stitch, a hat is such a satisfying place to build your confidence.
Check out Leonela’s Star Stitch Beanie HERE.
2. Chunky Star Stitch Blanket
If you’d rather wrap your whole self in stars, this chunky blanket from Michelle Moore at MJ’s Off The Hook Designs is calling your name. She worked it in a bulky weight yarn with a sweet picot stitch border, so it comes out thick, warm, and a little bit fancy without much extra effort on your part.
Because the yarn is so chunky, this one works up faster than you’d expect for a project this cozy, which makes it a wonderful introduction to the star stitch on a larger scale. Michelle made hers as a soft, photogenic throw for her granddaughter, and she’s included a step-by-step video tutorial to walk you through the stitch and that pretty border. It’s the kind of blanket that becomes the most fought-over spot on the couch.
See how Michelle made her chunky star blanket HERE.
3. Star Stitch Stocking
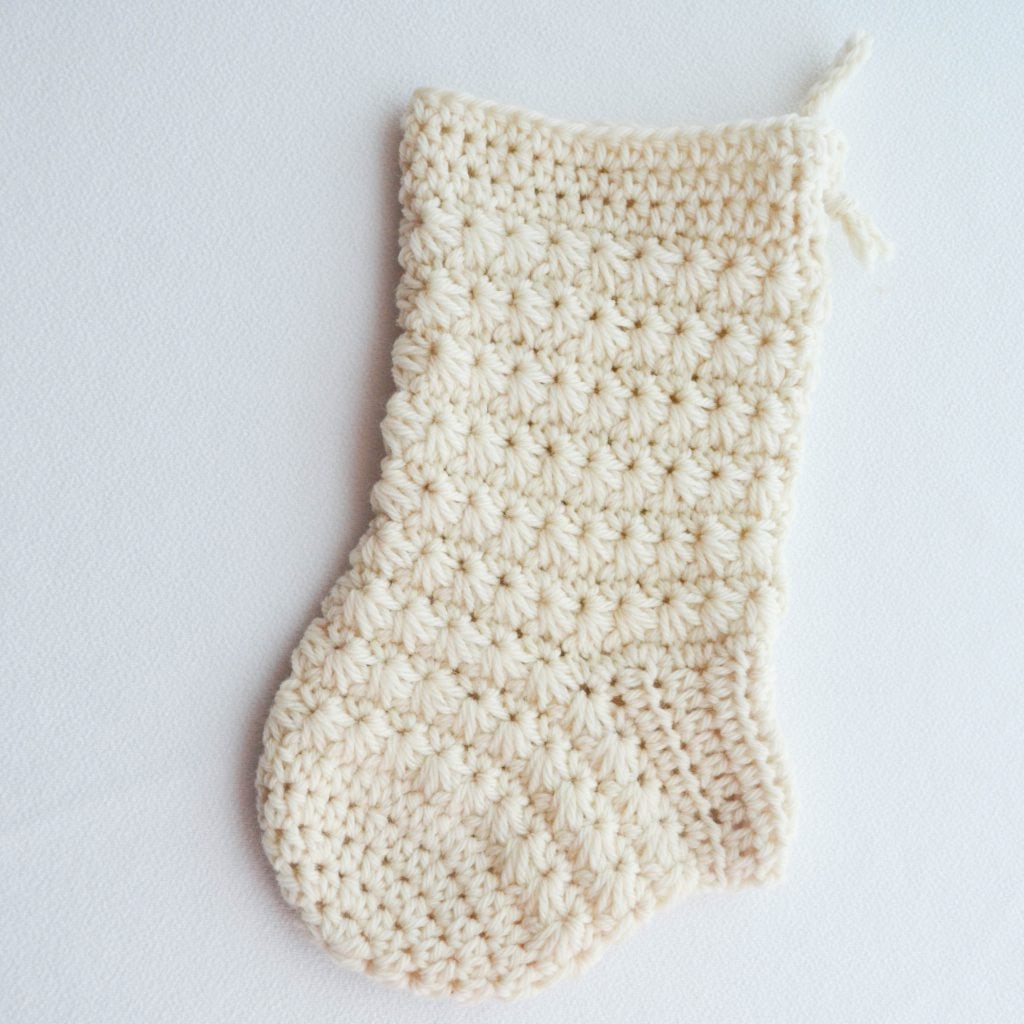
This one’s mine! My Star Stitch Stocking was born after I made a few stockings for my own mantel one Christmas and realized I just had to share the design. It’s worked from the toe up in rounds, broken into clear little sections for the toe, foot, heel, and leg, with an optional fluffy fur topper if you want to take it over the top (in the best way).
I’d call this one an advanced-beginner project. The heel is simplified so you’re not wrestling with short rows, and the pattern is written so the stars line up neatly before and after the heel. I used a squishy wool that gave the stars such gorgeous definition, and the finished stocking holds its shape beautifully even when it’s stuffed full of goodies. It really does feel like the sort of thing that gets pulled out year after year.
Check out my Star Stitch Stocking HERE.
4. Starry Midnight Sky Shawl
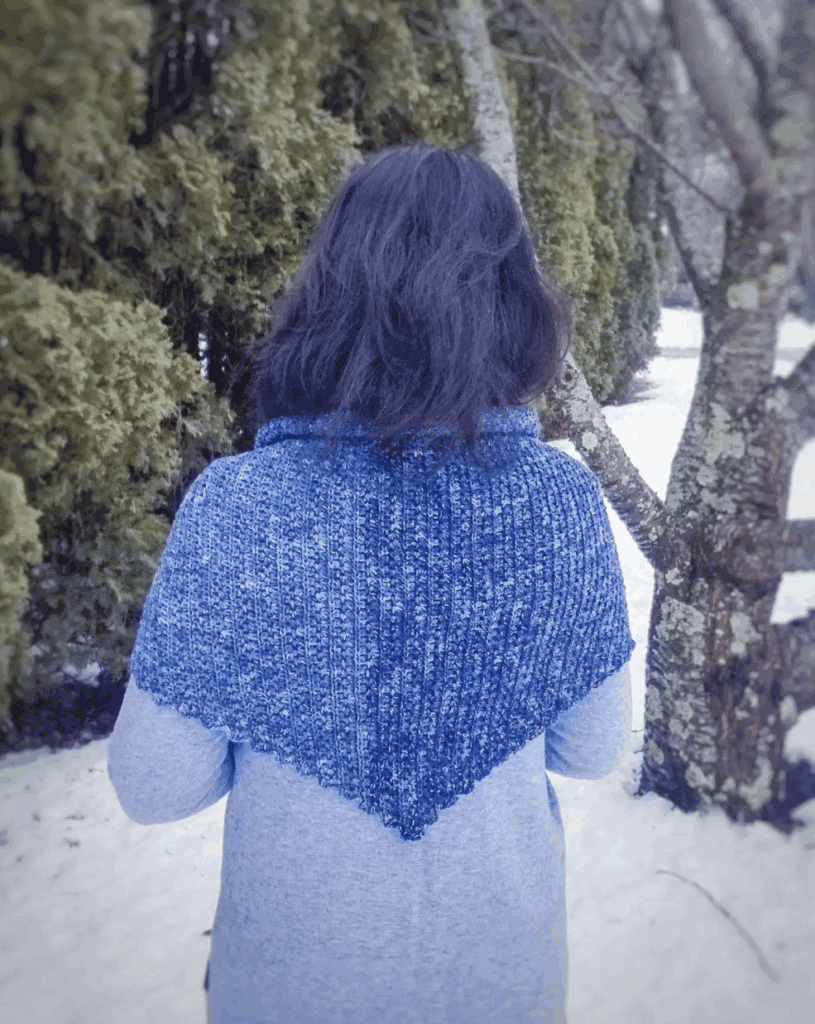
For something with a little drama, take a look at the Starry Midnight Sky Shawl from Elisa, the designer behind Strings and Cuddles. She paired the star stitch with simple half double crochet and worked the whole thing flat and sideways with an easy two-row repeat, so it’s far more approachable than the finished piece lets on.
Elisa originally envisioned a midnight-blue colorway with little sparkles to mimic stars in the night sky, and honestly the concept is just lovely. Because it’s worked sideways and the gauge is forgiving, you can make this shawl as big or as small as you like, simply increasing and decreasing a star stitch every other row. It’s a beautiful way to practice the stitch over a long, soothing project, and it makes a heartfelt gift.
See how Elisa made her Starry Midnight Sky Shawl HERE.
5. Written in the Stars Potholder
Bringing the stars into the kitchen, this clever “Written in the Stars” potholder comes from Dayna Perry at This Pixie Creates. She combines single crochet, half double crochet, and the star stitch to build up a thick, double-layered fabric, working in the round to make a little pouch that gets seamed shut at the top.
The fun twist is that you get to decide whether the star pattern runs vertical or horizontal before you finish it off, so you can make a matched set with a little variety. It’s a small, satisfying project that uses just cotton yarn (a must for anything near heat), and Dayna includes step-by-step photos plus a full video tutorial. If you want to practice the star stitch without committing to a giant blanket, a potholder is just the ticket.
Check out Dayna’s Written in the Stars Potholder HERE.
6. Star Stitch Infinity Scarf
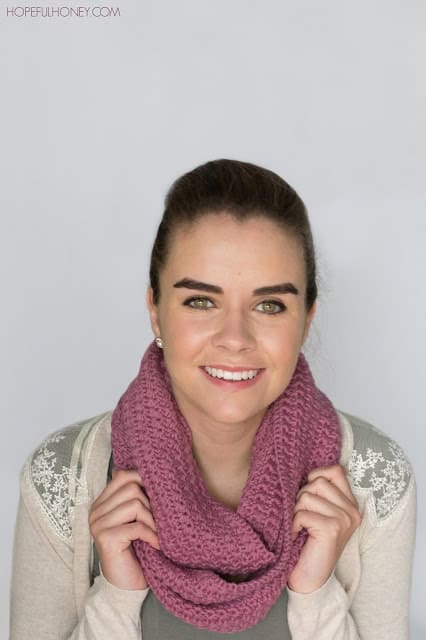
Olivia Kent over at Hopeful Honey designed this dreamy infinity scarf, and it has the sweetest backstory. She’d made a star stitch scarf years ago, lost the pattern to the mysterious void where all our notes go, and finally recreated the idea into this cozy loop you see today.
It’s worked flat in worsted weight yarn and then seamed into a circle, and Olivia notes that it’s easily adjustable, just add or remove chains and rows to suit your height and how snug you like things. There’s a video tutorial for the star stitch itself, which is such a comfort when you’re learning. This is a friendly, wearable project that gives you plenty of repetition to really get the stitch into your hands.
See how Olivia made her infinity scarf HERE.
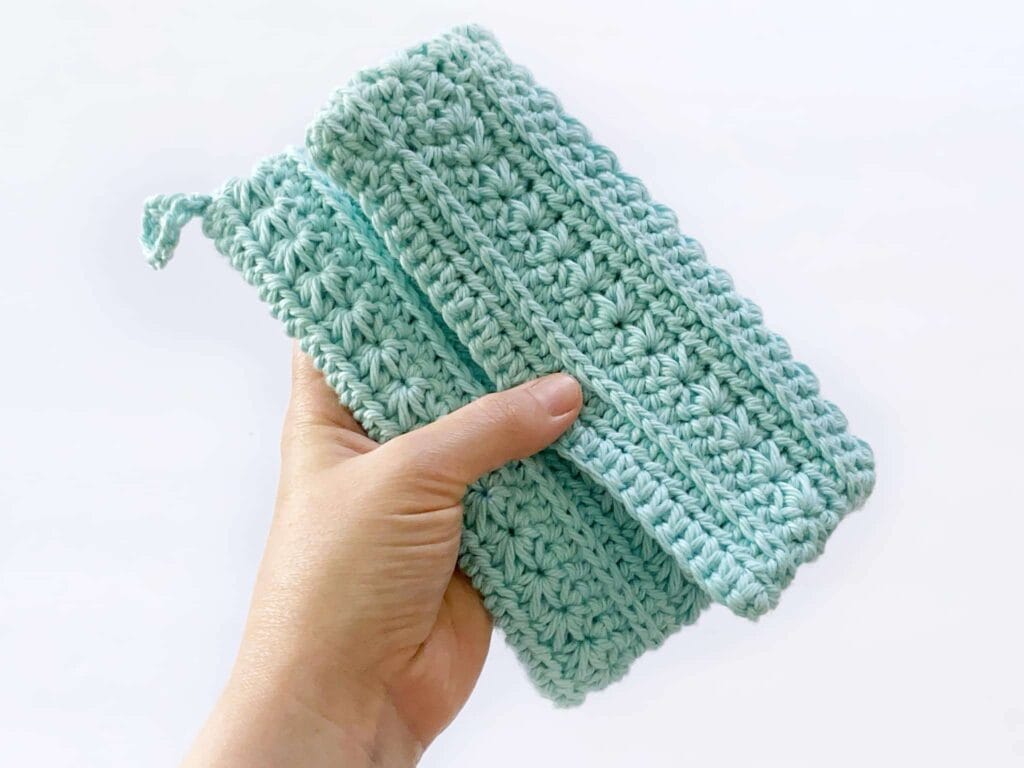
7. Star Hook Case
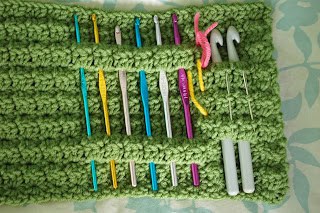
Now here’s a genius little project from Alli over at the blog Alli Crafts, and it’s one of those things you didn’t know you needed until you saw it. It’s a roll-up hook case where the actual “eyes” of the star stitches become the pockets that hold your hooks. No sewing little compartments, the stitch does the organizing for you.
Because there are no sewn pockets, it adapts as your hook collection grows (and grows, and grows, as they tend to do). It uses less than a skein of medium weight yarn, works up in an afternoon, and finishes with a simple tie to keep everything snug when you roll it up. Crafters in the comments have made versions for knitting needles, makeup brushes, even paintbrushes. It’s practical, it’s pretty, and it makes a thoughtful gift for your crochet friends.
Check out Alli’s Star Hook Case HERE.
8. Star Stitch Hoodie Capelet
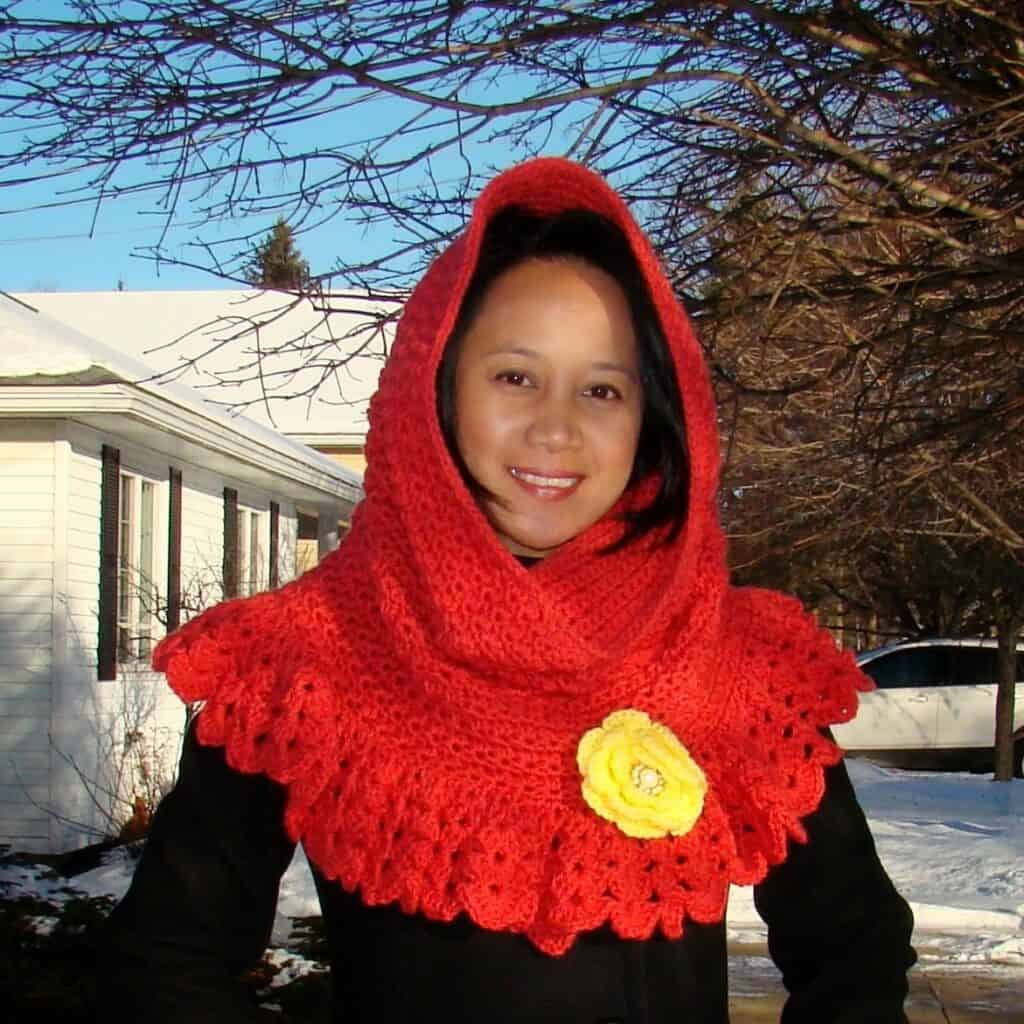
Last but absolutely not least is this charming hoodie capelet from Maya at Pretty Nails and Tea. The hooded cowl portion is worked in star stitches, then she adds tiers of ruffled double crochet shells to create that pretty cape-like flounce around the shoulders, finished off with a flower brooch pinned in place.
Maya is wonderfully honest about the learning curve, suggesting you swatch a few stars before diving in so the stitch feels familiar by the time you start the real thing. It’s a more involved make, the kind you settle into over a cozy weekend, but the payoff is a genuinely unique piece you can wear as a hood or draped around your neck. Her pattern notes are detailed and warm, right down to a little hand-drawn doodle to help you picture the stitch.
See how Maya made her hoodie capelet HERE.
Ready to Make the Star Stitch Your New Favorite?
Whichever of these speaks to you, there truly isn’t a wrong place to start. If you want something quick and confidence-building, a potholder or hook case will have you stitching stars in an afternoon. If you’re craving a longer, soothing project to sink into, the shawl or blanket will keep your hands happily busy for a good while. And if you just want to learn the stitch itself before committing to anything, that’s wonderful too.
Whatever you choose, be gentle with yourself on those first few stars. They feel awkward for about two minutes and then something clicks, and suddenly you’re wondering why you ever found it intimidating. So pick the project that makes you smile, cast on a little practice swatch, and let those stars start to shine.
Happy crocheting, Amelia
P.S. — If you’d like to master the star stitch before you begin any of these, I put together a complete free guide with written instructions, step-by-step photos, and a video tutorial. You can find my free star stitch guide HERE. It’s the perfect place to get comfortable so every project on this list feels like a breeze.