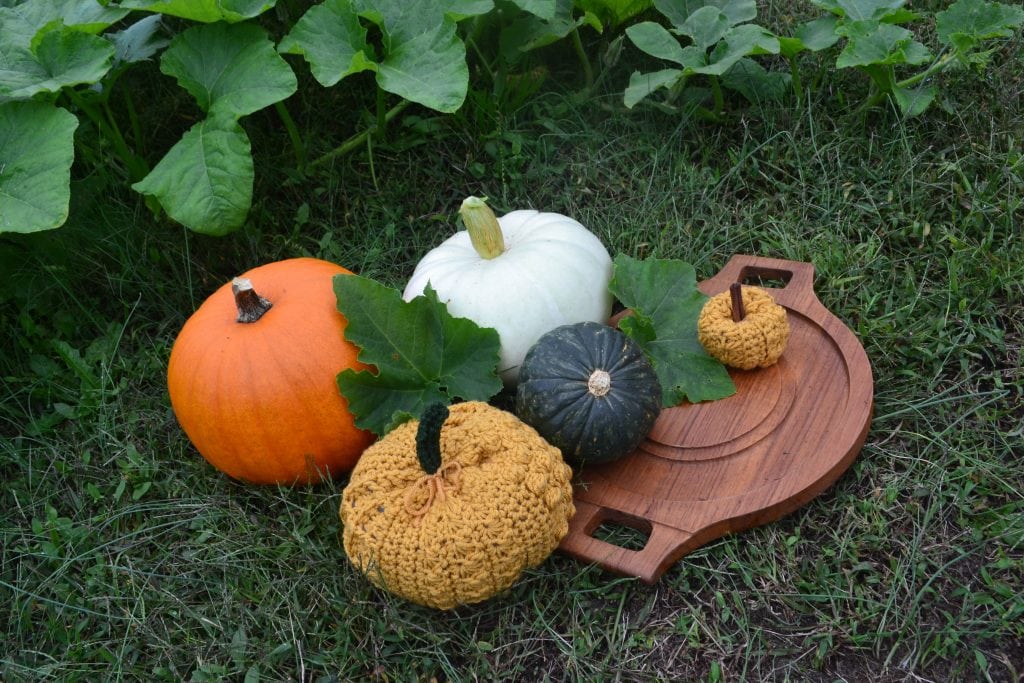
This set of textured crochet pumpkins use a variety of stitches to create the perfect fall accent.
Cue the fall vibes! In the crochet world, it seems like as soon as autumn hits, pumpkins flood the scene. All shapes, colors, and designs of crochet pumpkins start showing up on the social networks and in everyone’s wip (work-in-progress) bag.
And how could they not? Aside from being the “perfect” fall project, crocheting pumpkins are such an easy way to get into projects for the cooler weather. Generally, they don’t take very long to make, aren’t very difficult, and are easily whipped up in whatever colors you want. Not to mention they are downright cute.
This year, I decided that I would hop on the pumpkin train(or maybe it would be better to say the pumpkin hay ride), and publish my own design for these seasonal staples. The Sampler Pumpkins use several different stitches to really show off some texture and make them especially fun to create.

(Note: This post contains affiliate links, meaning that if you make a purchase it may benefit me at no extra cost to you. You can read all of my affiliate disclosures and other disclaimers on the disclaimers page. )

Below, you’ll find information on the small size of the Sampler Pumpkin. Instructions for all three can be found in the Crochet Maker’s Vault.
Let’s get started!
About These Crochet Pumpkins
These pumpkins are really for anyone-they can go with any decor, make wonderful photo props, and are great for gifts as well. Making one of the larger sizes would also create a very nice pillow if you crochet a soft stem as well.
Materials Needed
For any size of the Sampler Pumpkins, you’ll need the following:
- Aran/heavy worsted yarn in any color(various yardages for different sizes)
- Size H/5.00mm hook
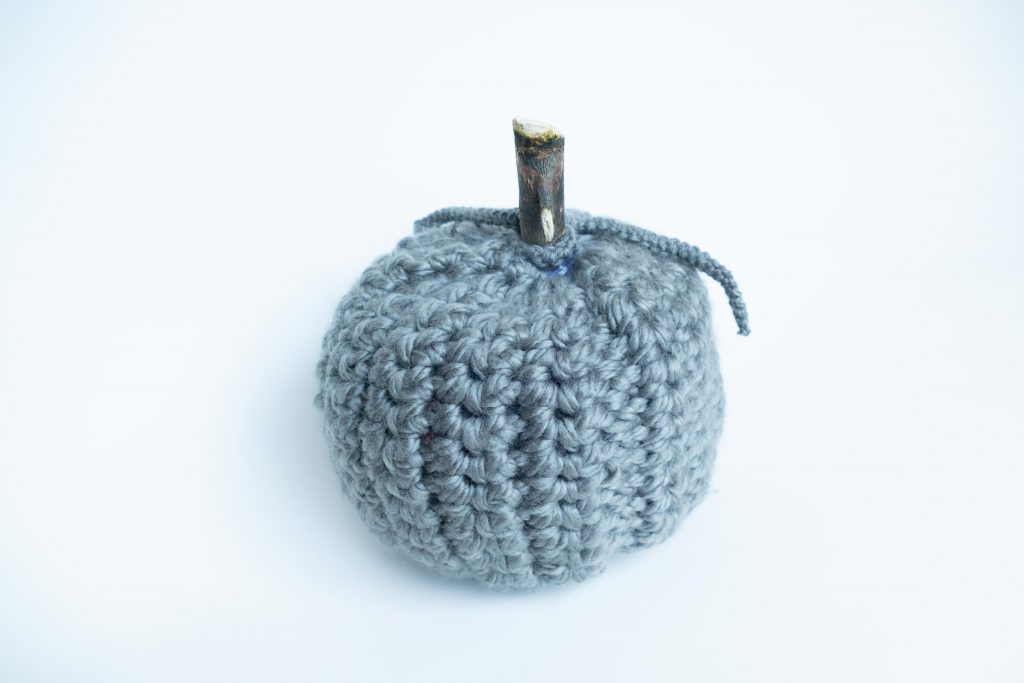
- Material for your pumpkin’s stem(either yarn for a crochet stem, or a stick or piece of cinnamon)
- Scissors
- Tapestry needle(not needed but very helpful)

Skill Level
Crocheting Pumpkins in general is pretty simple. Many times they are made as one crochet piece(usually a rectangle) that gets shaped by gathering up the sides.
While the Sampler Pumpkins follow the same basic principle, they do involve several different stitches. None of these stitches are difficult on their own. However, creating different textures just means that to make these you will need to pay attention to the pattern, rather than having a pumpkin that you can crochet “mindlessly”. In my opinion, the result is well worth it, and you may even learn a new stitch or two!
All things considered, the Sampler Pumpkins fall somewhere in the range of intermediate projects. I’m convinced that if you are an ambitious beginner or tend to pick up new techniques quickly, then this would be a great project for you as well.
Pattern
Ch25
Row 1: Skip a ch and sc into the second ch from the hook. Sc, esc. sc2, esc. Repeat for
the rest of the row. Ch2 and turn (24sts)
Row 2. Skip the esc from the previous row.
In the next stitch(which should be a single crochet), work a dc and then work a slanting cluster stitch around it[(yo, bring hook around and under the dc, working between the dc and the previous stitch, yo again and bring the hook back to the front of the work. Repeat 2x.) yo again and draw that loop through 6 loops on your hook. yo once more and draw the yarn through the last remaining 2 loops to complete the slanting cluster]. Skip a stitch and work an esc into the next esc from the previous row.
Repeat across the row, finishing with an esc worked into the end of the row. Ch2 and turn.
Row 3: Skip the esc from the previous row. Sc2, esc into the next esc from the previous row Repeat across the row, finishing with an esc worked into the end of the row. Ch2 and
turn.
Rows 4-9: Repeat rows 2-3.
Seaming and Finishing
Without binding off, fold your pumpkin piece right side in and line up the two short edges. Seam the two short edges together with ss. Bind off leaving a long tail of 10-12″. Use your long yarn tail to tightly gather up one end of the pumpkin, which will become the bottom. Flip your work so that the open end is facing upward. At this point, if you still have a long enough tail left over from gathering up the first end of the pumpkin, you can leave it hanging out of the open end. Fill the pumpkin with stuffing. Then, use a new piece of yarn to gather the top of the pumpkin up most of the way. Place the wooden stem or crochet a stem around the remaining opening. If using a wooden stem, using a hot glue gun will make this extra secure. At this point, you can also use the long tail that is still attached to the bottom of the pumpkin to help shape it. Simply pull the tail up a bit to give your pumpkin more of a “pumpkin” shape before binding off. When finished, hide any remaining ends, and enjoy your finished project!
Final Thoughts
As mentioned above, you can get a download with instructions for all three sizes of the Sampler Pumpkin by joining the Crochet Maker’s Vault. This is where I upload all of my patterns for easy access, including some exclusive patterns!
But, if you like this project, be sure to get on the list for updates from Amelia Makes. Each week I send out new projects, crochet tips and tutorials, behind-the-scenes info, and other resources for my readers. Plus, as a bonus for signing up you’ll immediately get the free download for the mini sampler pumpkin in your inbox.
Keep the Crafting Delightful!
Amelia
The Sampler Crochet Pumpkin set is a fantastic way to mix up your fall decor and get on a roll with your cool-weather projects!
You might also like: