
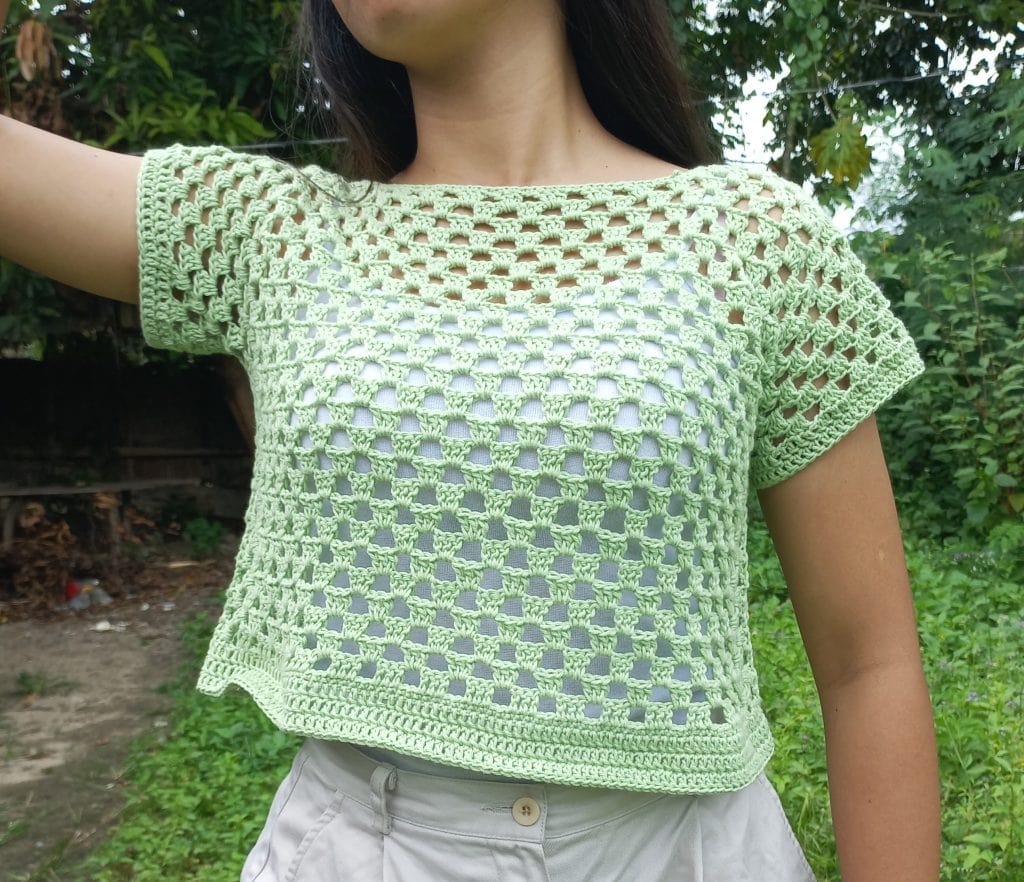
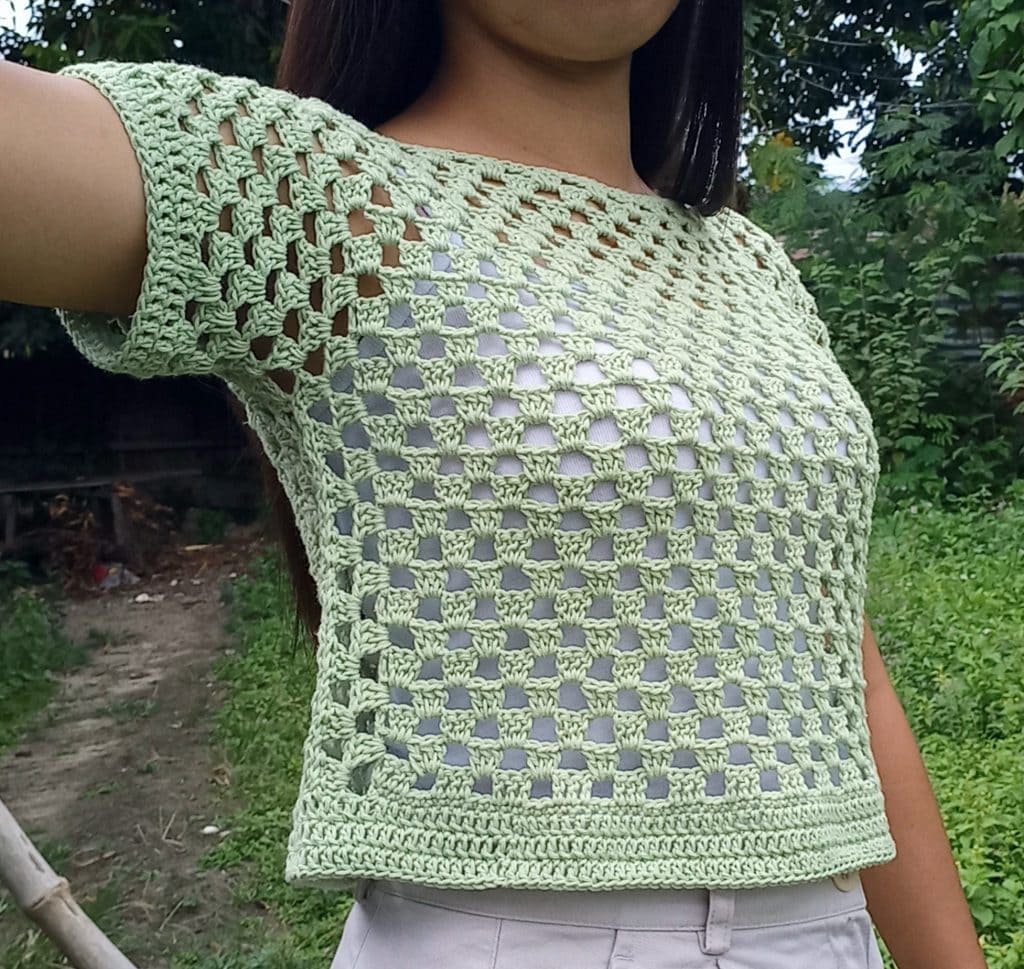
A classic looking crochet top that uses the granny stitch, is quick to make, and perfect for advanced-beginners!
It can feel intimidating to crochet women’s garments, especially as a beginner. But this specific free pattern is the perfect crochet top to start off with as it’s worked in rows, and has easy to follow instructions!
The granny stitch technique is one of my favorite crochet stitches because it has that elegant look, suitable for a night out at a fancy restaurant. It can also be worn for a casual hangout with friends, giving off a classy vibe.
Regardless of what the occasion is, this beautiful crochet top is perfect for a variety of scenarios!
Prefer the PDF Version in All Sizes?
Grab the ad-free, printable PDF pattern in women’s size XS to 2XL
You can view it on your computer, phone or tablet or download and print it at home.
About This Project
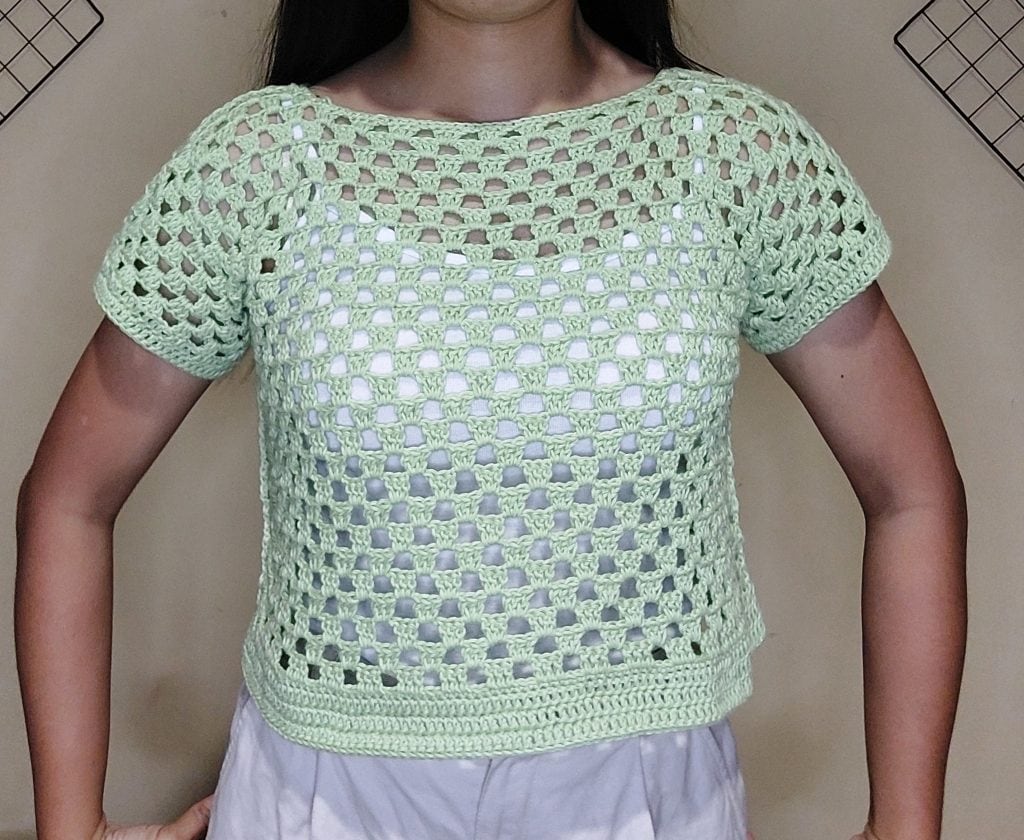
This crochet pattern, that is especially great for the warmer months, is quick to make because the granny stitch is easy to keep track of your stitch count, and this gives you less chances of making mistakes.
If you’re a beginner, this is a great first project to take on when crocheting a top for the first time. You’ll build up your confidence and you’ll then be able to take on more challenging garment projects.
The only other stitch that’s included in this pattern, besides the granny stitch, is the single crochet stitch, which is used to create a clean finish along the edges of the top.

Crochet Patterns That Use the Granny Stitch
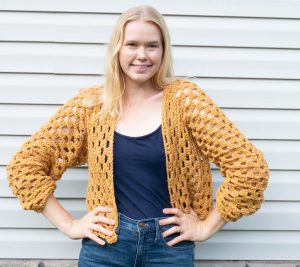
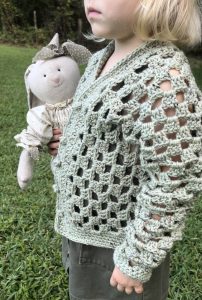
If you love this beautiful crochet top, then you’re going to love crocheting the granny stitch cardigan for both adults and kids!
Skill Level
As the granny stitch uses the same basic pattern as the granny square, it’s easy to learn and get the hang of it, even as a beginner. So I would consider this project to be great for advanced-beginners.
Materials Needed
- Sports Weight Yarn: Sage Green
- Crochet hook (3.5mm)
- Needle for sewing
- Scissors/yarn cutter
- Stitch Marker
Abbreviation Used
- R = row
- RNDS = rounds
- CH = chain
- SC = single crochet
- DC = double crochet
- SL ST= slip stitch
- ST/S = stitch/es
Granny Stitch Top Pattern Directions for Size Extra Small
Front and Back – Make Two
R1: chain 82 then work 1SC across the chain starting in the 2nd ST from the hook. 81
R2: CH3, 3DC starting in the same ST, CH2, 3DC (1 space created), [CH2, 3DC], repeat from [ to ] across the stitches, end your row with CH2 and 1DC in the last stitch. Total of 16.
R3: CH3, 3DC in the same space (work only in the spaces), [CH2, 3DC] repeat from [ to ] across the spaces, end your row with CH2 then 1DC in the top of CH3.

R4-(27): Make 24 more rows using the steps in R3.

Now let’s create the shoulder part. R(28): CH3, 3DC, (CH2, 3DC)x3,CH3, turn.
R(29): 3DC, CH2)x3, 1DC in top of CH3.
Cut the yarn and secure the ends.
On the other side, tie yarn on the edge at the top of chain 3.
CH3, (3DC, CH2)x3, 3DC, CH3 turn.
(3DC, CH2)x3, 1DC in the last stitch.
Cut the yarn and secure the ends.

Make two to have the Front and Back part.

Lay the Front part on top of the back part, make sure to line up the rows evenly. Sew the shoulders together using the mattress stitch.

Side Part
R1: Tie yarn in the lower edge of the side of Front part. CH3, 3DC in the space, CH2, 3DC in the next space (continue doing the granny stitch (CH2, 3DC) until you cover all the spaces on the side going through the Back part, ending with CH2 and 1DC in the last ST. CH3, turn. (29 granny stitches)
R2: 3DC in the same space, CH2, 3DC in the next space. Continue to make Granny Stitches until you cover the side and return to your starting point. End the row with CH2 and 1DC in the last ST. (29 granny stitches)
Cut the yarn and secure the ends.
Repeat the step from R1 to R2 on the other Side.
Armhole
Place a stitch marker on your top where you want your seam to stop. It will also determine the size of the armhole.
**For size XS and S, seam up to R17 of the Front and Back Part.

Sleeves
Tie yarn right on the top seam. RND1: CH3, 3DC in the 1st space, [CH2, 3DC in the next space], repeat from [ to ] across to the last space.
End with CH2 and SL ST to the 1st ST.
RND2-(5): CH3, 3DC in the same space on the back of the CH, [CH2, 3DC in the next space] repeat from [ to ] across to the last space. End with CH2 then SL ST to the 1st ST. (4 Rnds)
RND(6) – (7): Work 1DC in each ST across to the end of the RND (2 Rnds).
Cut the yarn and secure the ends.

Repeat the steps for the second sleeves.
Neckline
Tie yarn in any ST on the neckline, then cover the neckline with 1SC in each ST.
Cut the yarn and secure the ends.
Hem
Tie yarn in any ST on the hem. Cover the hem with 1DC in each ST. Make 3 RNDS.
Cut the yarn and secure the ends.
Hide all the tails and it’s done!

Final Thoughts
Thank you for spending your precious crochet time with me! I hope you enjoyed making this beautiful crochet top.
To stay up to date with all new patterns, be sure to join our email list and get the latest free patterns in your inbox!
Plus, as a bonus for signing up, you’ll immediately get three free patterns straight to your inbox! You can grab it here:
What’s Next?
- Share on Facebook or Instagram: I always love seeing fellow crocheters make my patterns! Tag me when you’ve completed it @ameliamakesblog
- Pin the post: Save this post on your Pinterest board, and get back to it later.
Join my Facebook Group
Share your ideas and pictures on my Facebook Group! This is a small private group of crochet enthusiasts that would love to hear from you!

